Painting with a Mixer Brush
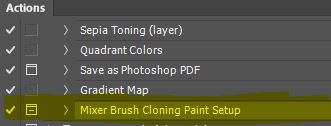
One of the actions that come bundled in Photoshop is a called Mixer Brush Cloning Paint Setup. If you always wanted to paint from your photographs but didn’t know where to begin, this is a good place to start.
I’m not sure when this action was added, but I learned about this technique in a Creative Live class a few years ago taught by Jack Davis. The beauty of this technique is that you can use the mixer brush on a “special layer”(to be explained later) and you don’t need to keep the “Sample All Layers” turned on. The Sample All Layers is a terrible resource hog and will kill most older or slow processing machines. Using this special technique does not require you to sample layers below, so you can paint quickly and efficiently without the delay in your brush strokes as your processor tries to keep up.
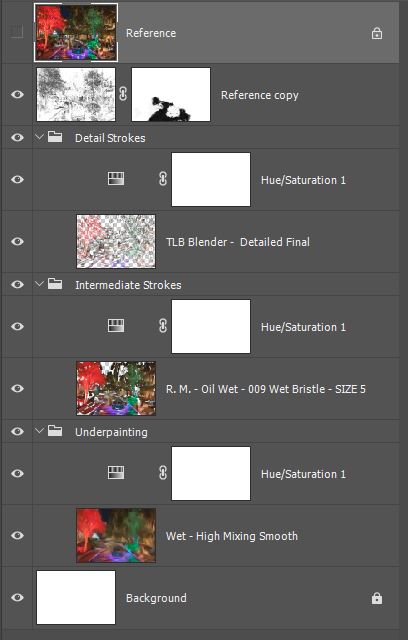
To use the technique I’m about to demonstrate, just open an image and run the action. You will get a setup similar to this.
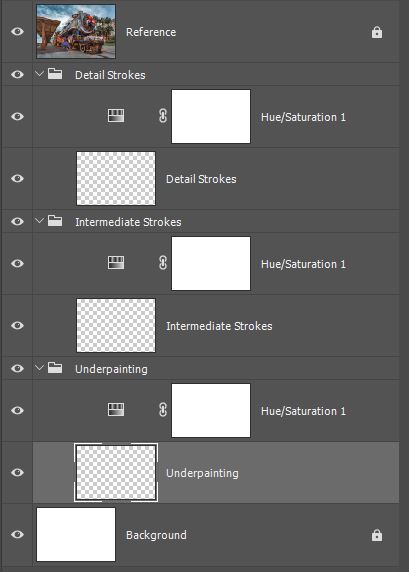
The key to this technique is embedded in these seemingly blank layers labeled underpainting, intermediate and detailed.
While they look like blank layers, they are NOT BLANK. They are the “special layers” I mentioned above and the action built. Here is the key.
These layers are actually built by taking a copy of the image at 1% opacity and MERGING it with a blank layer at 100% opacity. The result is a layer that embeds 100% of the image at 100% of the luminosity and tone but only 1% opacity.
So when you paint on it with a mixer brush, you get 100% of the pixels!! MARVELOUS!!!
The action just speeds up this build process by making these layers for you.
TIP: I would recommend you copy one of these layers as a backup resource and store it below your work just in case you really mess up a layer and have to begin again
My Sample Image Using This Technique

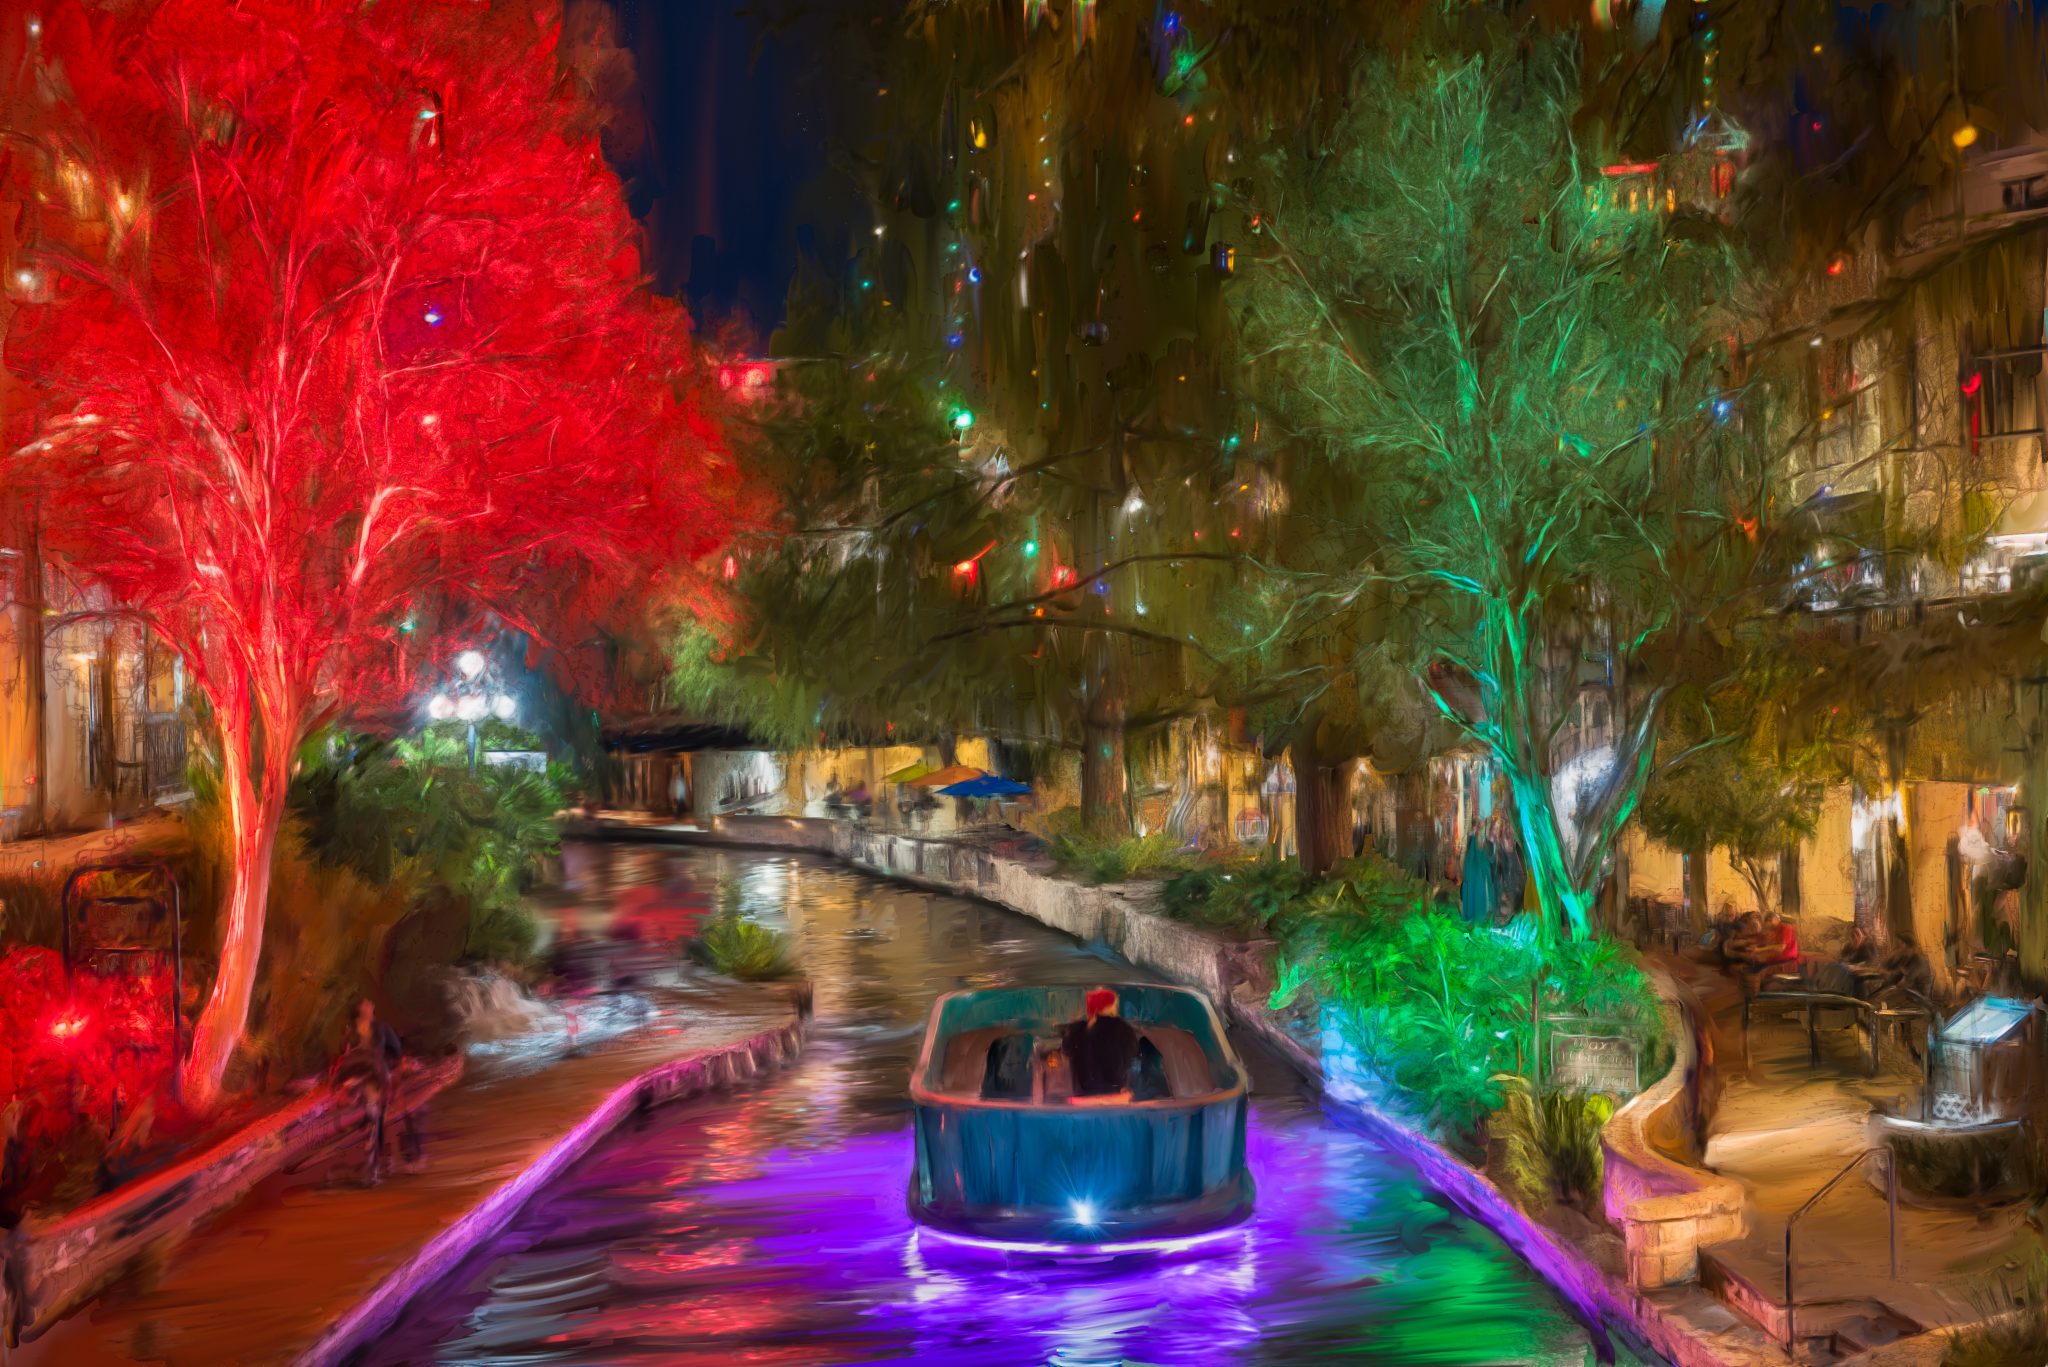
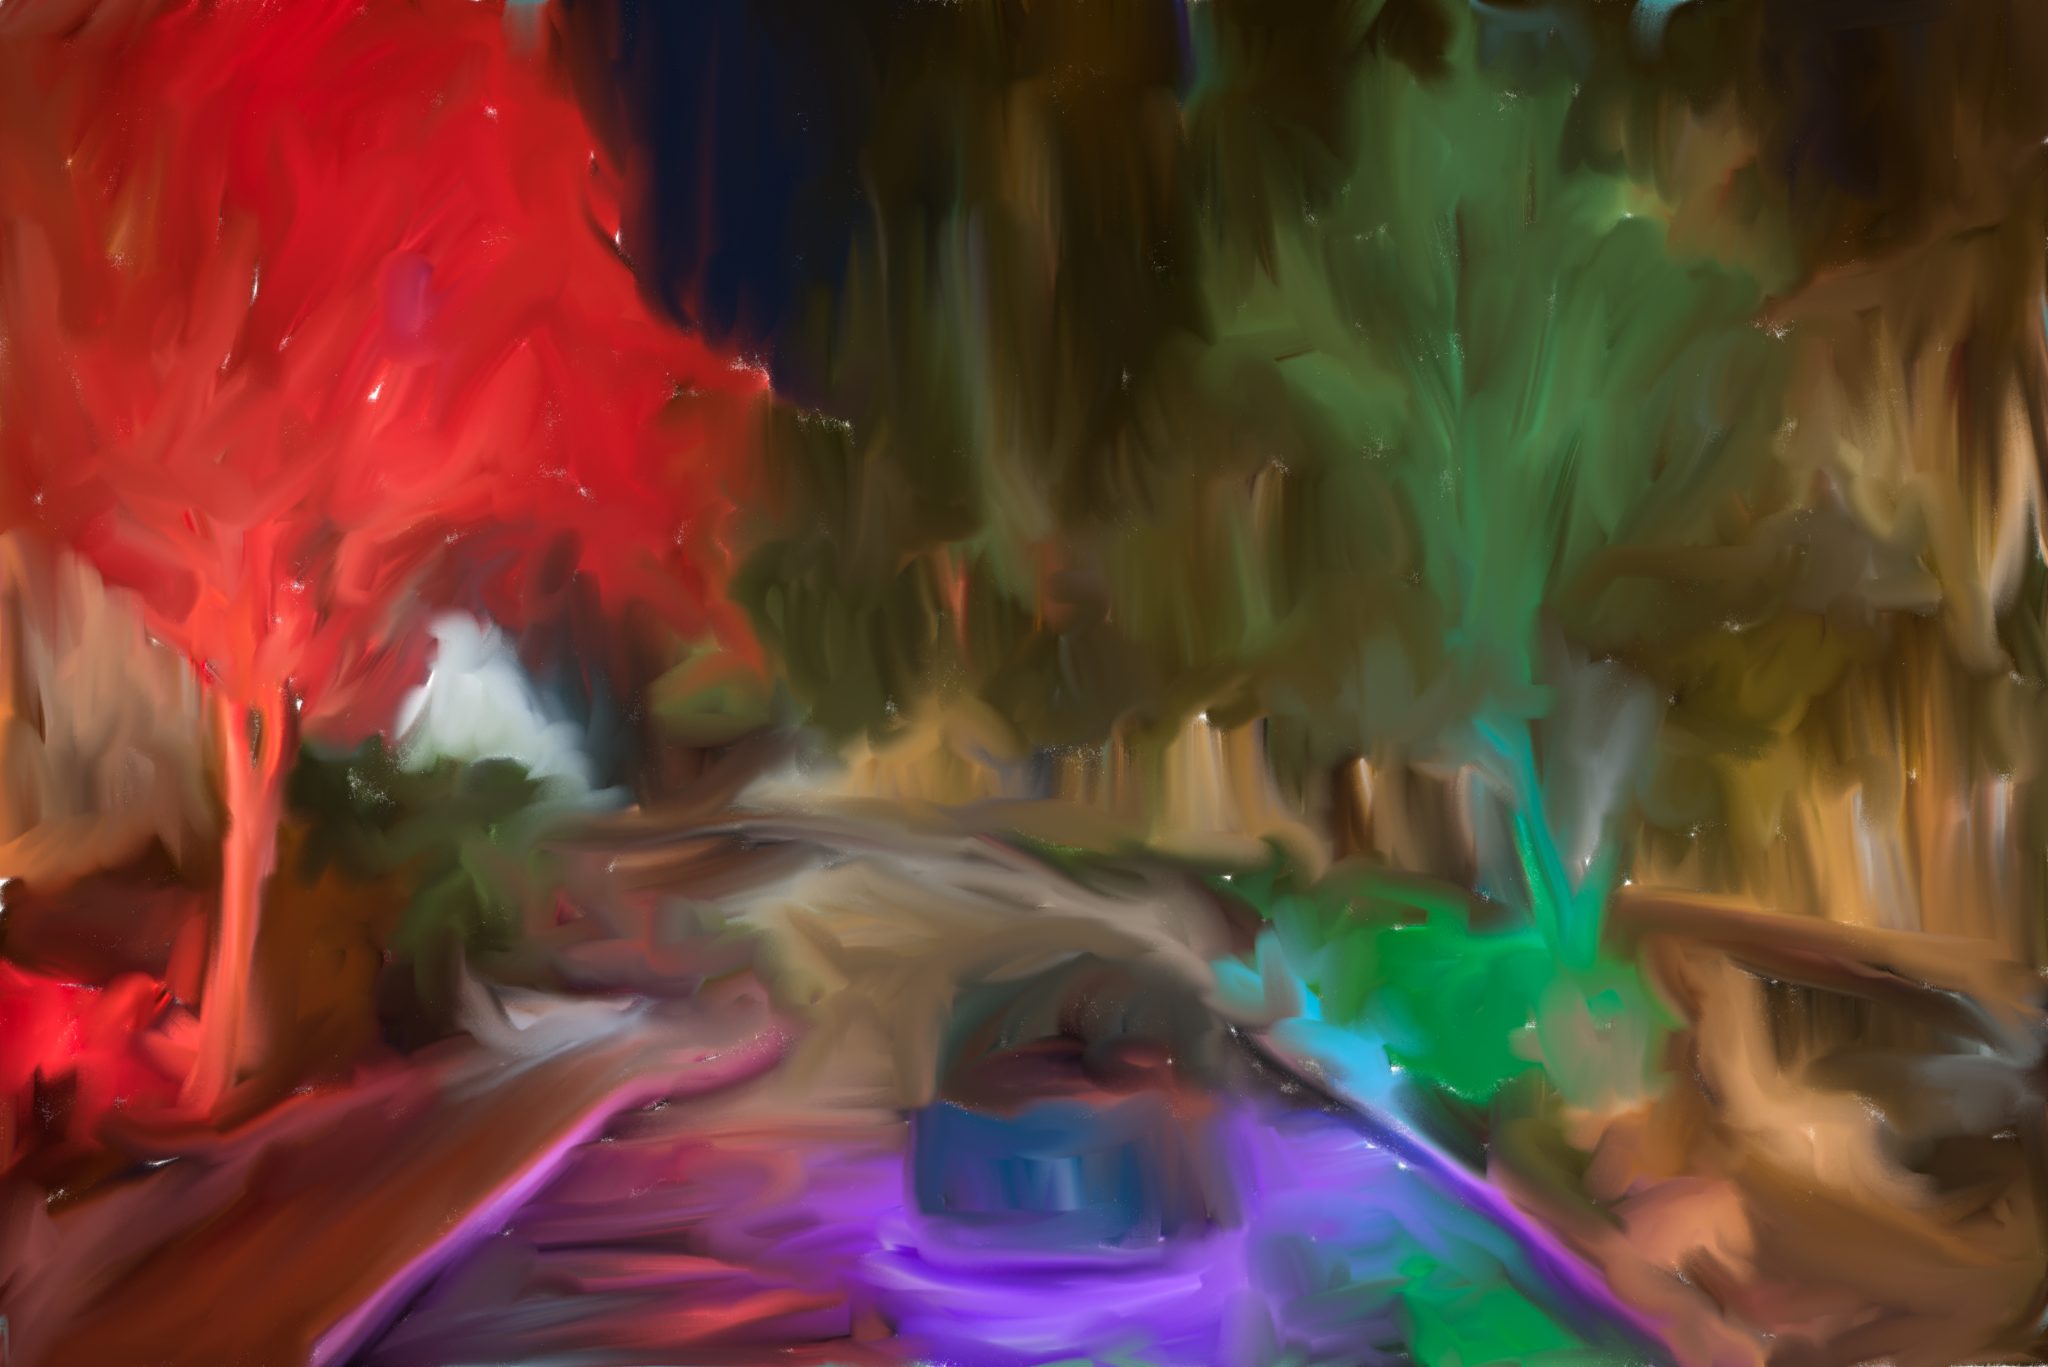
Here is my finished image using this technique and my three painting layers: Underpainting, Intermediate Painting, and Detailed Painting. If you look at my final panel, you will see that I changed my brush for each layer. I have many mixer brushes, some purchased, some from classes I took, many built by modifying others I liked. The new CC brush sets have a variety of mixer brushes in the downloaded brushes… get some and experiment. Brushes are personal. You have to discover what you like.
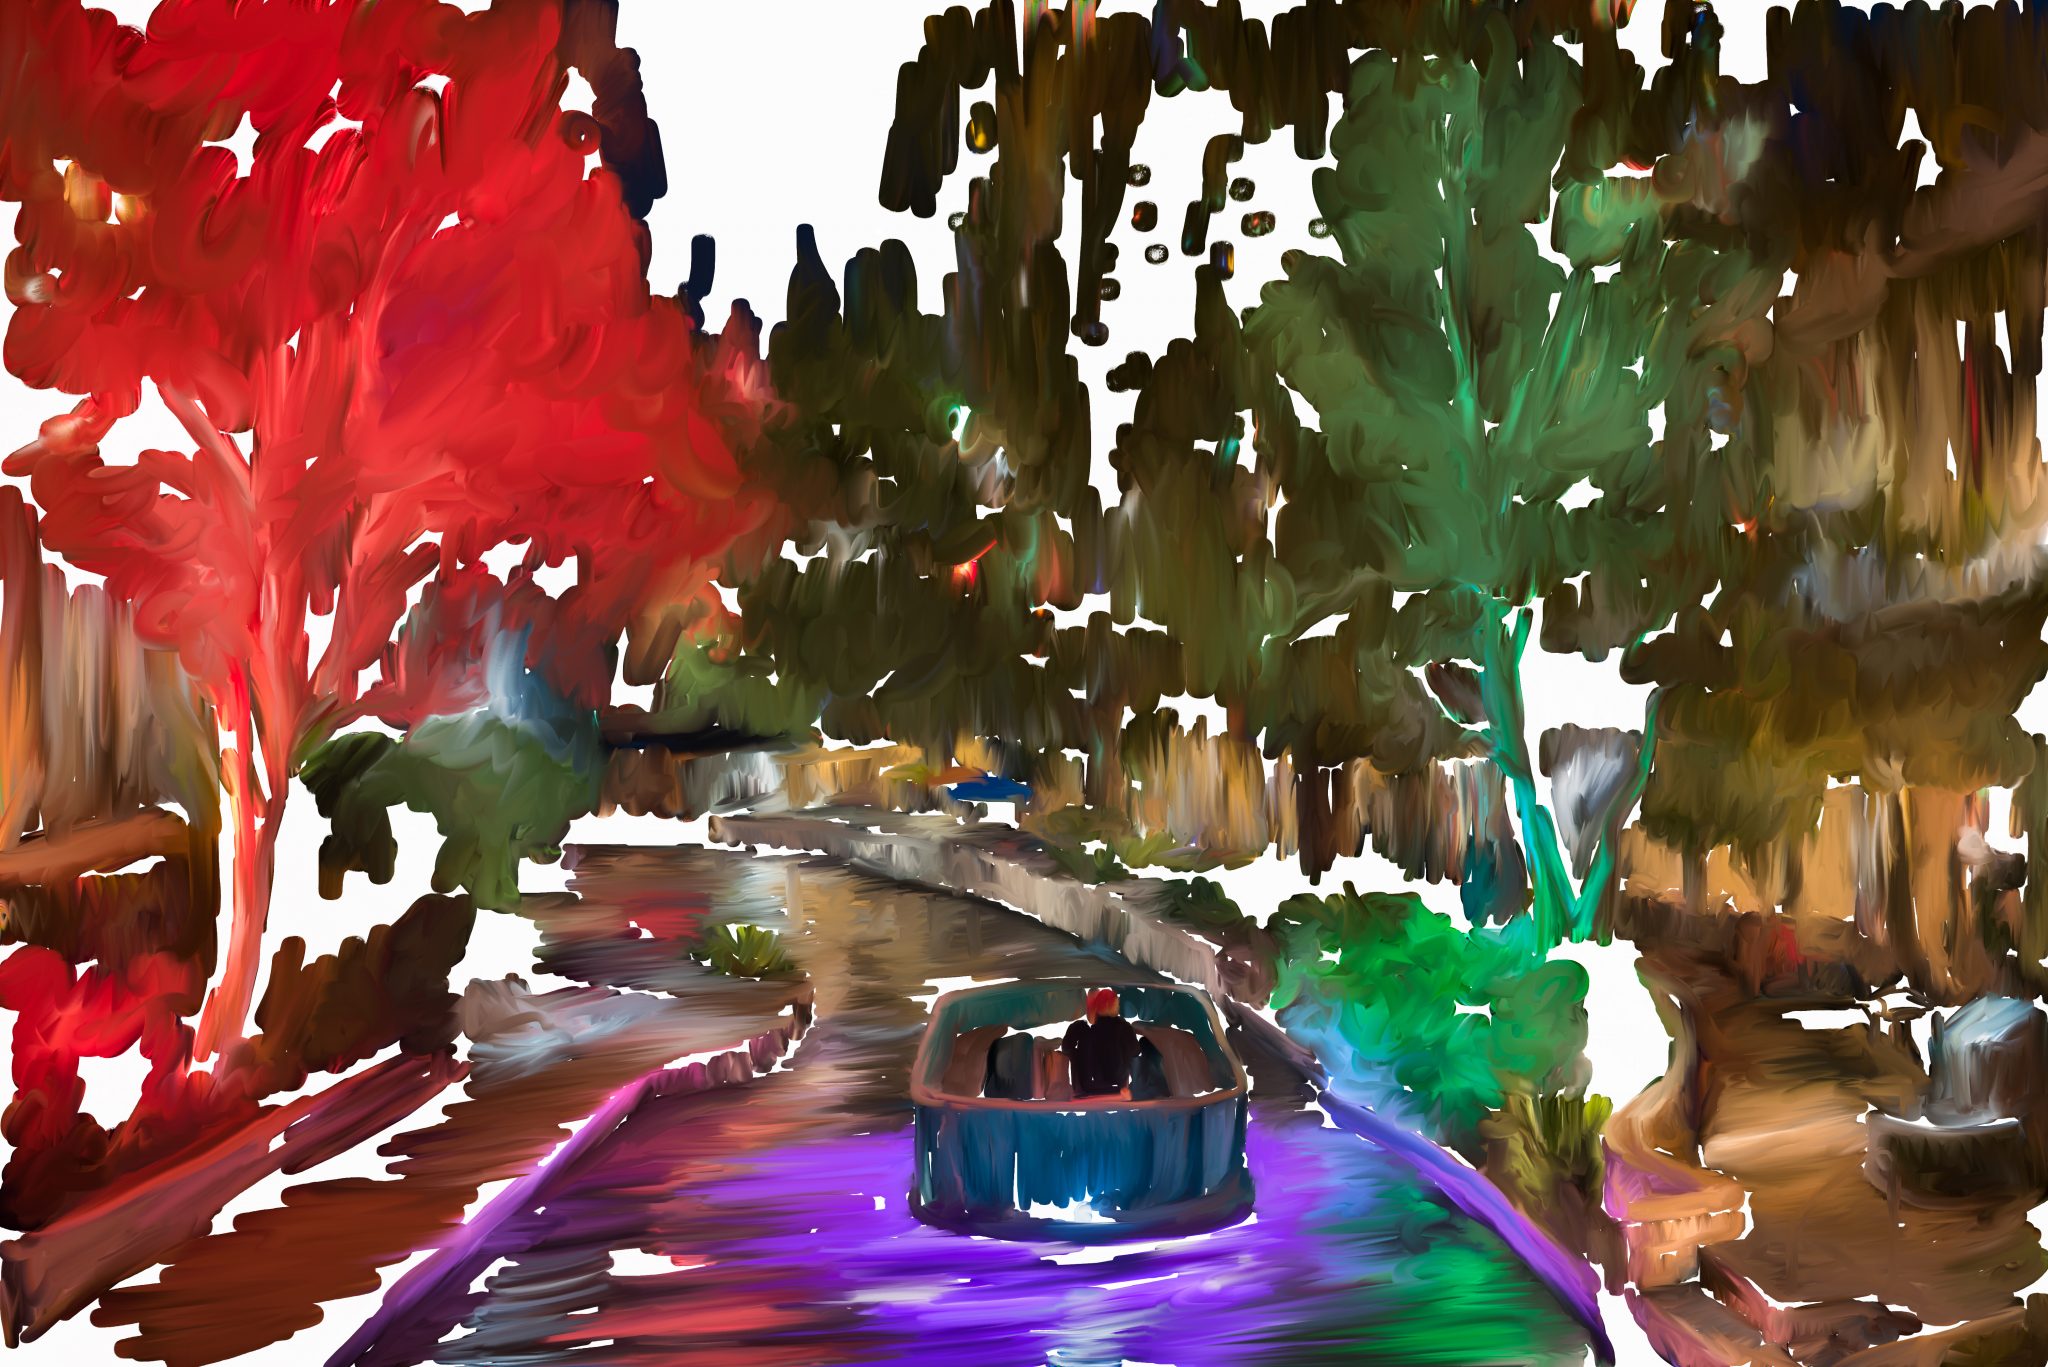
And here is my finished panel:
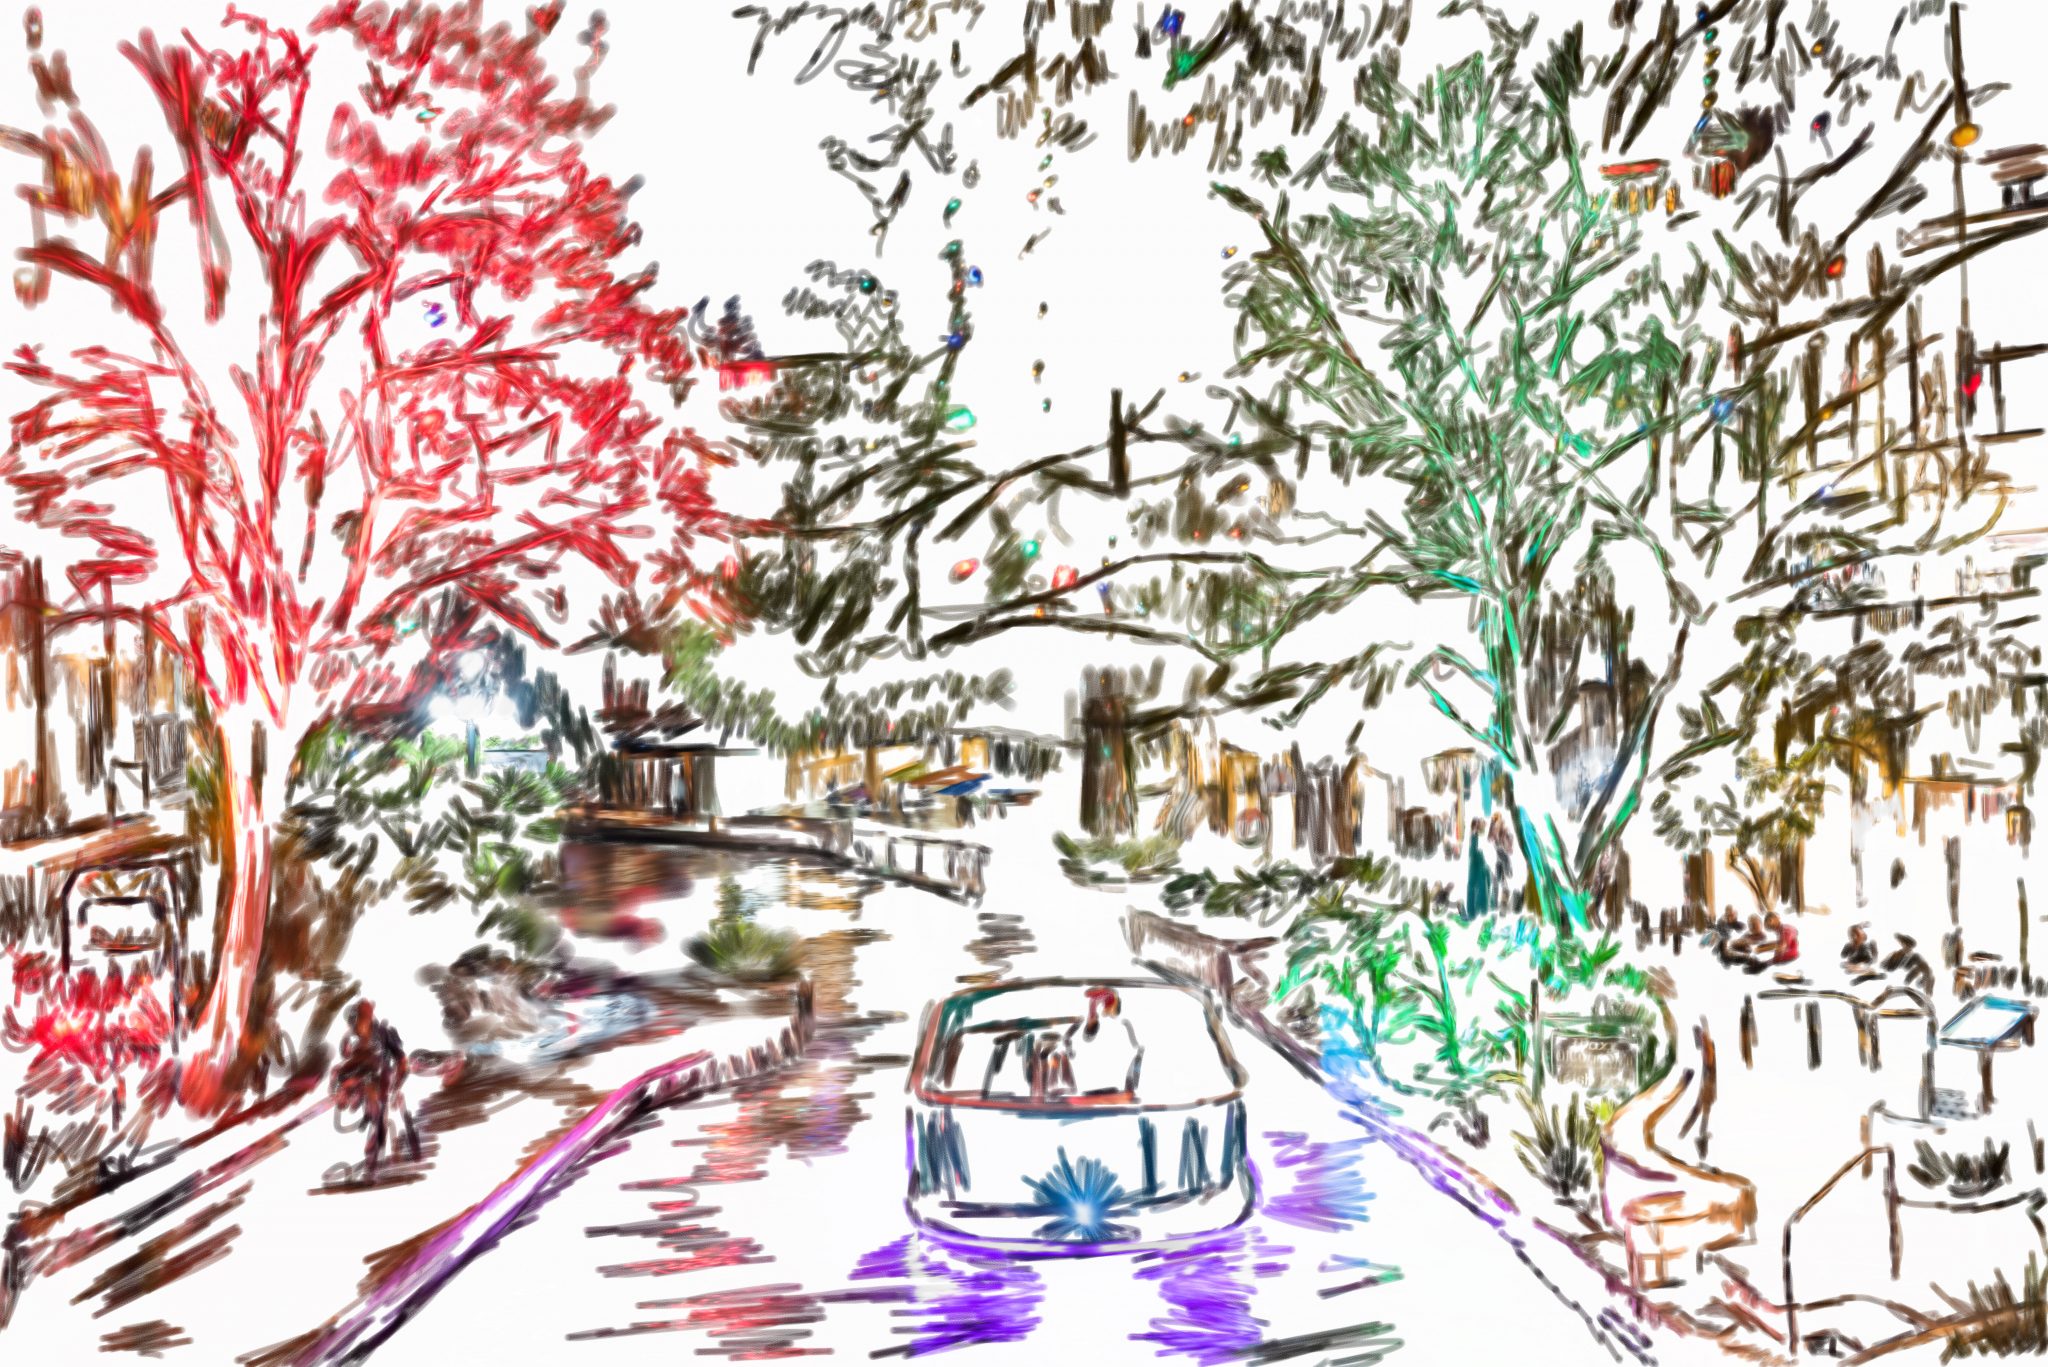
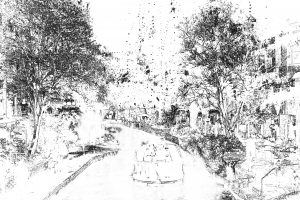
You will see on the top, I have added one more step to this image. I needed a little more detail in the trees, so I took the image, made a copy, put it in a smart object.
I then ran a “FIND EDGES” filter on it.
I did a Ctrl+U and set the saturation to 0 to desaturate the colors. Then did a Ctrl +L for a levels adjustment and slide the sliders until I had just black lines on a white background.
I set the BLEND MODE to OVERLAY
I MASKED OUT the lines in the water as the really looked bad, but I wanted them in the trees.
I set the OPACITY of the layer to just 14%

#terributlerphotography, #mixerbrush, #digitalpainting, #clonepainting,#photoshop,#sanantonio, #riverwalk
