So it has been several weeks since I’ve posted a blog; been traveling a bit. After returning from the Disney cruise we headed off to the National Corvette Museum with a group from the Texas Corvette Association here in San Antonio. We had a fantastic time with a tour of the Corvette factory, the National Corvette Museum and then we were able to drive our Vets on the Motorsport Park track. Several days to drive home along the Natchez Trace Parkway capped off a great week.
But that’s not really what this post is about. It’s about the image above. After about two years working almost exclusively in Lightroom, I’m finally getting back to Photoshop and the work that I really love, which is compositing work. Or taking several images and putting them together into a design.
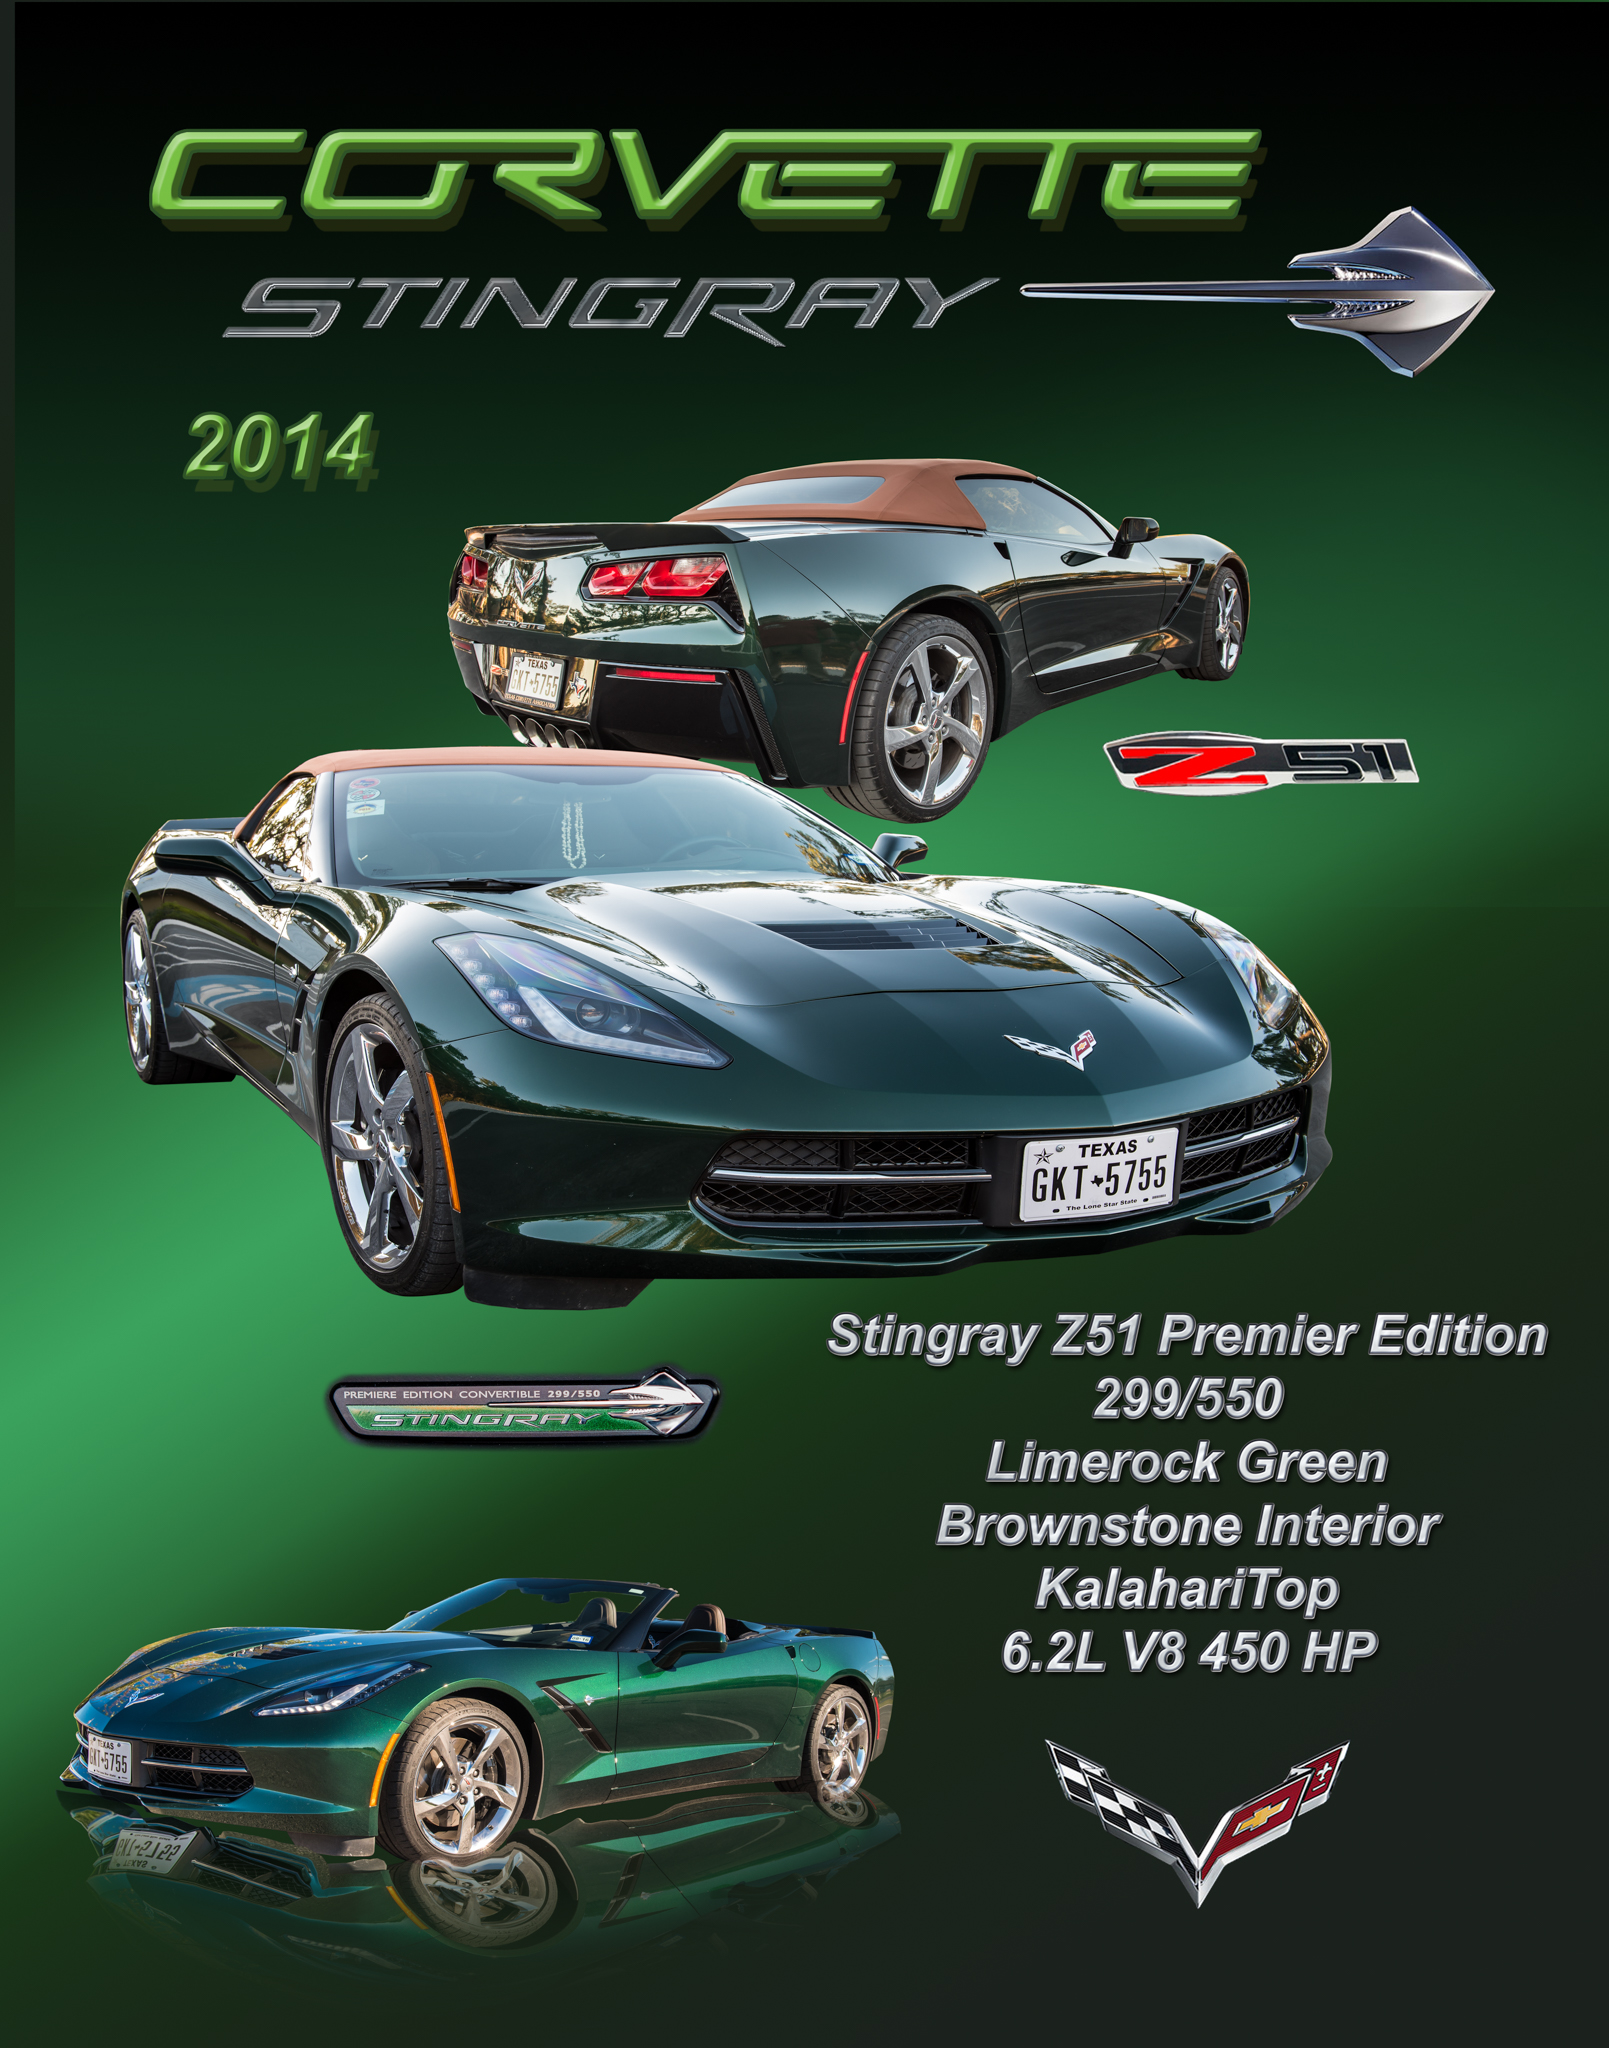
My husband often shows our Corvette in the local car shows and wanted a poster to set in front of the car. So I decided to build him one. The car images in this poster are not our final images; I just used these to get an idea for the design. We plan to take the car out on a nice day and get several nice angles of the car that will be used for selection in the final poster.
But I had fun creating this one. I was able to practice some techniques such as selections with the pen tool. All three cars were selected with the pen tool.
Then for the words CORVETTE and STINGRAY I actually found the largest image on the web I could find, built a layer with the word in black with a transparent background and applied a layer style to the word. I was able to select out the words with simple selection tools like the magic wand. The green CORVETTE style I built from scratch, but the STINGRAY one was a style I had in my library from a course I purchased from Creative Live on Painting with Photoshop. These style libraries save loads of time when you need something special like “chrome” or “silver” letters.
Other symbols I was able to find fairly large examples on the web and selected them out of their backgrounds with various techniques to make nice clean layer examples.
One of neat new techniques I learned with the reflection on the bottom car was the Puppet Warp tool. I needed the reflection to sort of bend around the car as if it was sitting in some water. So I used the puppet warp tool on a second copy of the car (invert of course) and then put a gradient (black to transparent) over the edges to blend it into the background. For my first attempt, I was pretty pleased with the results.
Overall, for my first poster, I think I’ll keep it! 🙂
Hope you enjoyed the summary.
I’ll get back to editing my Disney pictures soon. Having some fun with Photoshop right now.
#TerriButlerPhotography, #photography, #Photoshop, #Corvette
