I was getting ready to paint one of the leopard images that I captured on my safari to South Africa. The leopard was sitting up in the tree in the the original image, but I didn’t want the details of the original background to be a distraction to the painting, so I needed to build a new background.
So here is what I prepared.
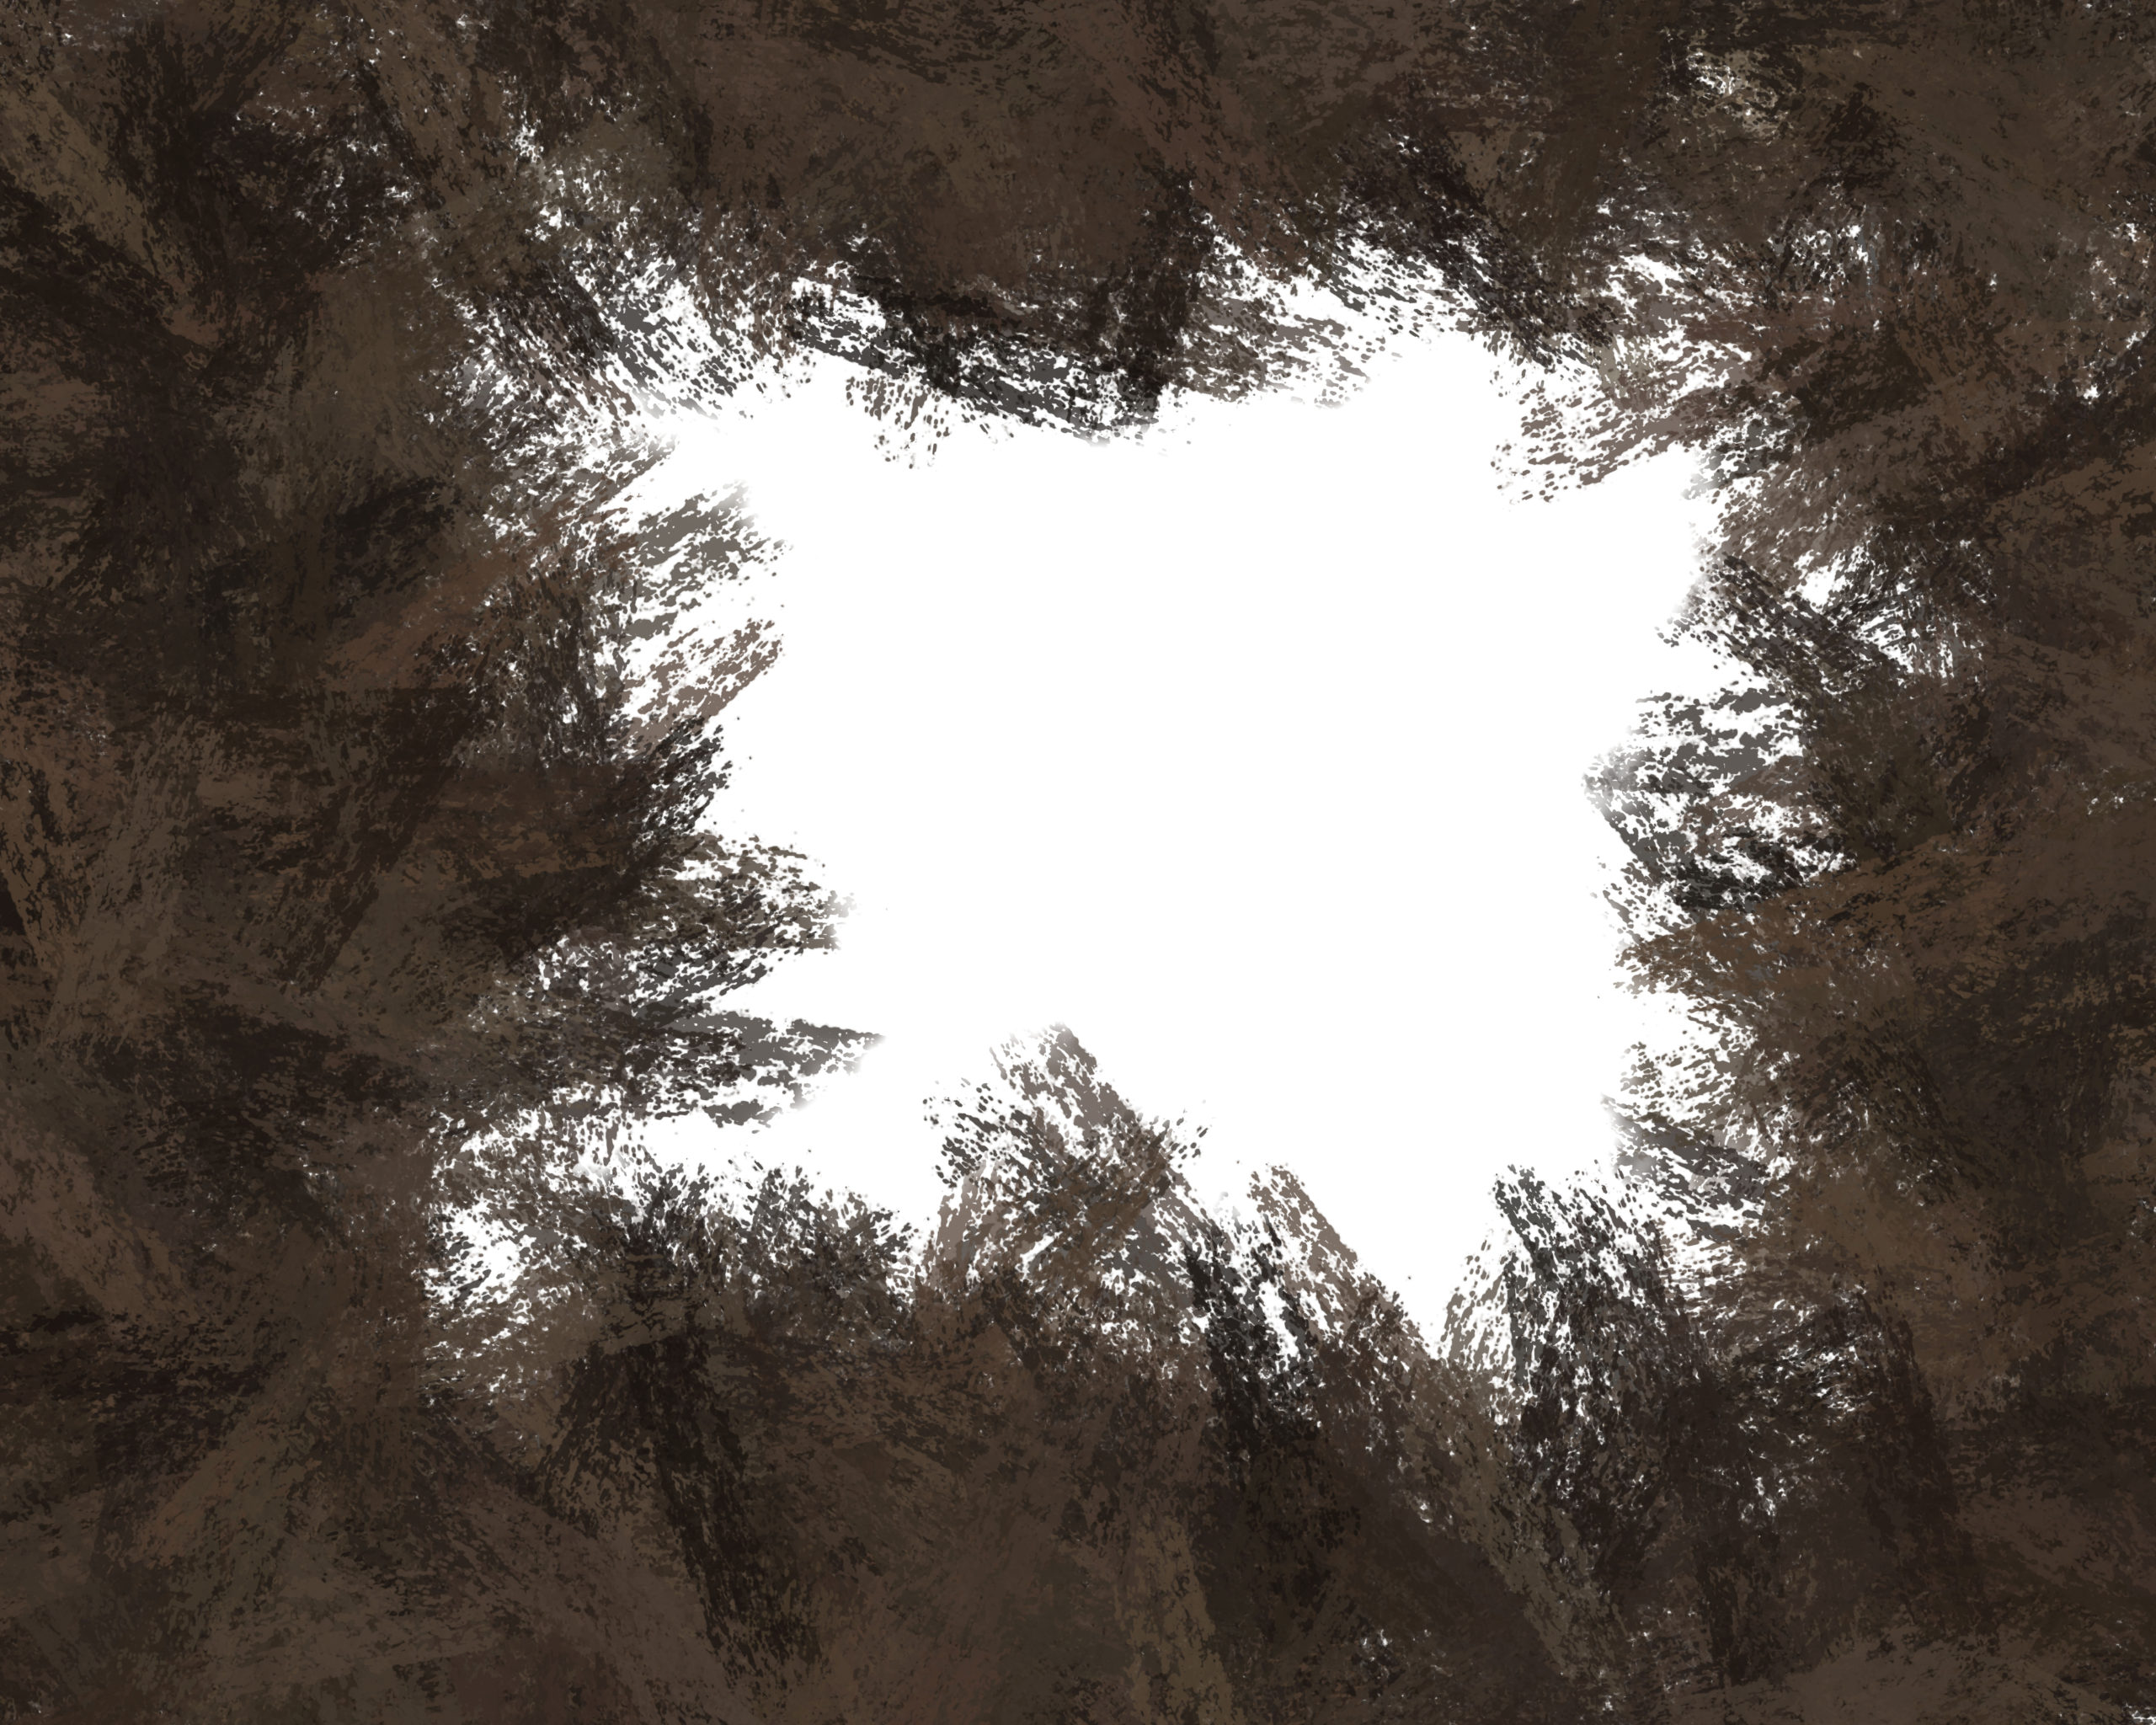
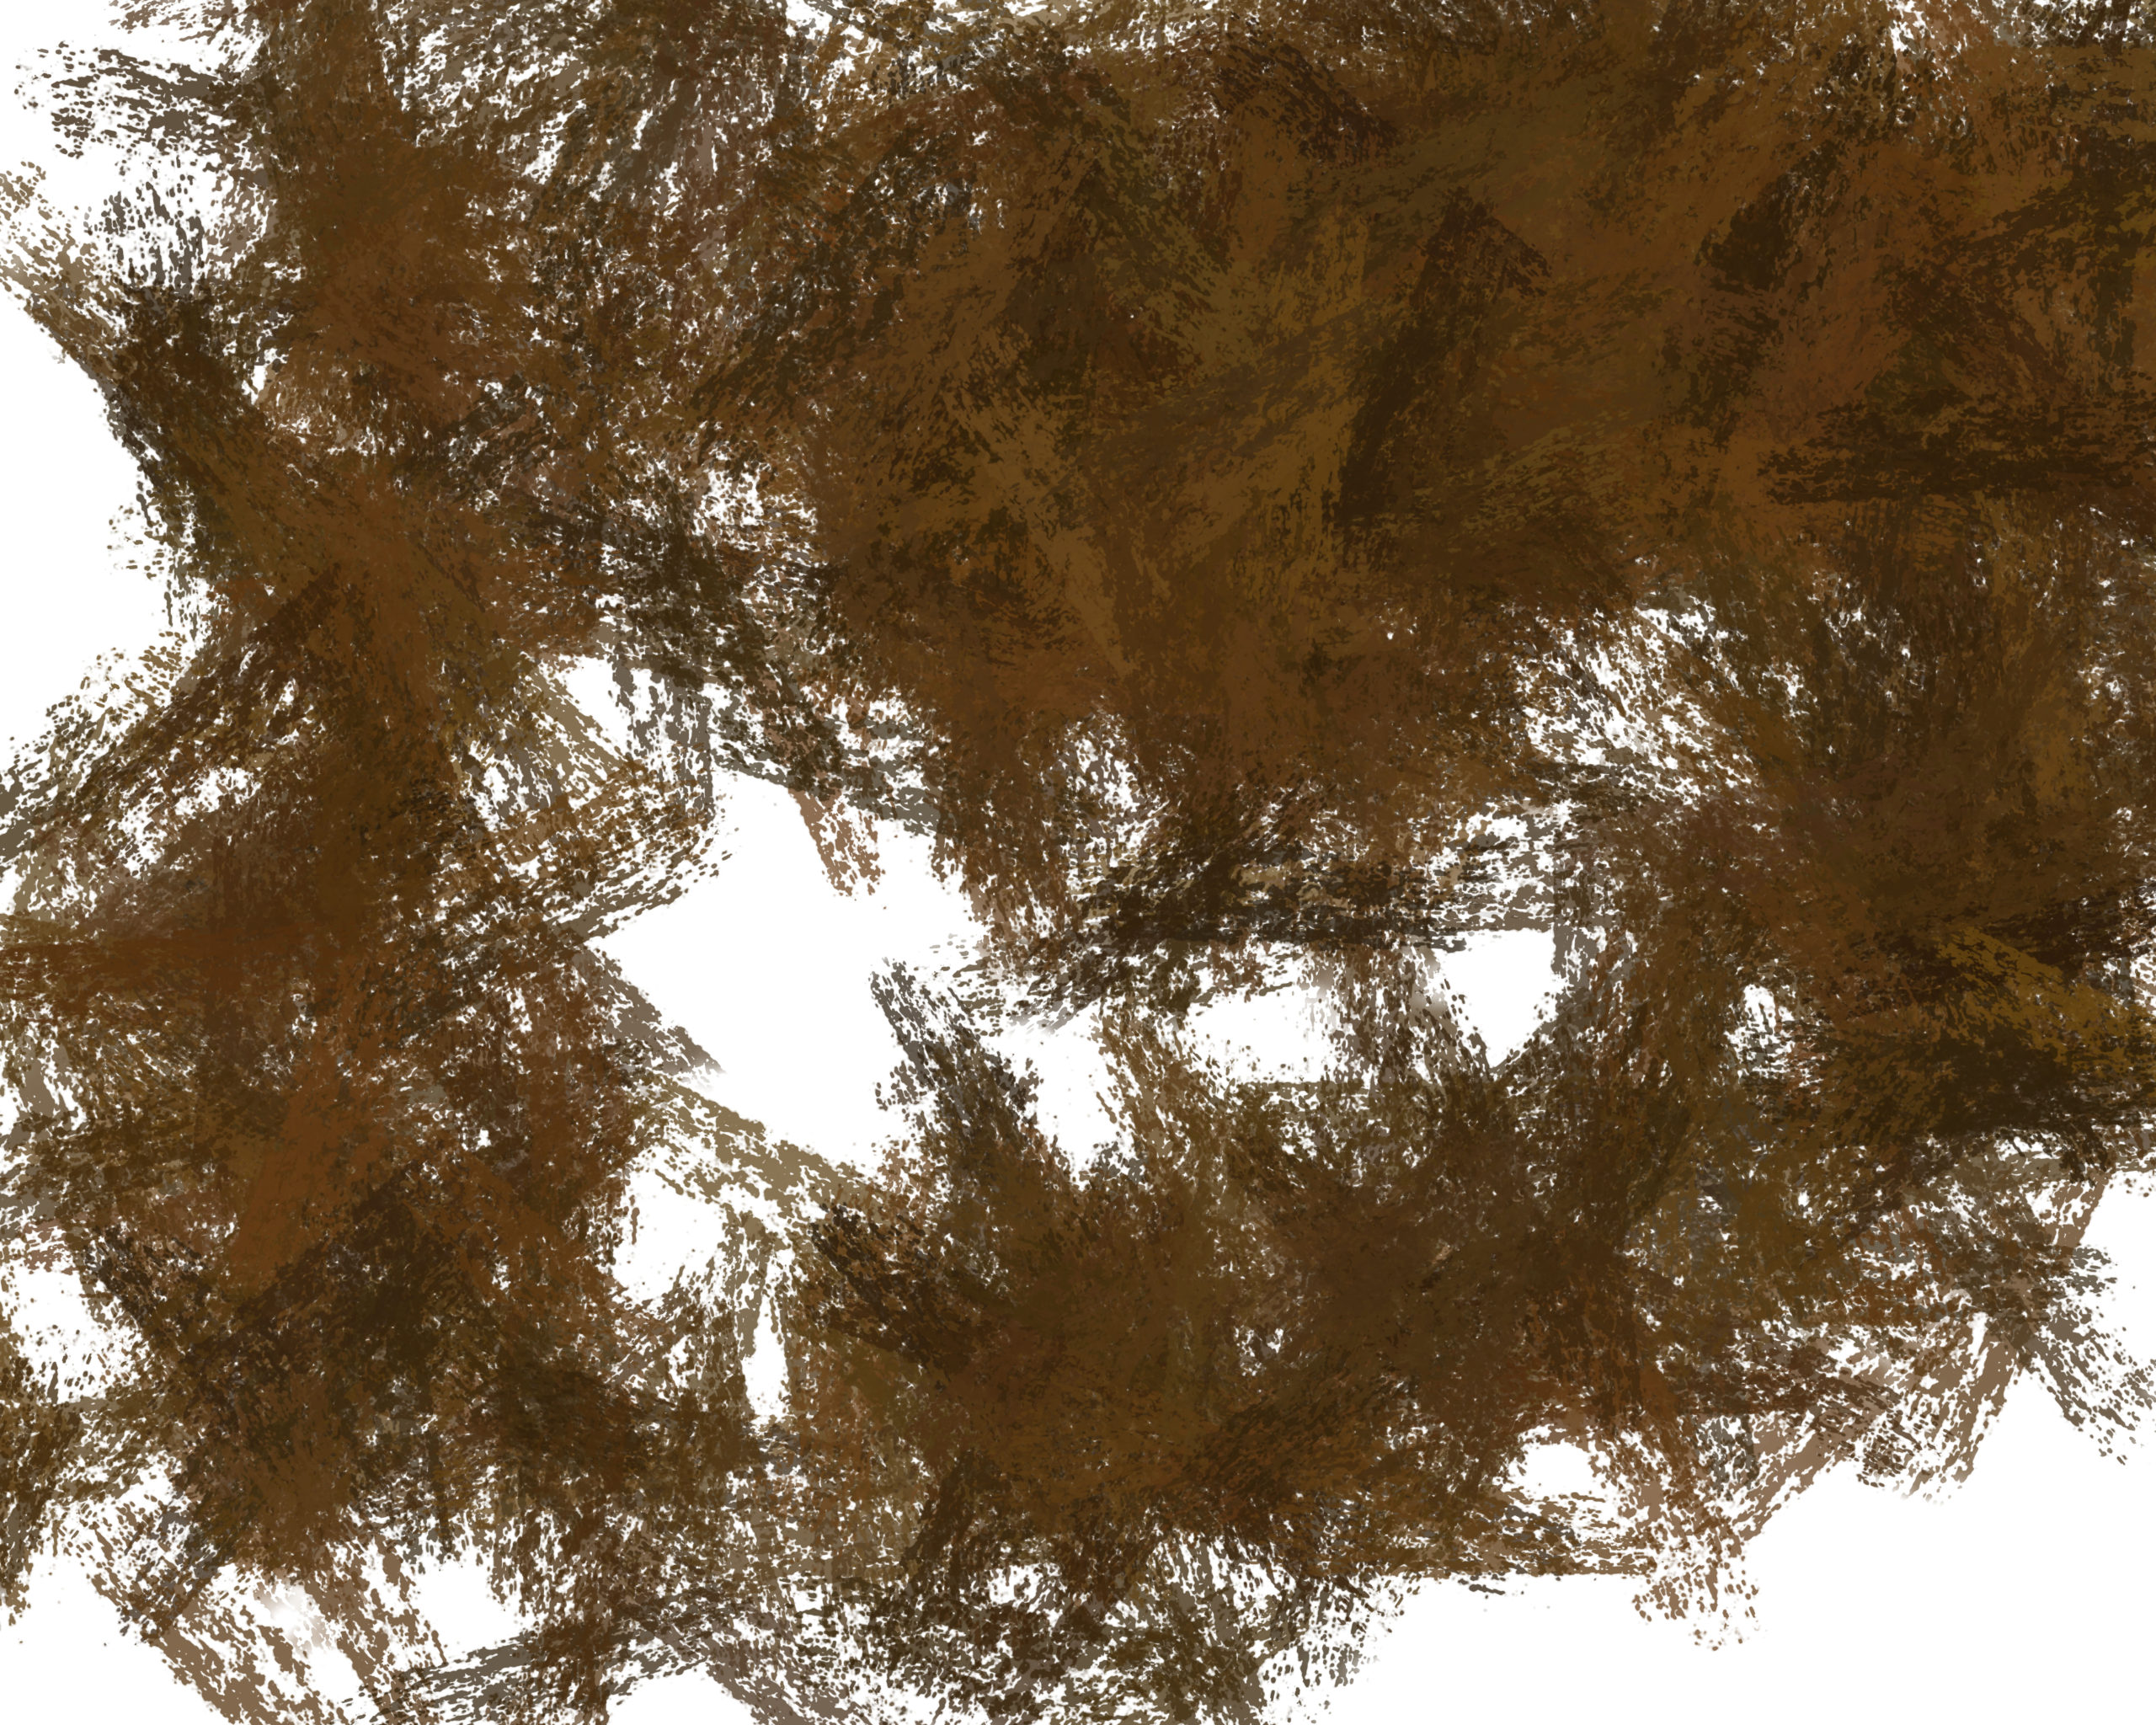
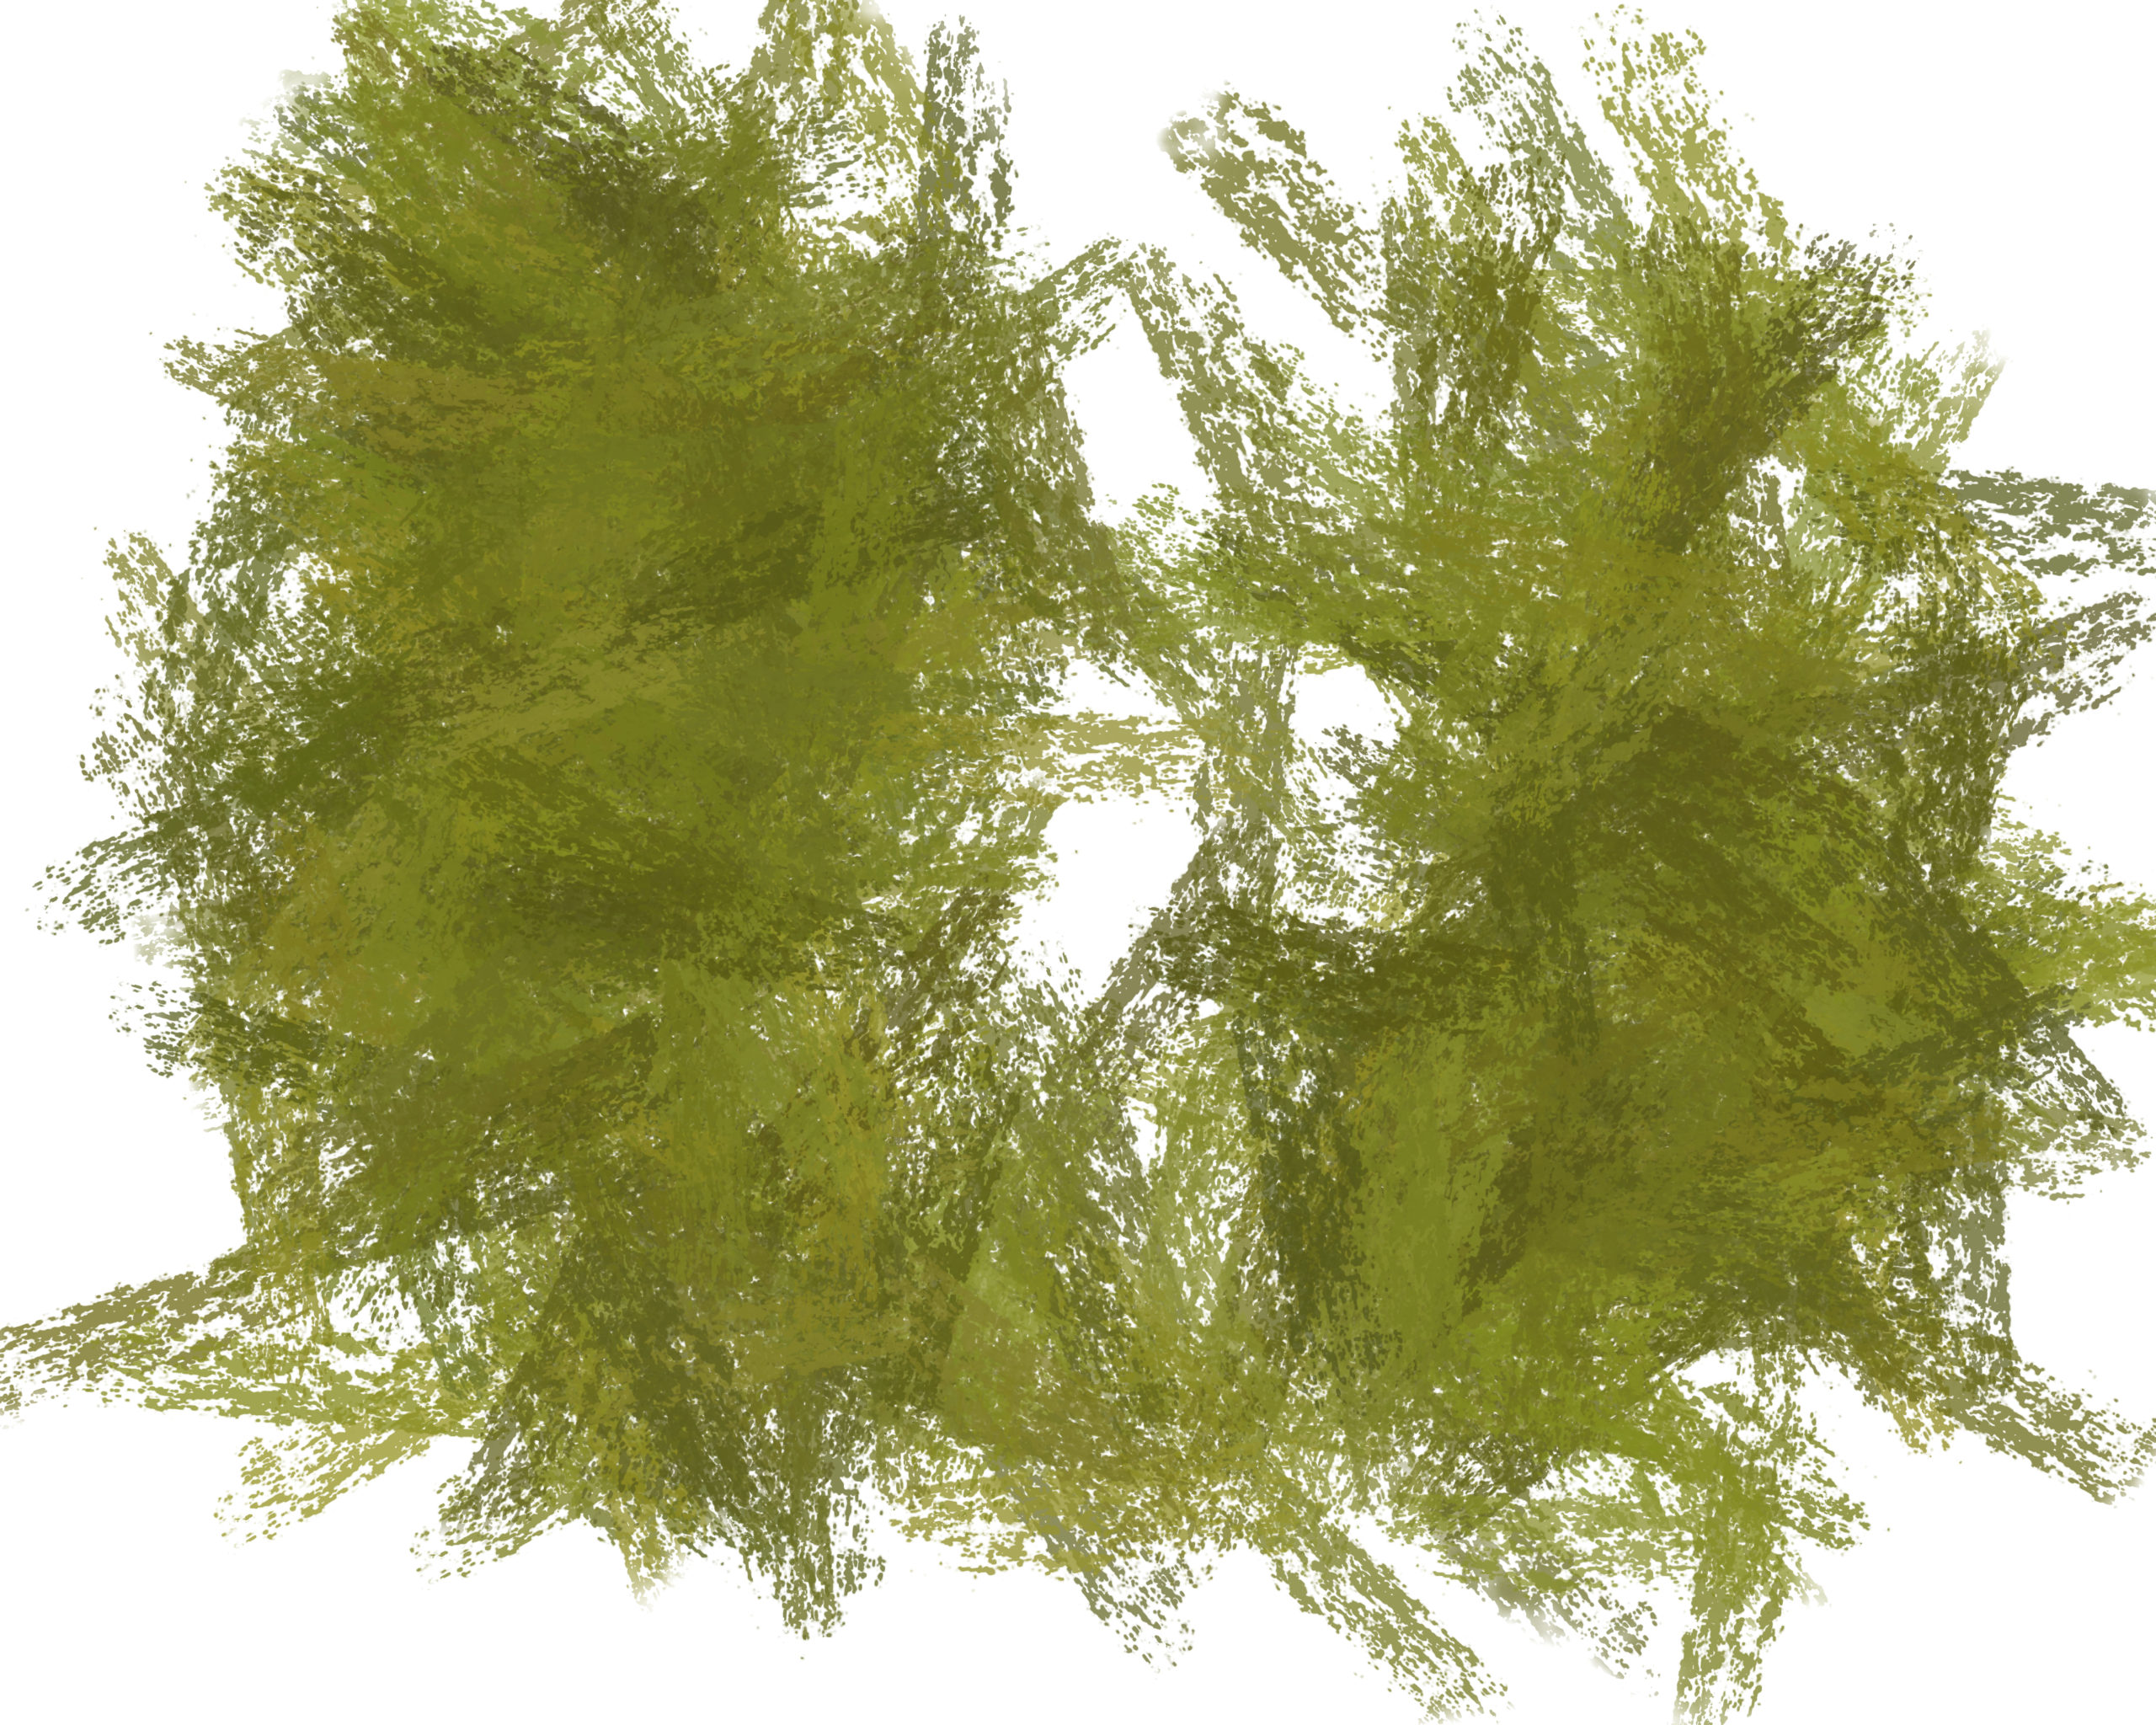
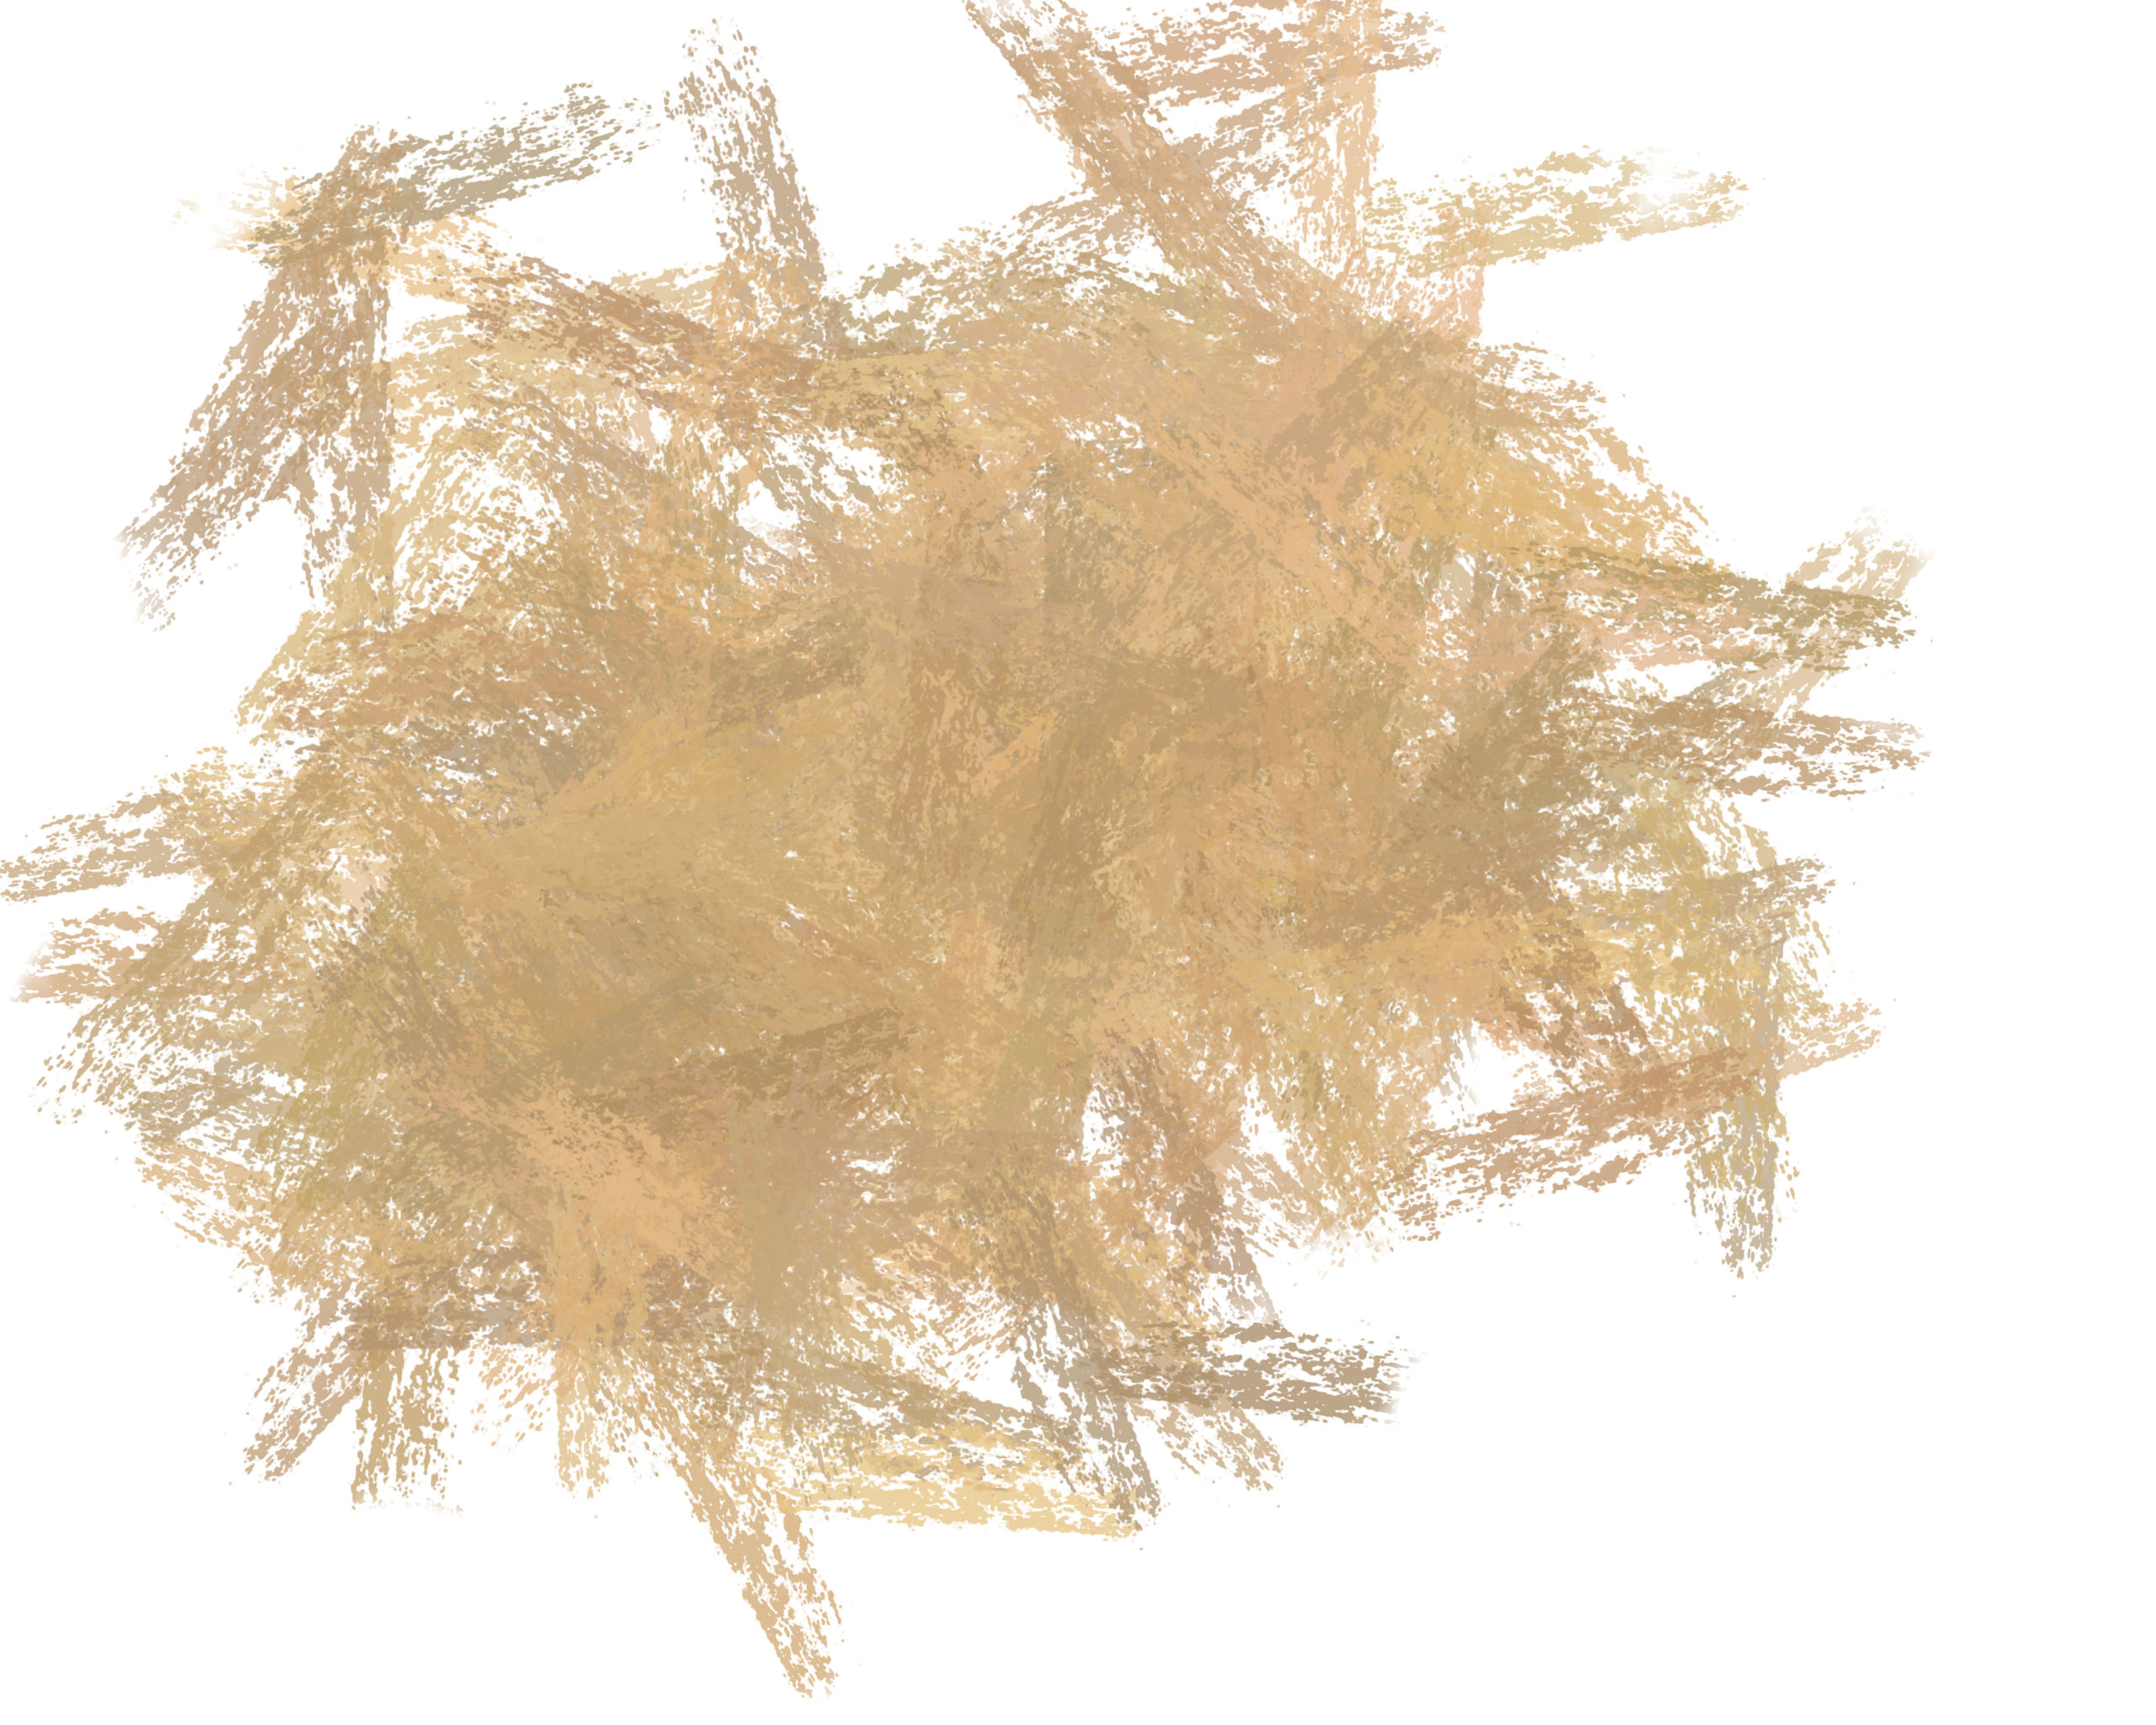
First the colored layers. I built a studio background of colors using paint brushes to apply the paint on several different layers, working with the dark colors on the outside the lighter colors on the inside. I selected these colors from the image.
The paint brush was one of the Photoshop Kyle brushes that I modified to give me loads of angle jitter and I added color dynamics to blend the foreground and background colors. This way, I picked two colors from the image at a time and painted two tones of brown in the first layer, two tones of rust in the second layer, two tones of green in the third layer and two tones of tan in the top layer.
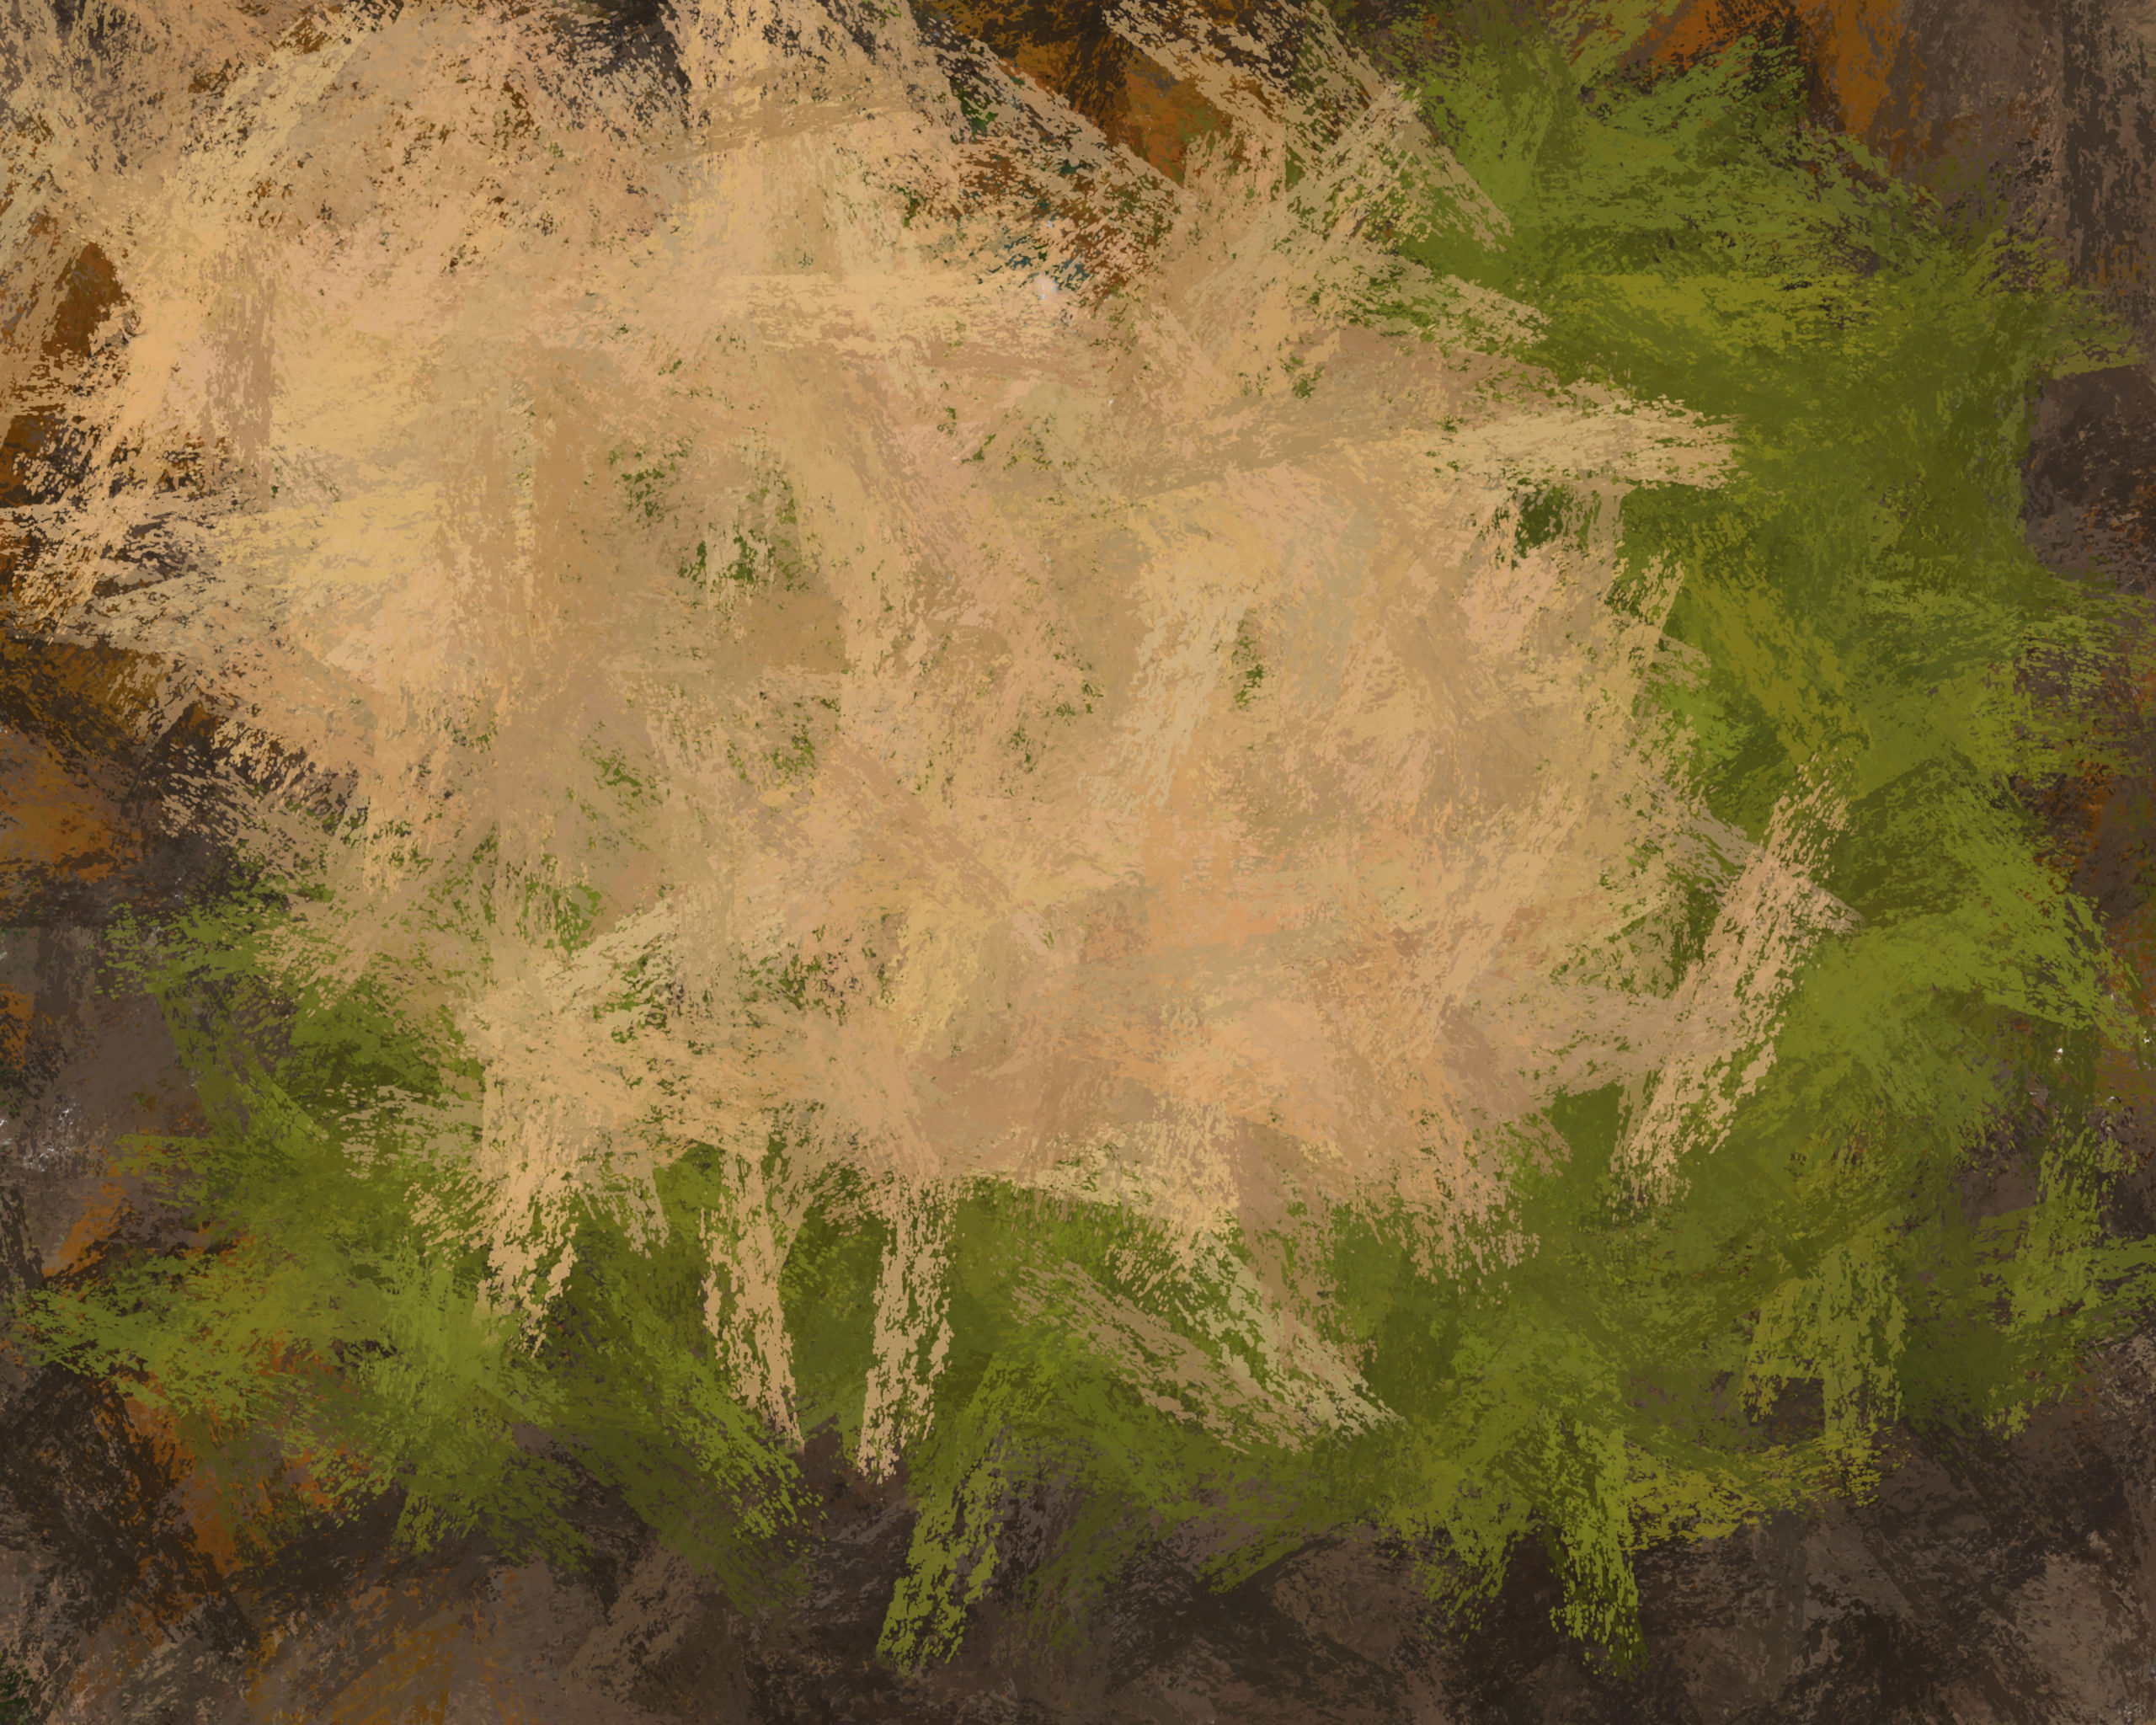
Here is what those four painted layers looked like:
I then merged them into a single layer that I will use the mixer brushes on to create the background. I didn’t keep my original four layers, that created this original merged background, so I repainted the above four layers for this simulation. But here is the original merged layers I started with for the background in my painting.
I then used a couple of mixer brushes that I built – AGAIN FROM PHOTOSHOP brushes – I didn’t have to buy anything. I took a couple of big brushes from one of the Kyle collections and modified it into a mixer brush. You just need the brush tip.. then you convert it to a mixer brush. It is essential that you learn what the brush settings do so that you can add the scatter, angle jitter, fades, color dynamics, textures and all the mixer settings to each brush to get it to do exactly what you want it to do. There are thousand of brush tips available to you in Photoshop and you can build your own from any texture or image using “Define Brush”. The possibilities are limitless.
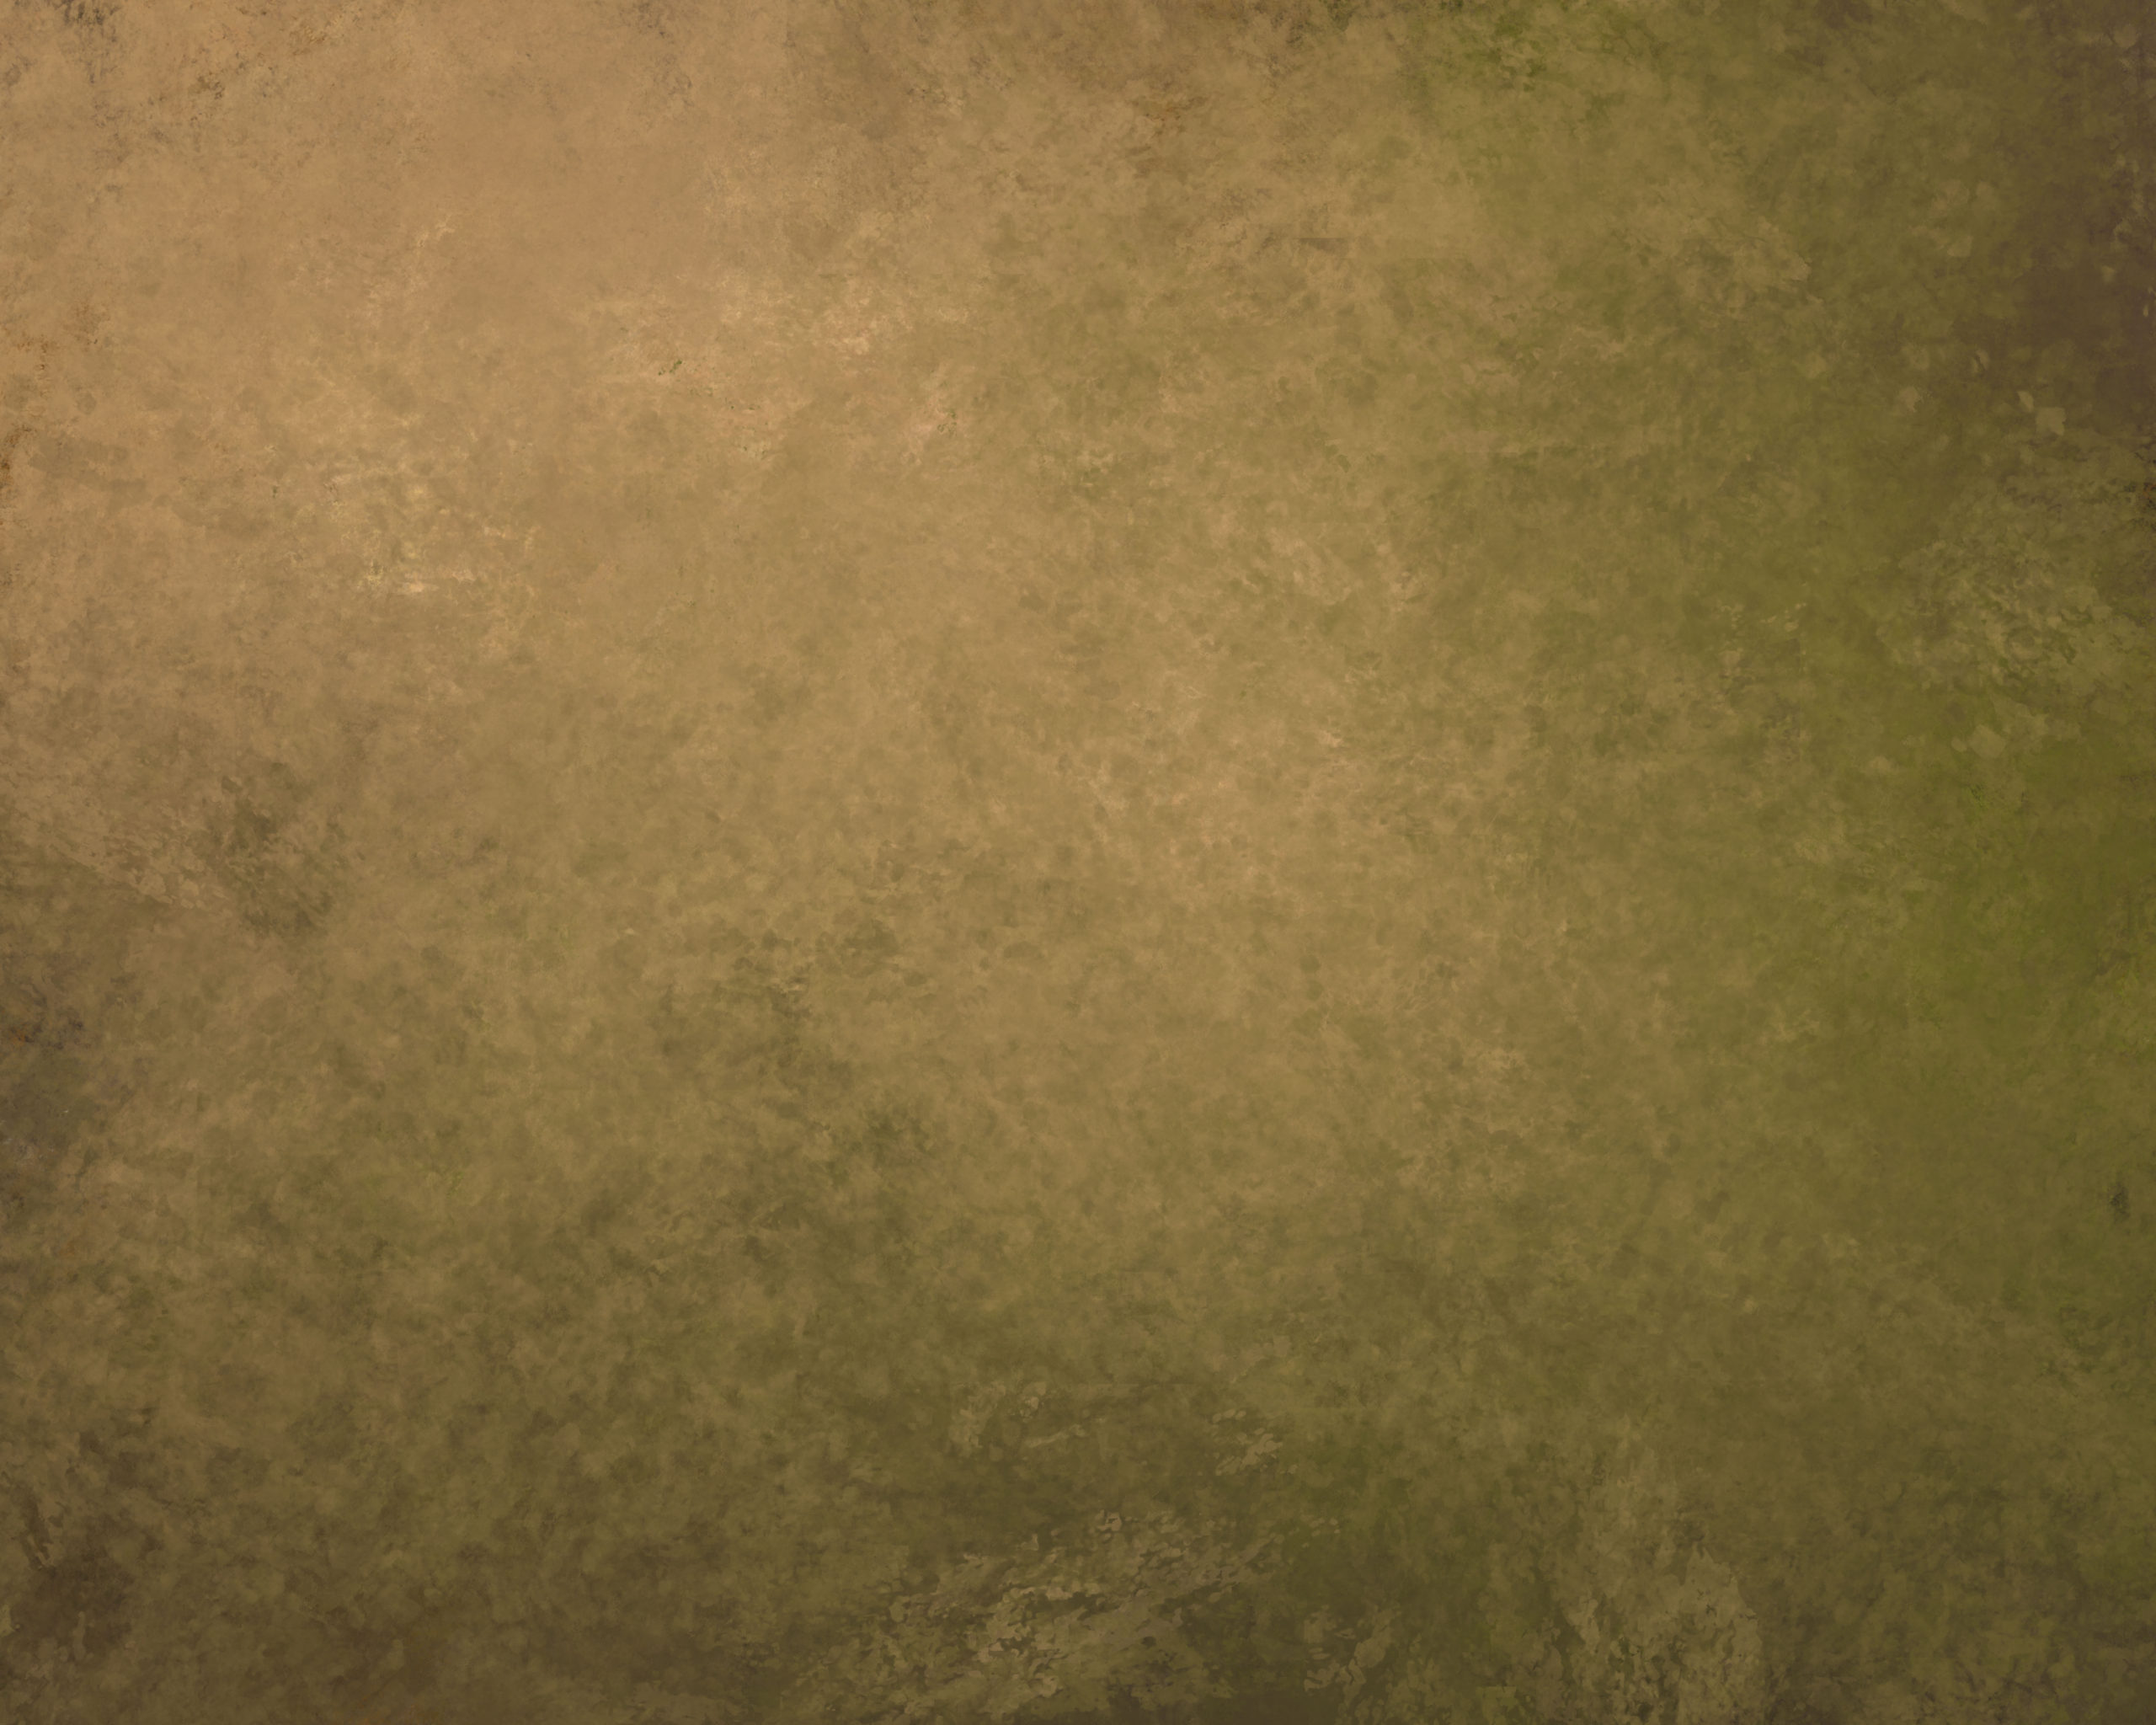
So.. using my Background mixer 02 and Background mixer 03 and my Background Overlay brushes, here is the mixer version of the above.
But I didn’t want to stop here… I sort of wanted it to look like she was in the trees again, like the original image. I need some branches for addition texture.
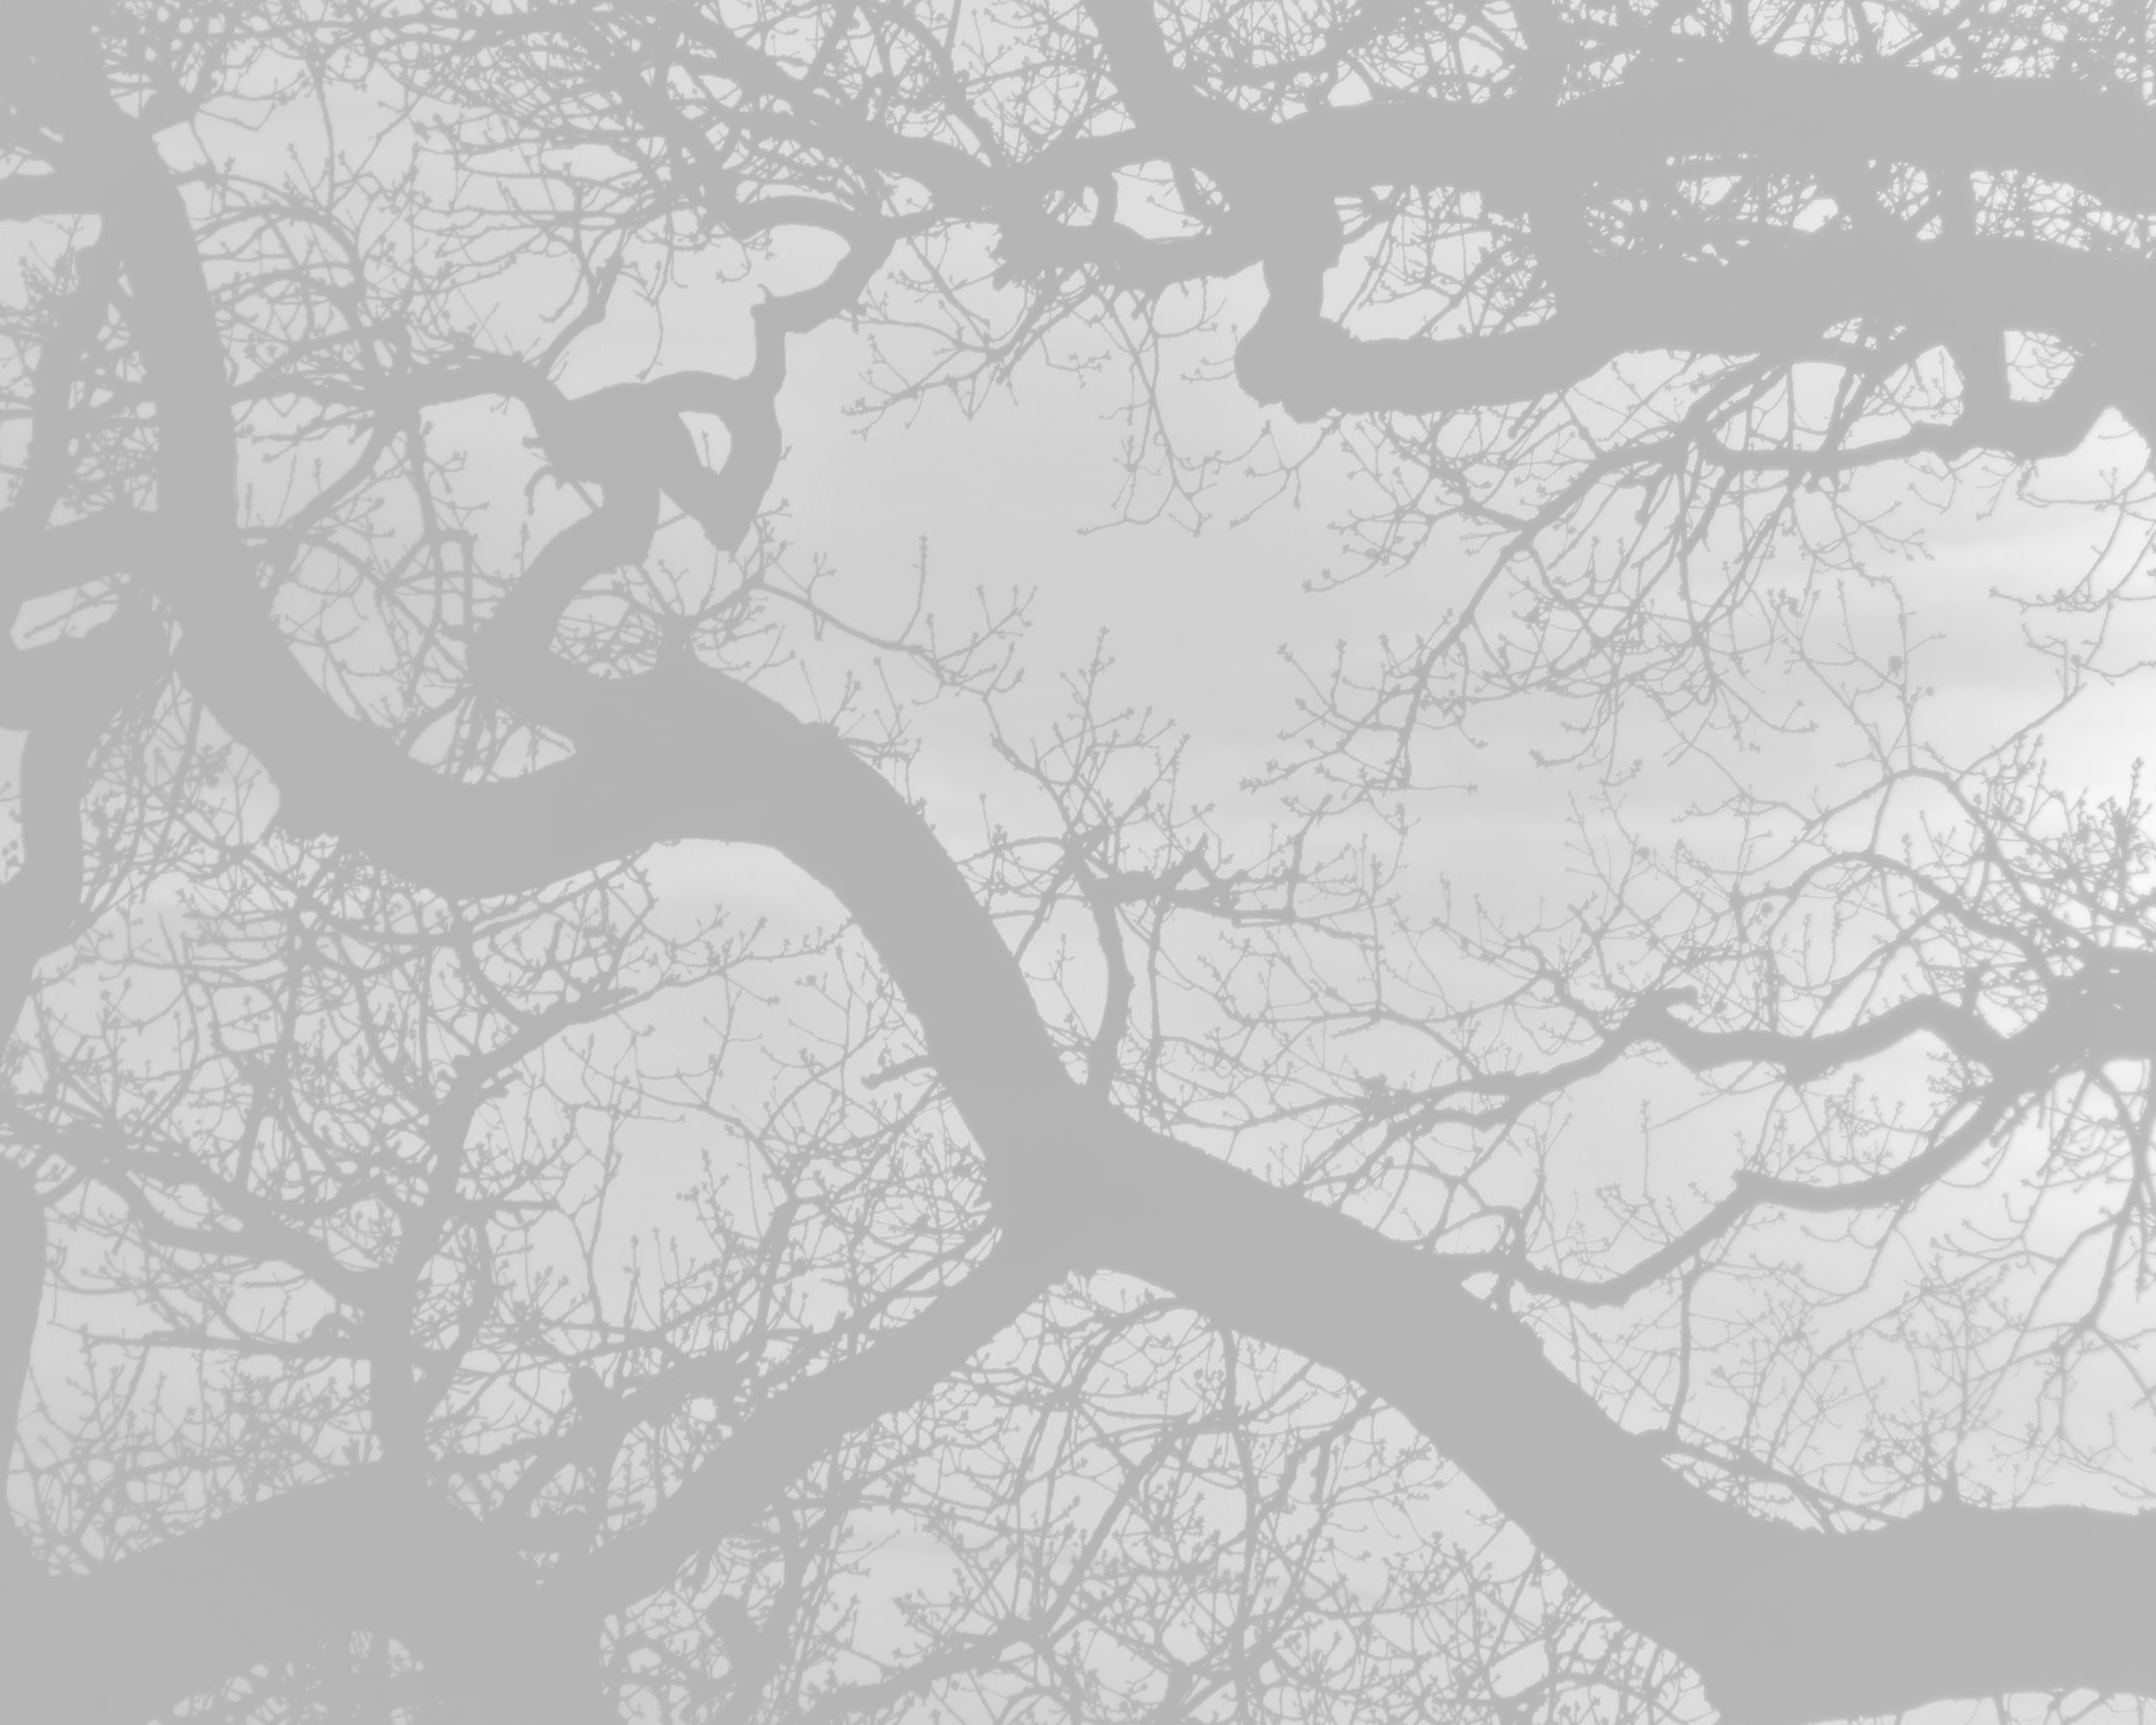
So I added this image.
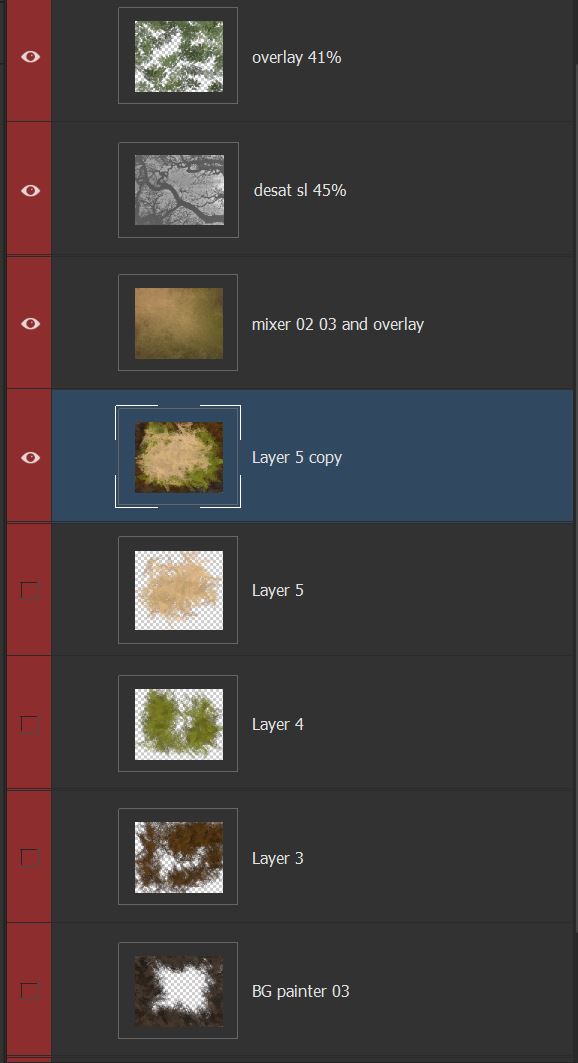
Now this image was a fully colored image with a sunset in the background. I didn’t want those colors in my background so I desatureated the image, put it in the SOFT LIGHT mode and then lowered the opacity to about 45%. I got just the shadows of the branches added to my background without any color.
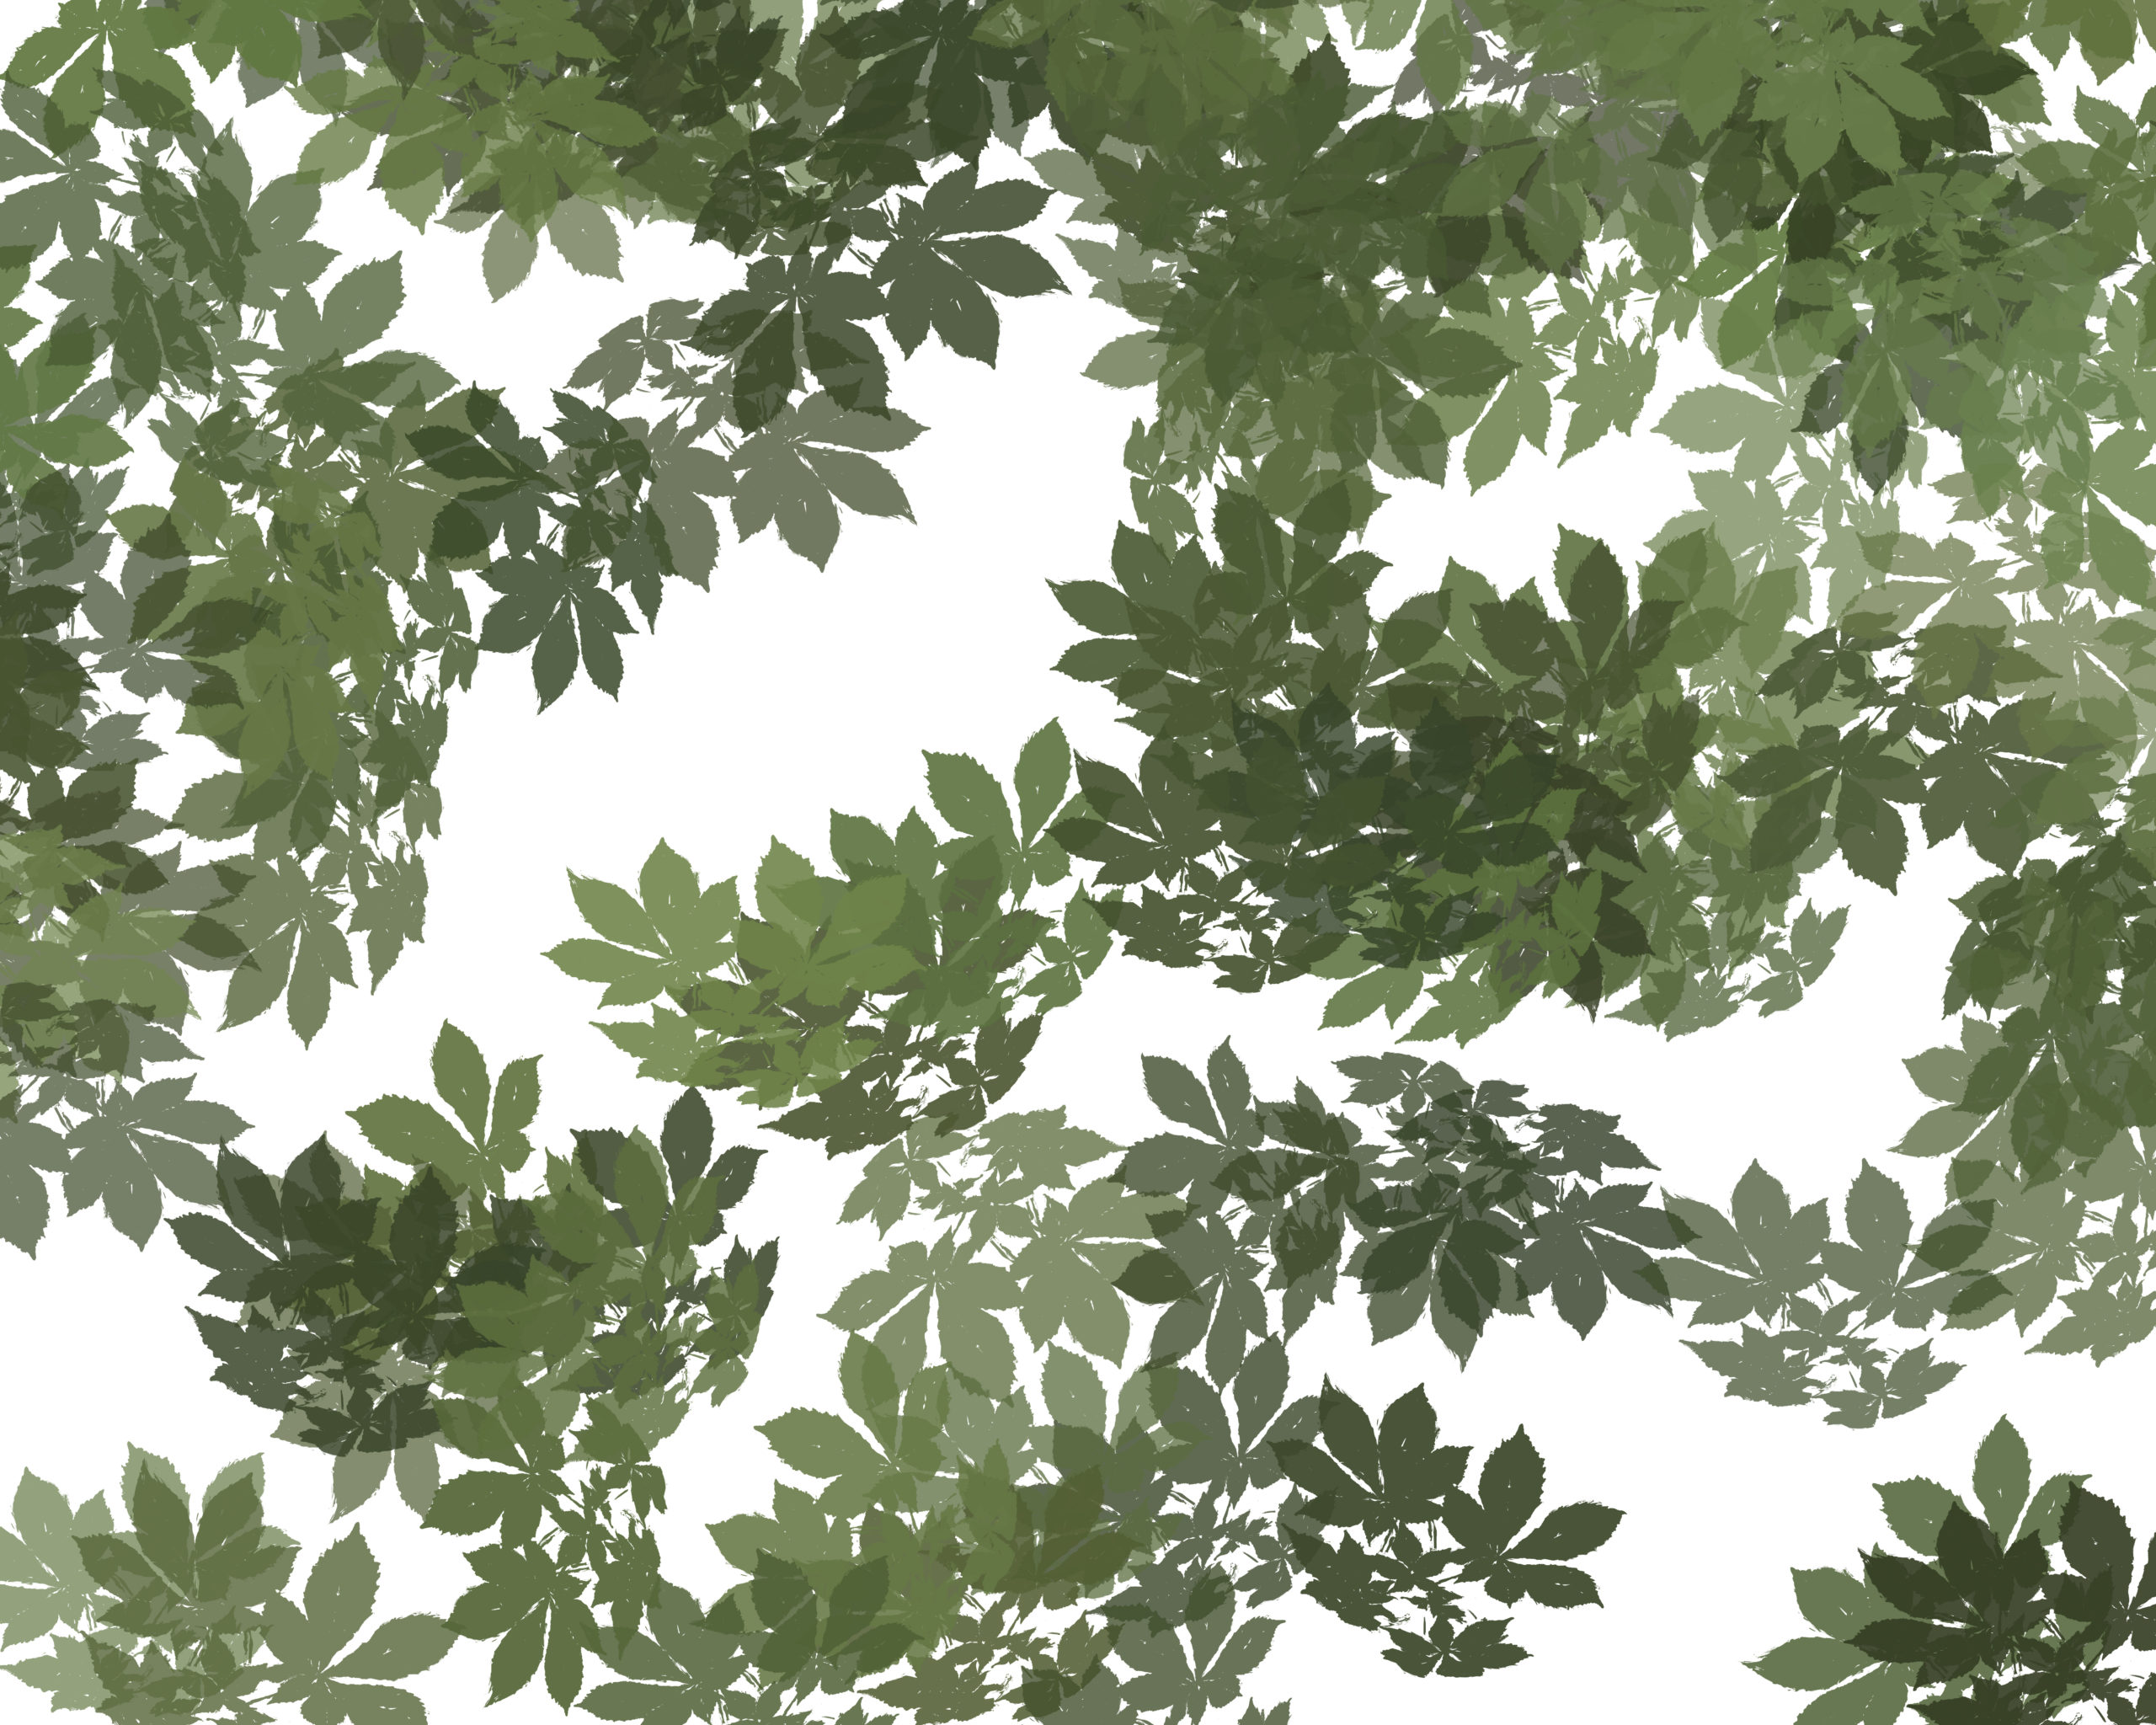
Next I needed some leaves. So I put a blank layer above and selected a brush that stamps leaves. Again, modified it to give me hue saturation, increased the count, the scatter and the angle jitter to make this layer.
I added this layer in the OVERLAY MODE and decreased the opacity to about 40%.
Here is my layer stack.
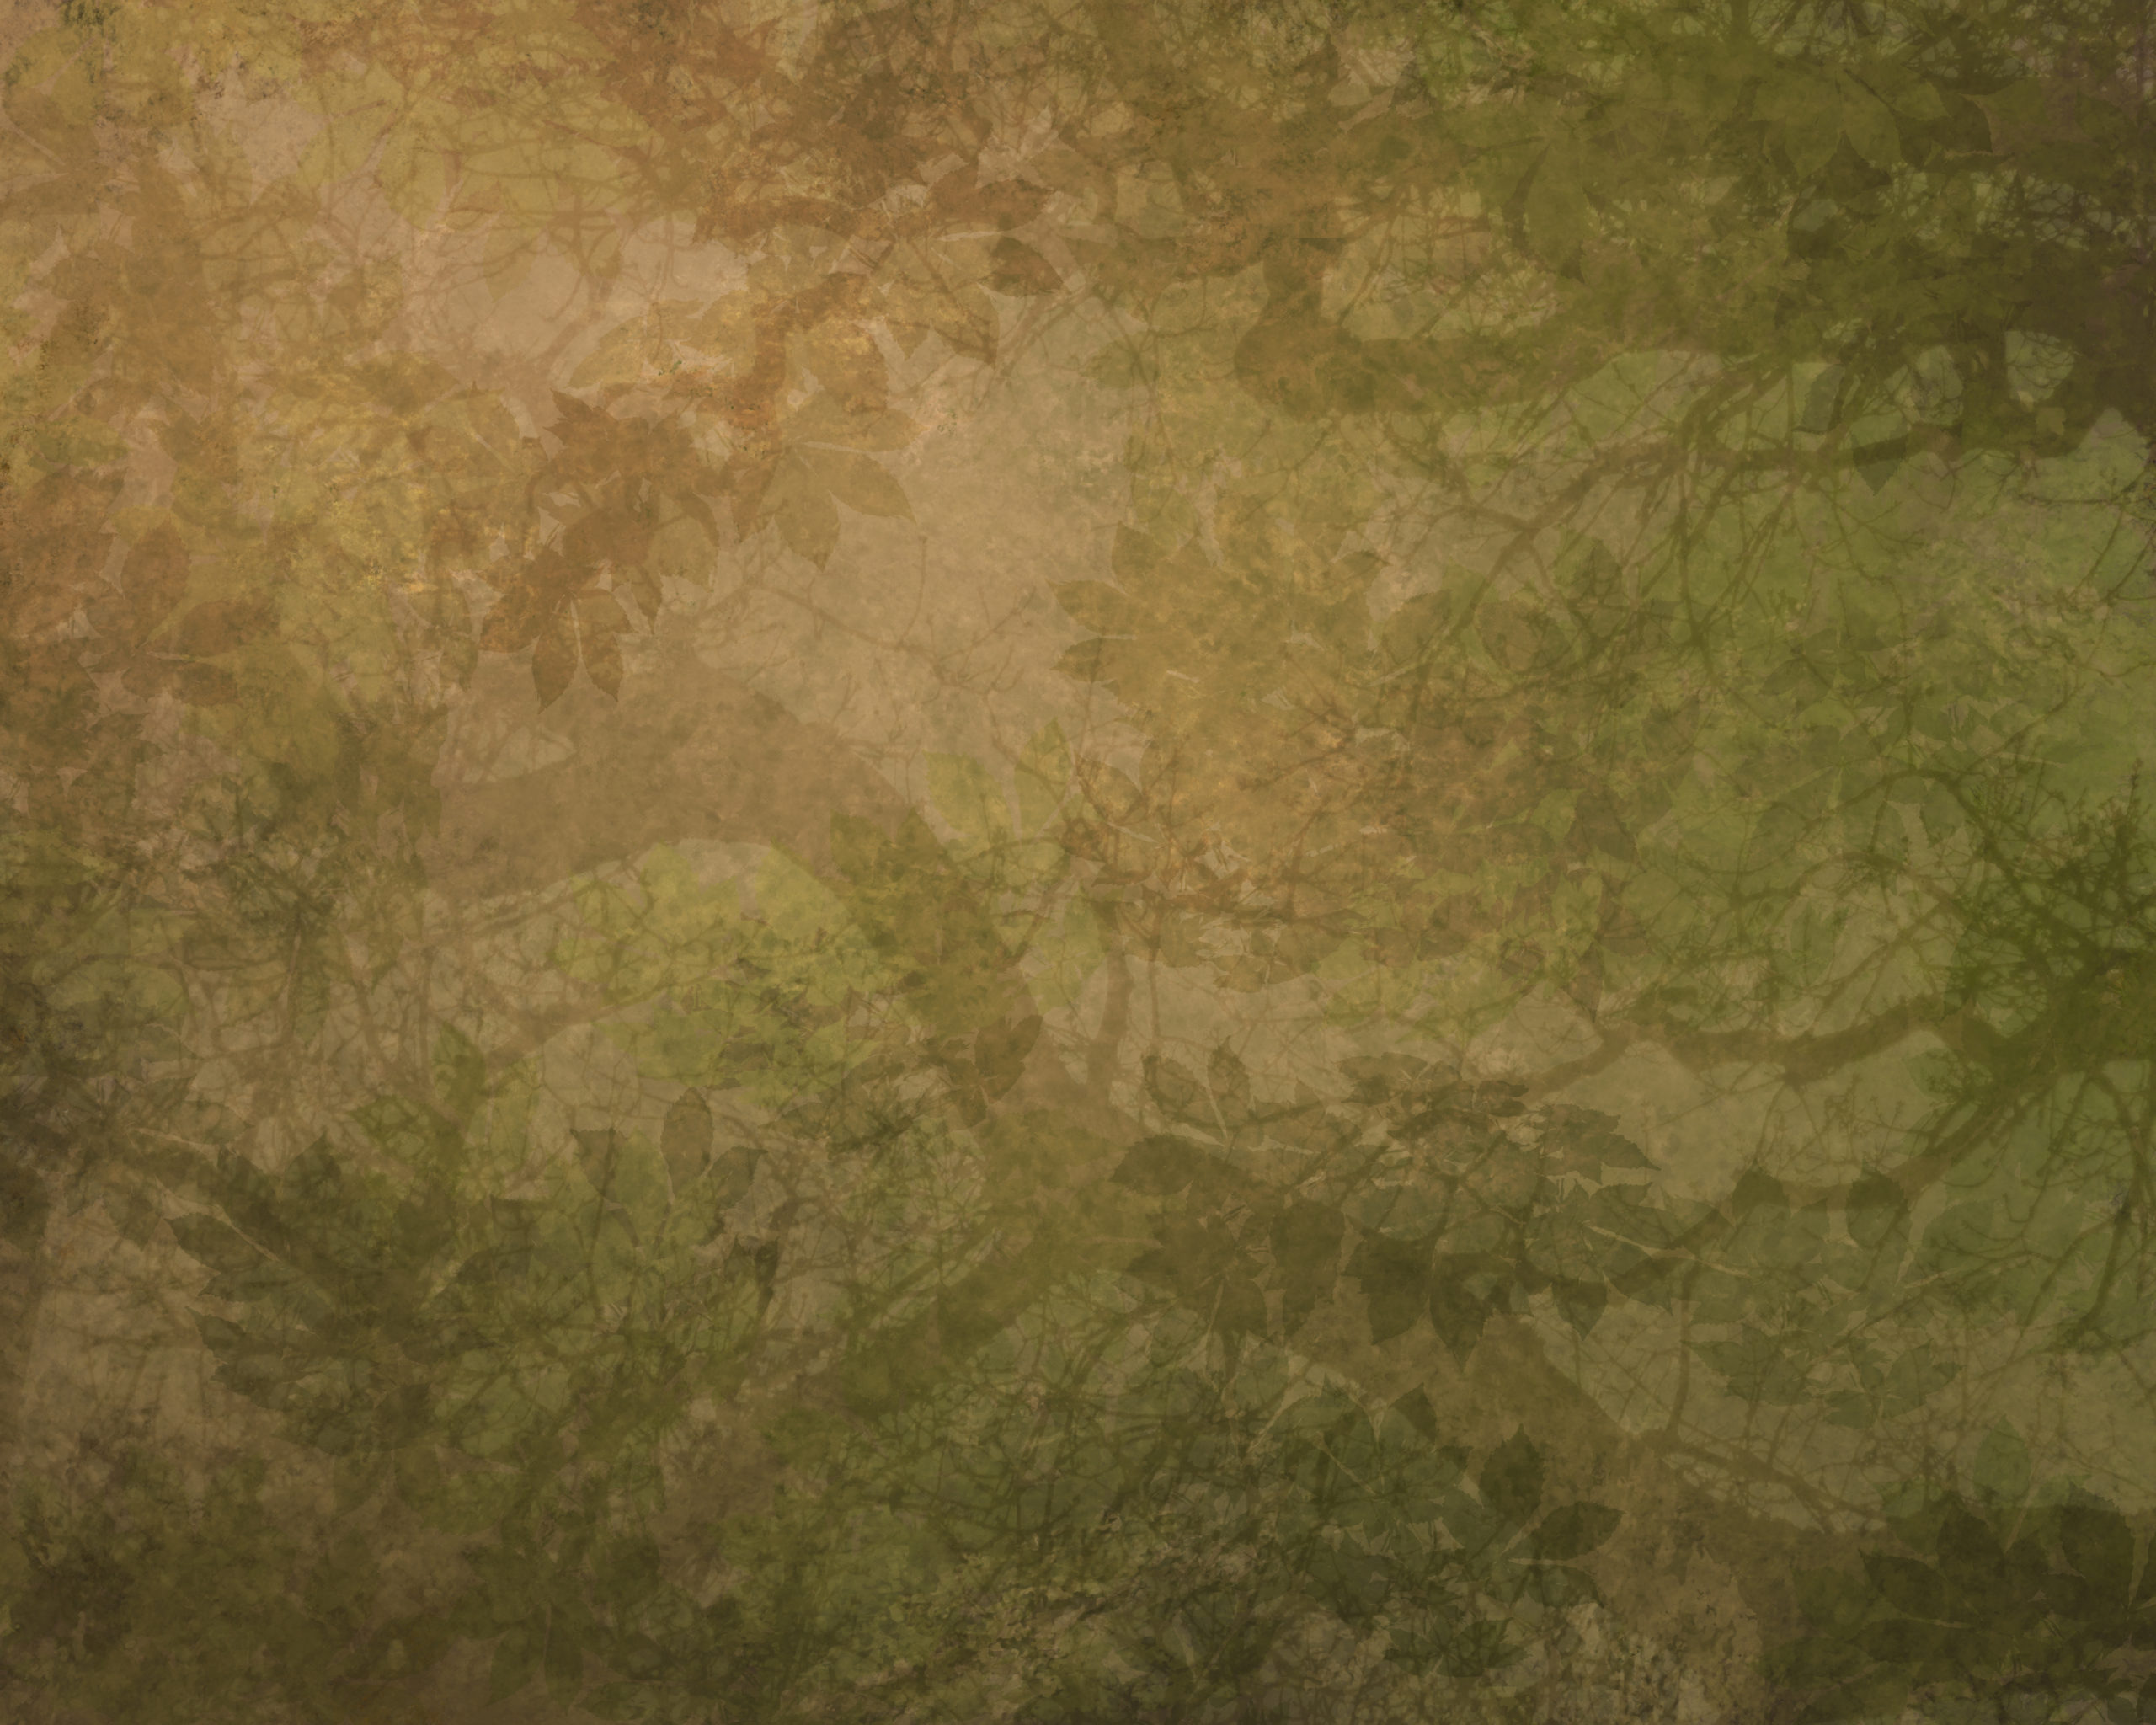
Here is the final background before adding the painting.
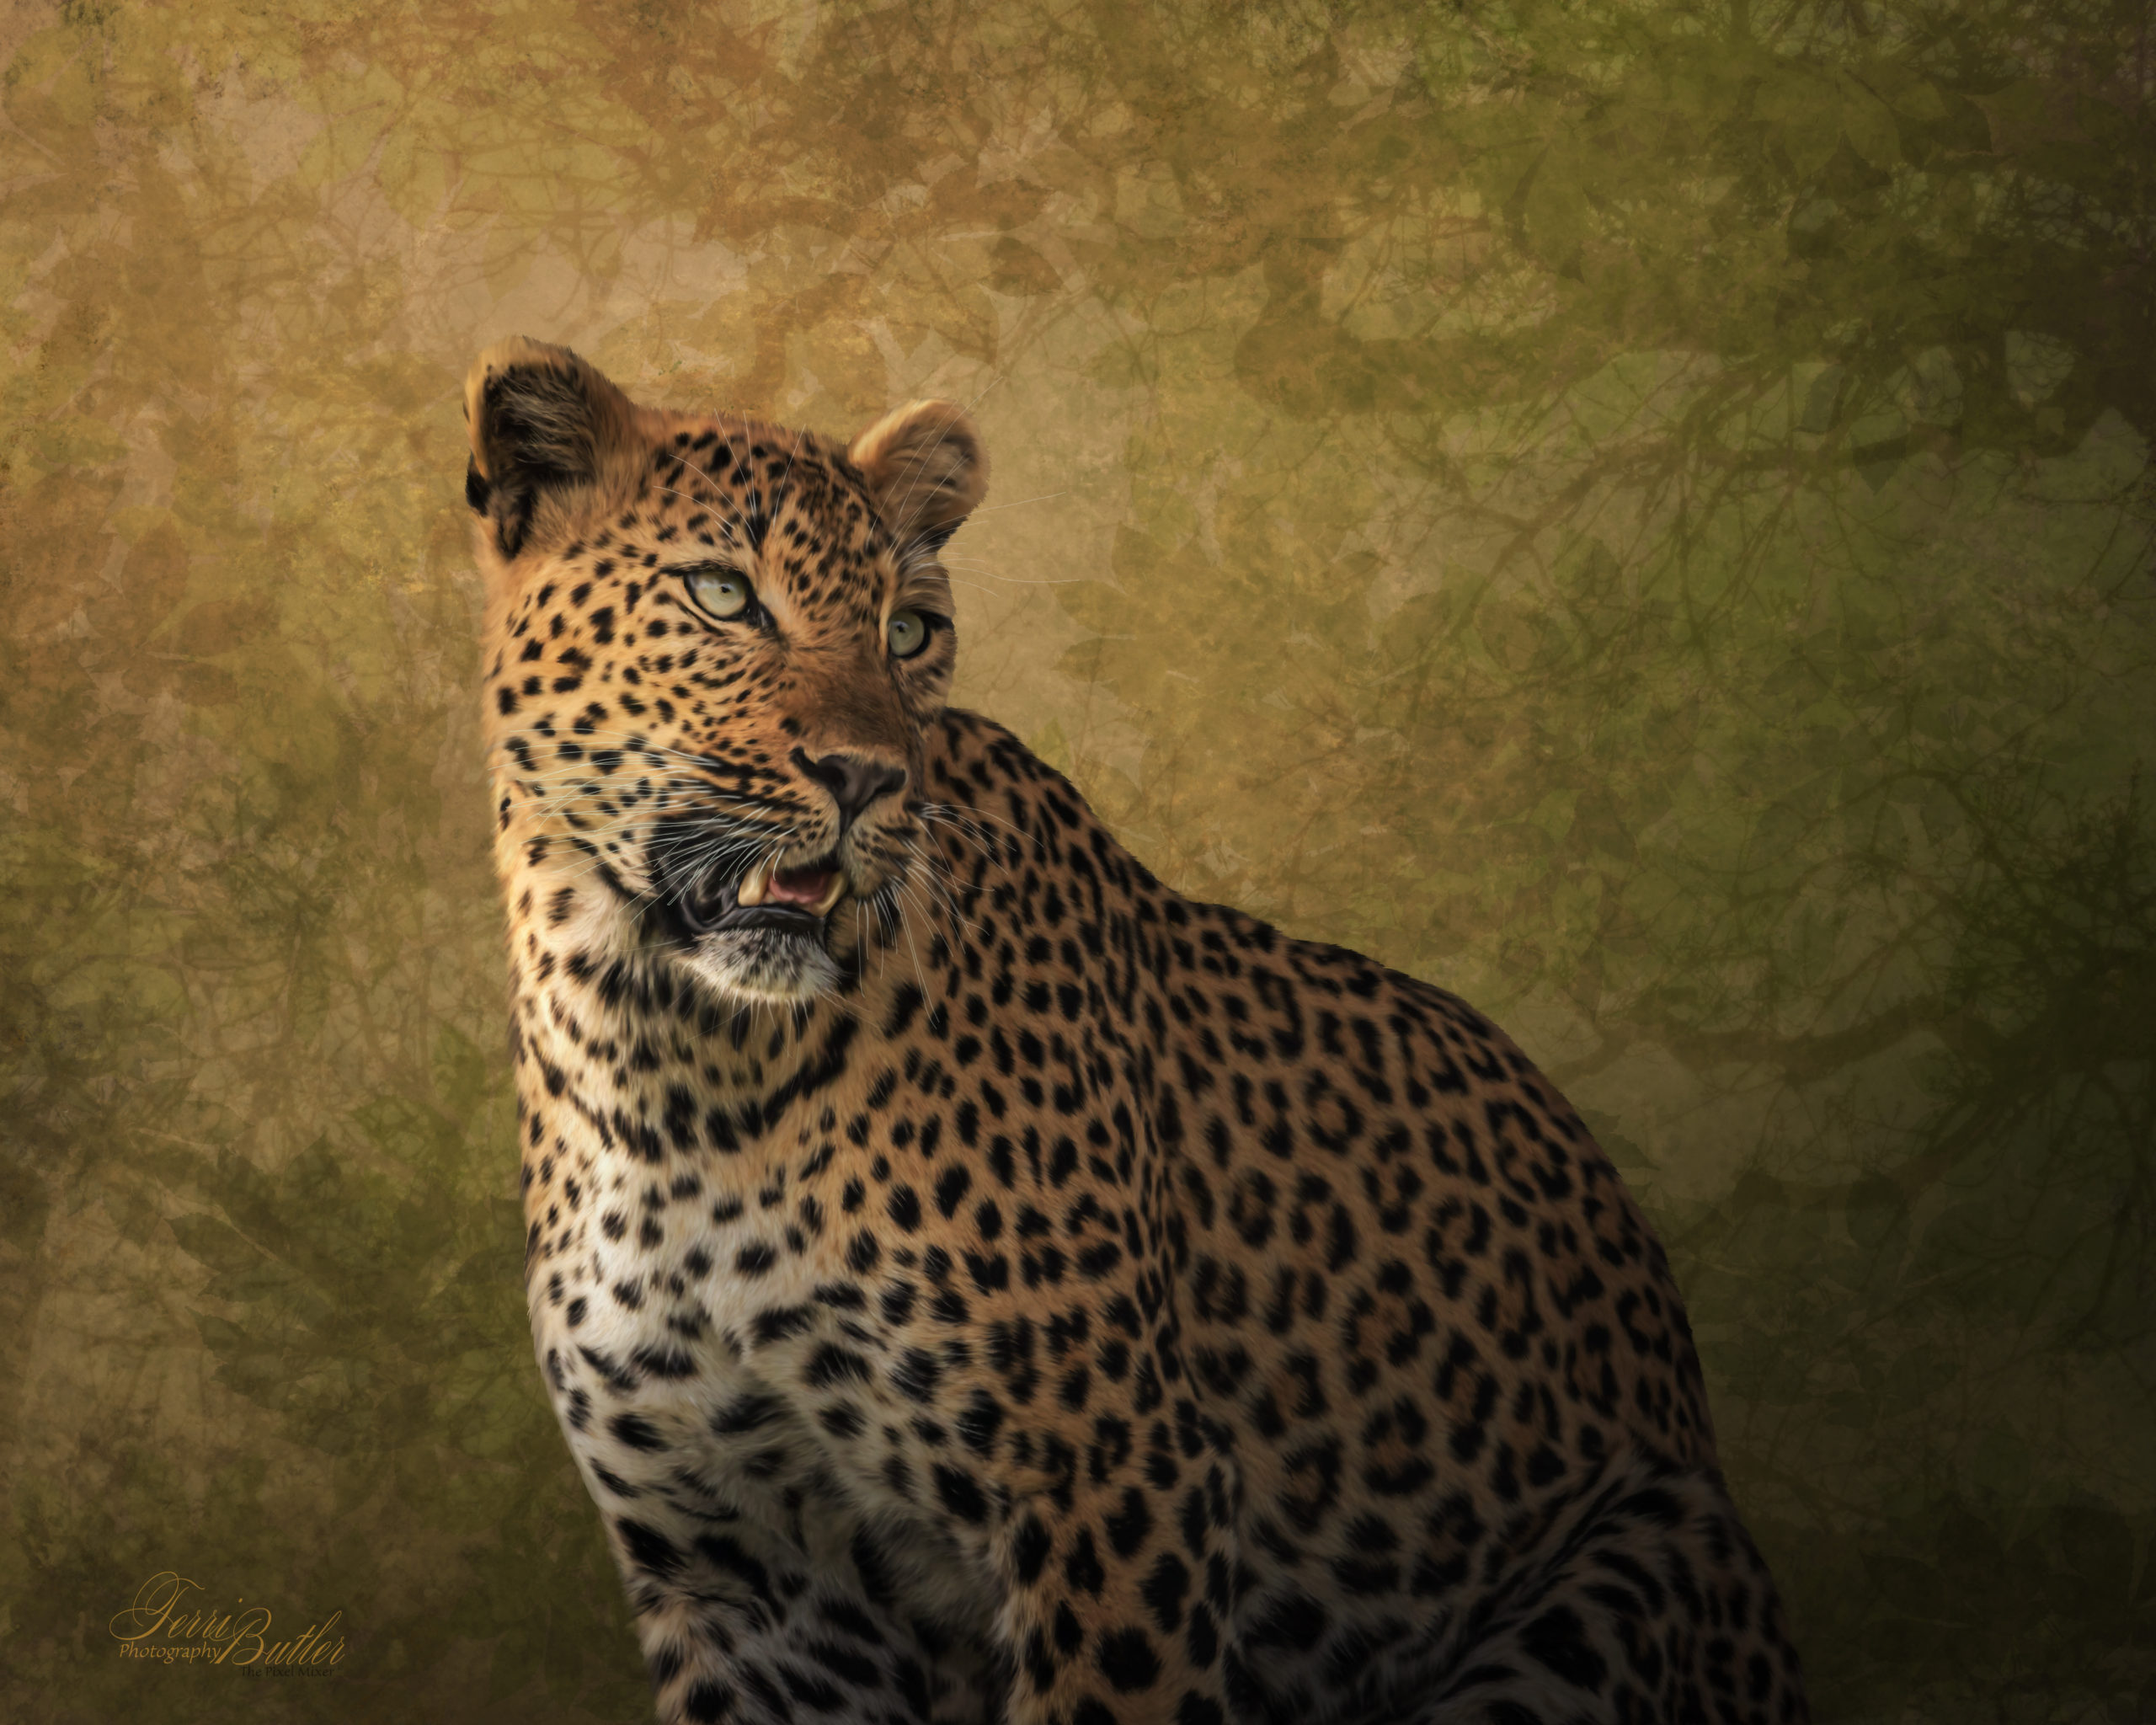
And here is the same background with the image merged into it.
Hope you enjoyed the tutorial. Now let’s go paint!
#textures, #backgrounds, #blendmodes
#terributlerphotography,#digital_art, #fine_art, #prints, #tutorial, #art, #photomanipulation, #lesson, #mixerbrush, #mixer, #Photoshop, #painting, #photocomposite,#https://fineartamerica.com/profiles/terri-butler, #https://terributlerphotography.com/galleries-landing/, #http://shutterstock.com/g/terributlerphotography/sets, #https://stock.adobe.com/contributor/206561680/Terri
