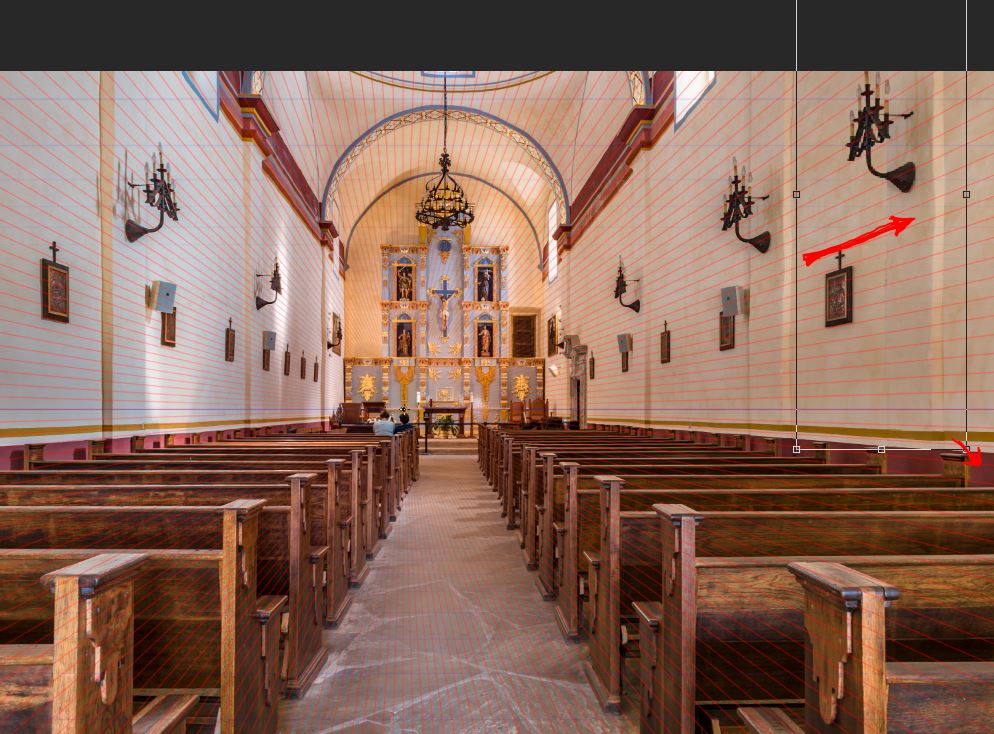
This will be the final article in this series on Perspective. Before we leave the topic, I wanted to give you a quick example of how this same technique can be used to do a perspective clone within an image. There are other tools in Photoshop such as the clone stamp in the Vanishing Filter that also do cloning in perspective, but this technique produces far better results.
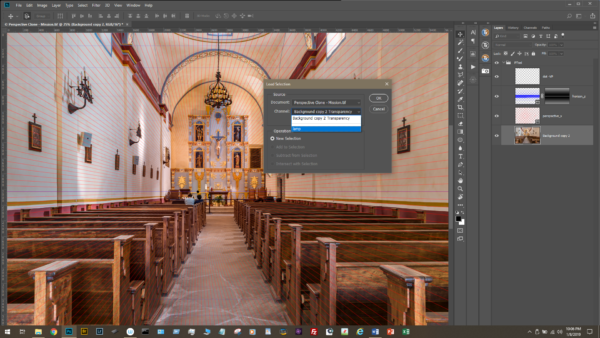
We will use this image for the example and we will clone another light and wall column from the right side to the right upper corner to fill this void space. Like the previous articles, we need to find the vanishing point and horizon. I did that using my Perspective Tool.
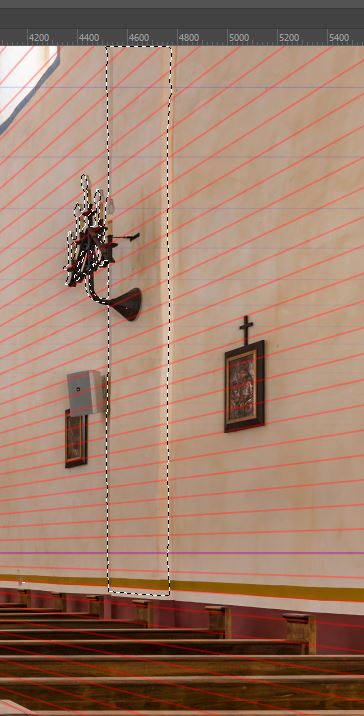
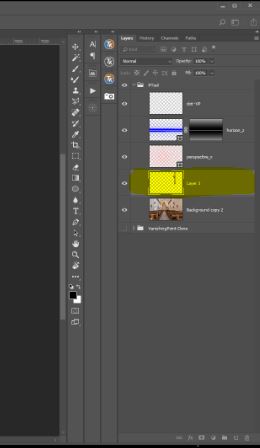
I then made a selection of the area I wanted to clone and saved it as a selection so that I could load it again for future training a videos. In this lesson I named the selection lamp and I loaded it here. Using the Ctrl+J, I put a copy of the selection on its own layer.
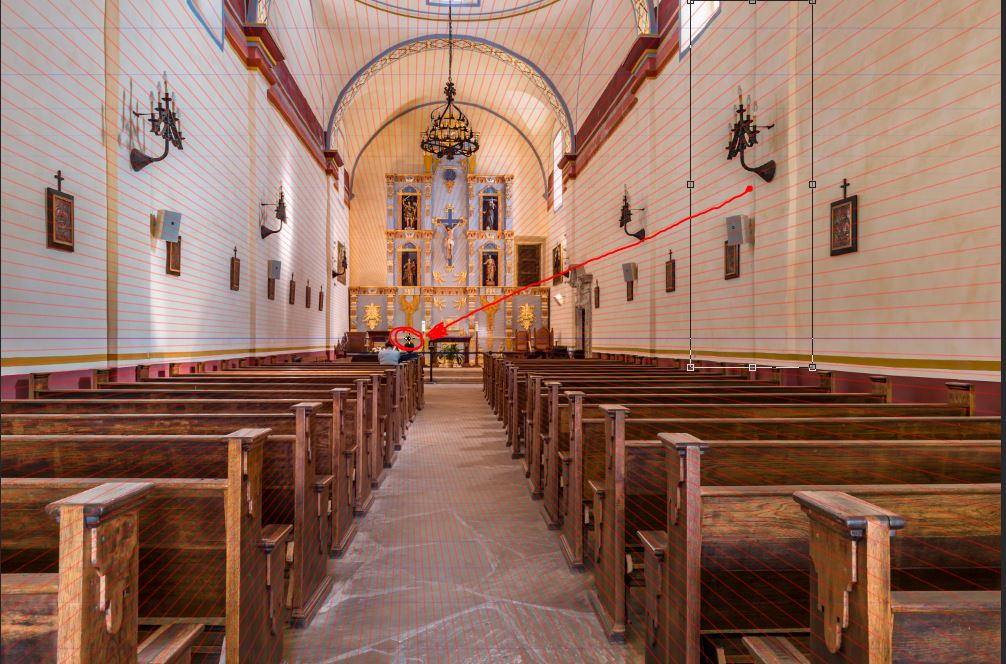
Now select this layer with the lamp and piece of wall (our cutout). Following the same process as the previous articles, go into the transfer mode with Ctrl+T. Then move the cross hairs from the center of the transform box to the vanishing point.
While still in the transform mode, HOLD BOTH THE SHIFT AND ALT/OPT keys and pull out the bottom right handle of the transformation box and drag it to the right. You will scale the cutout – in perspective – as you drag it to the new location. Once in place, let go of your keys and click the check on the toolbar to commit the transformation.
You have successfully cloned the lamp and wall IN PERSPECTIVE!
If you would like to see this demonstrated live, there is a 3 minute video on my YouTube channel. Feel free to check it out as well.![]()

