This is the fourth article in the series on compositing with perspective. We have covered the basic concepts of perspective, examined how to find the vanishing point and horizon in an image and discussed why the horizon is important. In this lesson we will demonstrate how to test whether the horizon of your cutout will match the horizon of the target background image and whether the perspective will match.
At the end of this article will be a link to a YouTube video I recorded of this same tutorial. If you would prefer to just watch the video and skip the article feel free to jump to the bottom or download and print the article if you want to follow along with the video and make notes.
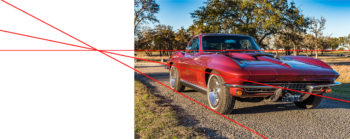
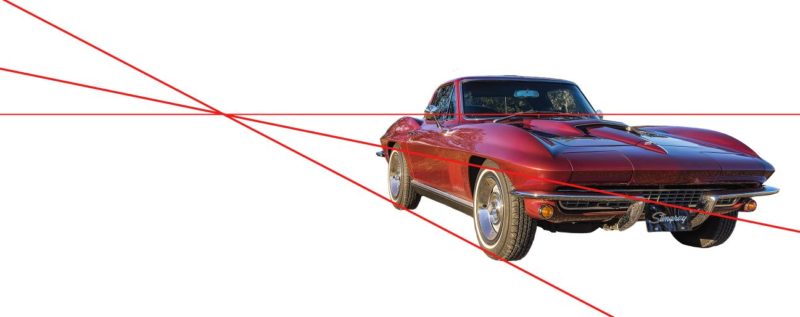
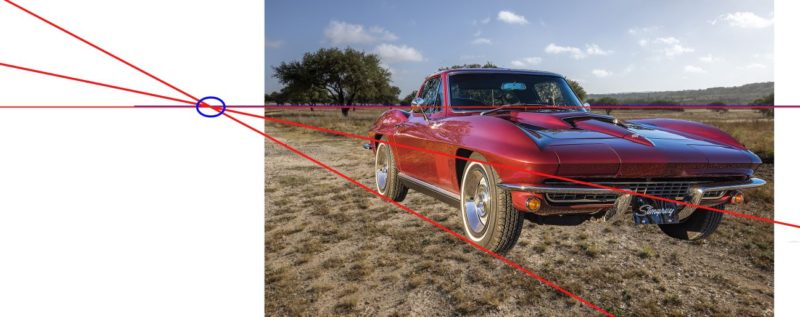
For this example, we will use this image of a car. The horizon and vanishing point lines have already been drawn.
We need the car as a cutout and with its associated lines in the file with the new background. An easy way to move the car and its lines is to place them in a folder. Change the selection setting on the tool bar from “Layer” (the default) to “Group” ![]() and you will be able to move all the elements in the folder at once. Move a copy of the cutout and its lines into the file with your target background image.
and you will be able to move all the elements in the folder at once. Move a copy of the cutout and its lines into the file with your target background image.
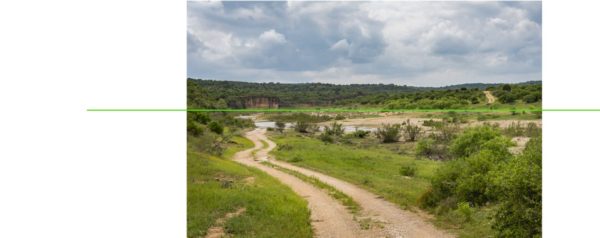
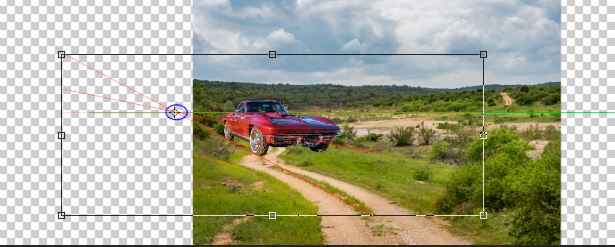
The first example we will use is this background of a rural road leading down to a riverbed. The horizon of this image is noted in green. While many images have the horizon where the sky and land meet, this image actually has a lower horizon at the river which is the “true horizon” for this image.
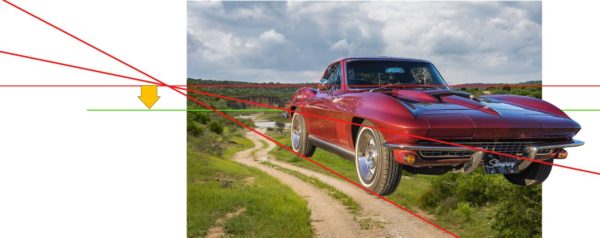
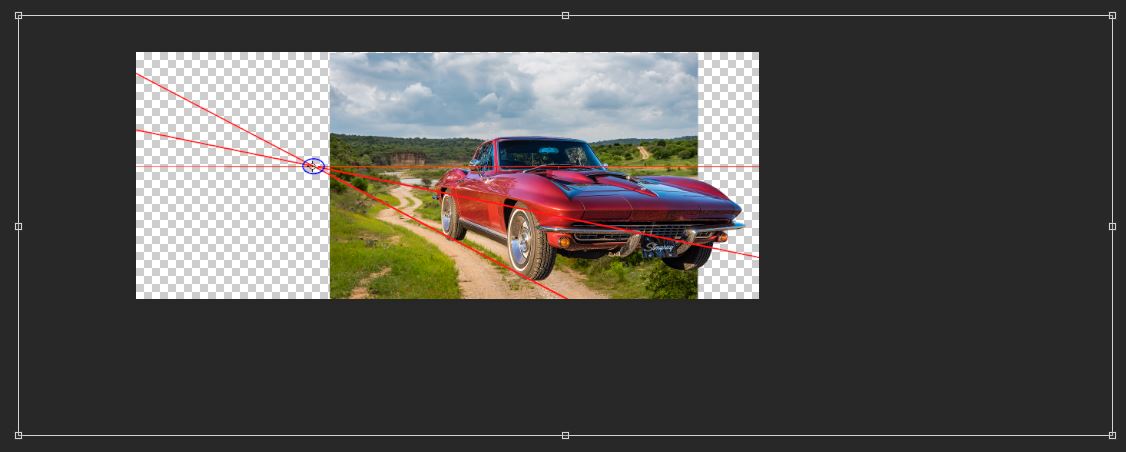
Now turn on the visibility of the car. We need to match the horizon line of the cutout with the horizon line of the background.
As you can see, the car looks to be floating in the air. It also looks too big for the scene. So, let’s scale it down and see if it looks any better.
First select the car and go into the transform mode with Ctrl +T. Your handles will be outside the frame of the image so hit Ctrl+0 to zoom out so you can see the handles of the entire image while in the transform mode.
While still in the transform mode, pick up the small cross hair point at the center of the transform box and MOVE IT TO THE VANISHING POINT. Staying in the transform mode, HOLD DOWN YOUR SHIFT and ALT/OPT key and drag one of the handles of the transformation box inward. Your car will scale. But it will scale IN PERSPECTIVE of the vanishing point and horizon.
Once you are satisfied with the size of your car, click on the check mark on the tool bar to commit the transformation or hit enter. As you can see, large or small, the car still seems to be floating in the air.
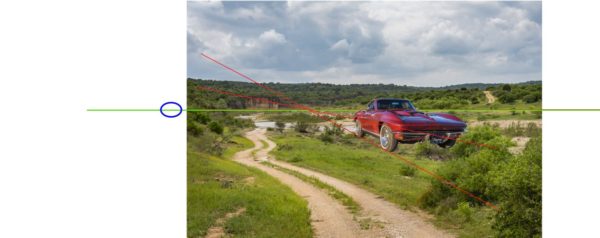 Now keeping the horizon lines together, slide the car to the right. You can move an element right or left on the x-axis as long as the horizon line and vanishing point stays matched to the background’s horizon line. Does it look any better? The answer is no. It’s still floating in the air. That is because the horizon line of the background does not match the horizon line of the cutout and this car can not be composited into this image with proper perspective.
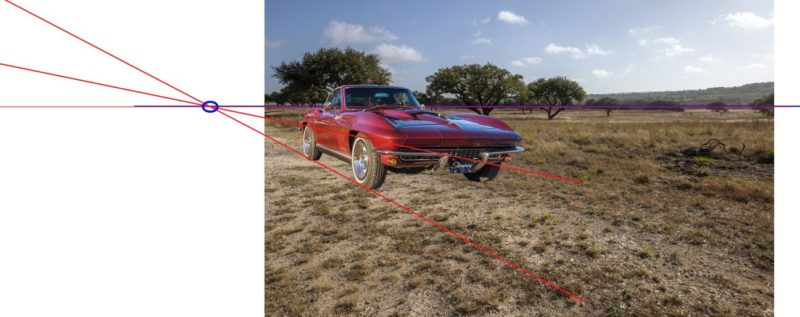
Now let’s look at a second example, this field. Again, bring in the car and match the horizon lines. This time, the car actually looks like it fits in the background.
Even when we scale the car down and move it back into the image using the same technique of transform, placing the cross hairs on the vanishing point, holding our Shift+Alt/Opt keys and dragging a corner of the transformation box in to scale the car down, it still looks good.
Now you can add your shadows under the car, fix the lighting, balance the colors and do all the other things you would normally do to composite a cutout into your background. But you have tackled the most important thing first. You have matched a cutout to a background IN PERSPECTIVE!
These concepts are hard to understand in print. So I started a YouTube channel, downloaded some screen capture software and figured out how to start recording some videos too. Nothing too fancy and I will try and keep them under 10 minutes. If you would like to see the concepts above actually demonstrated in Photoshop, check out the video on YouTube.
When Perspective Doesn’t Match
The NEXT SERIES of TOPIC will focus on LIGHTING. Several types of lighting to include adding a light source, adding rim lighting, making items glow and casting light such as lanterns and lamps, and even adding in lens flares. Many different types of lighting effects. So come back soon to check out more compositing techniques.
