Sometimes we capture an image with sunlight hitting a particular part of the image and after basic adjustments in Lightroom you want the sunlight to “pop” a little more than it does. You could always us the brush and lighten areas by hand, but this is very labor intensive and the brush tool is slow and doesn’t auto mask very well.
There is a easier way using the radial filter and the luminosity mask feature. Here is how you use it.
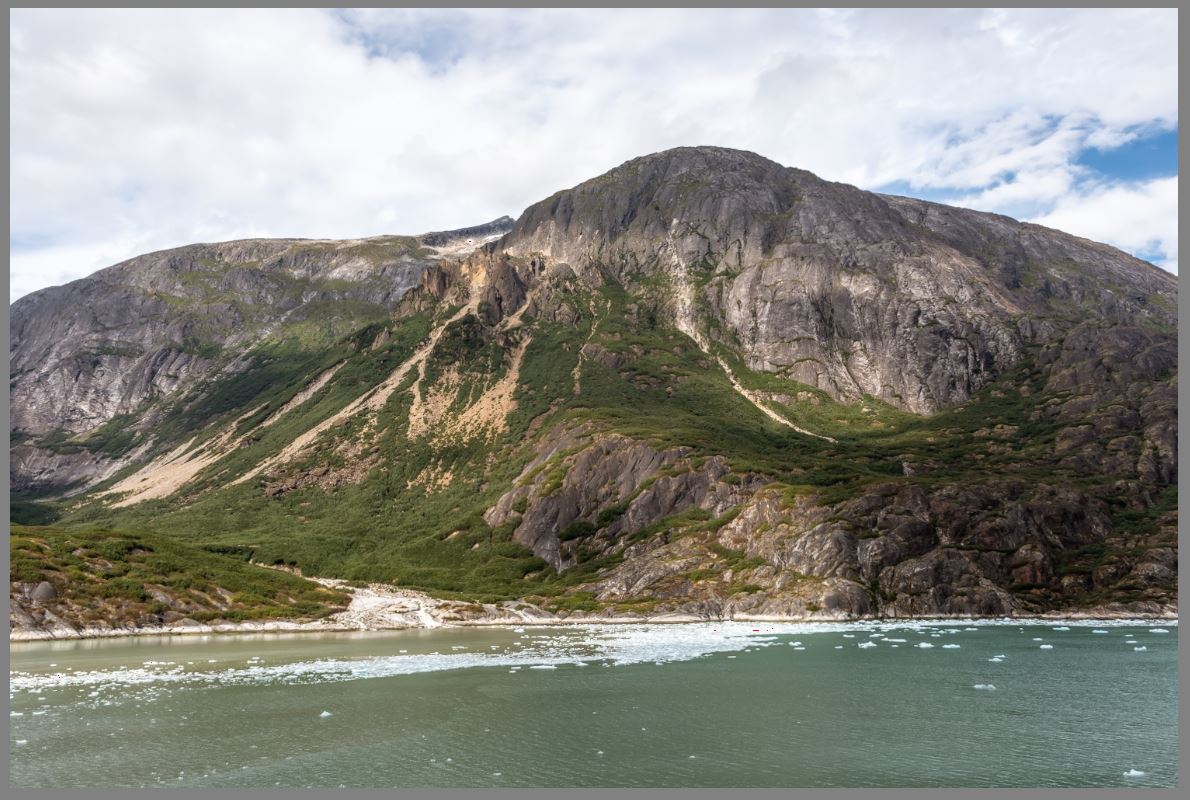
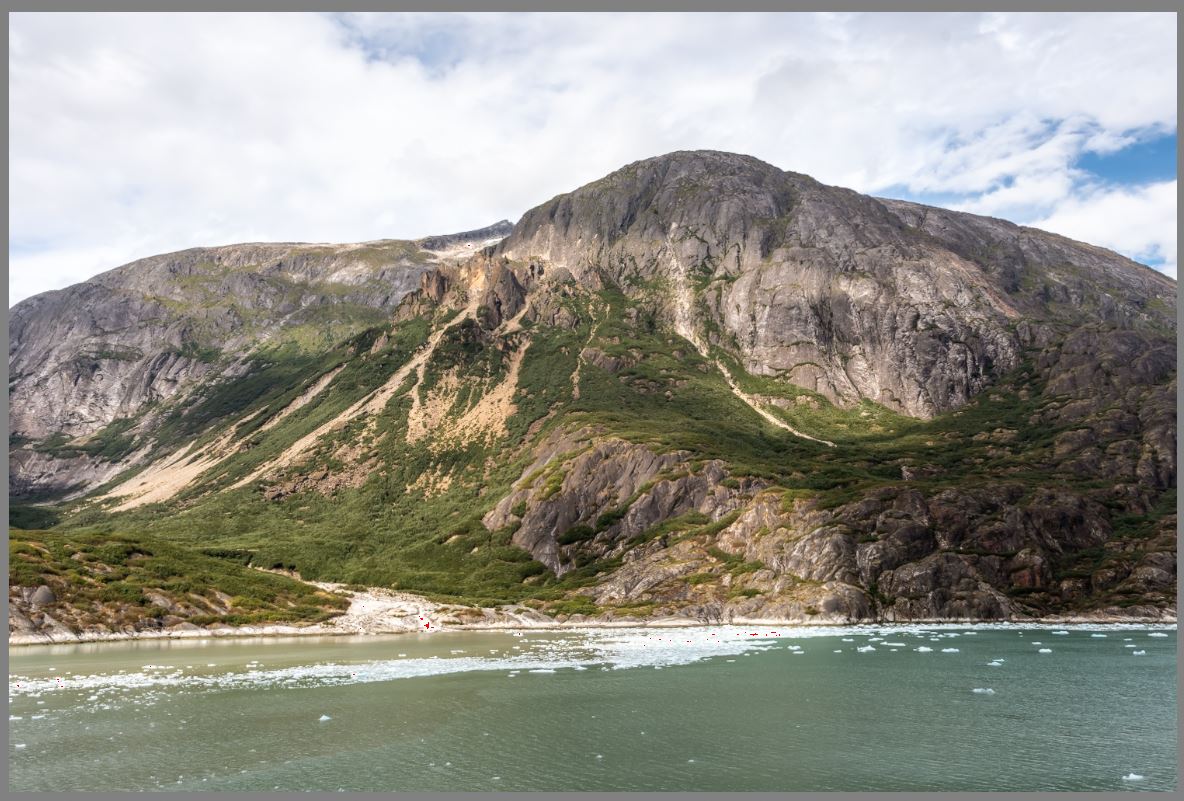
Lets say you have this image and you want to brighten the sunny areas. Select the radial filter and put a large circle around the side of the mountain where there is sunlight. On the effect setting, we are going to build “Sunlight”. You can save this as an effect preset for future use by just clicking on the two little arrows next to the name and at the bottom of the list select “Save Current Settings as a New Preset” and name it Sunlight when the dialog box pops open. Our settings are based on what sunlight does, it warms the kelvin temperature (more yellow), increases lightness (exposure), enhances highlights, and makes whites whiter. So that is exactly what we are going to set in our preset.

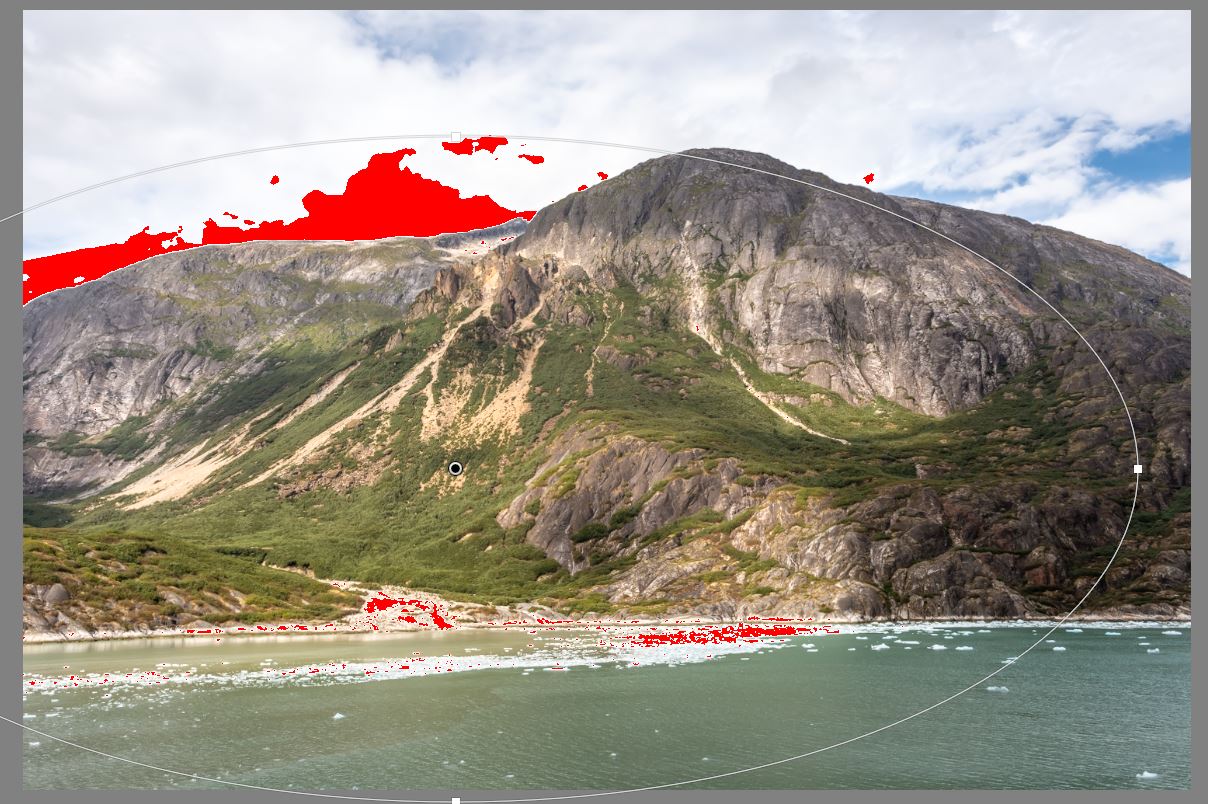
But when we apply this sunlight to the entire radial filter, it spills into the sky and water and blows out our highlights in the sky. That is not what we want. This is where the luminosity mask is useful. We can tell Lightroom to only apply this effect to a range of pixels based on their brightness. In this case, we want a range of tone in the mountain.
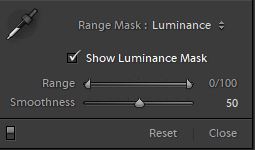
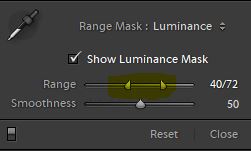
While the radial filter is still active, click on the word RANGE MASK and in the drop down select the word Luminance. Then check the box to Show Luminance Mask. We are now going to slide the slider away from the very bright whites and away from the very dark blacks… some range in the middle. You can watch the red areas on the image as you slide the sliders to see when the red is no longer on the sky and only in the areas of the mountain where you want to enhance the sunlight. Click the DONE button in the bottom right corner of the image to accept the radial filter with the luminance mask adjustment

The final image with enhanced sunlight only on the mountain where the light already was, only now the sunlight is brighter. You can reactivate the radial filter you applied by clicking on the white pin in the center of the radial filter. When the pin center is black, the filter is active. Continue to move the sliders on the mask until you have it just how you like it. Want more or less brightness or warmer… just move the sliders on the effect… Its your creativity… make it your own. Recreate the image exactly how you remember it!
terributlerphotography, #www.thepixelmixer.com, #stockimages, #digitaldownloadsforsale, #stockalternative, #imagestock, #http://shutterstock.com/g/terributlerphotography/sets, #https://stock.adobe.com/contributor/206561680/Terri
