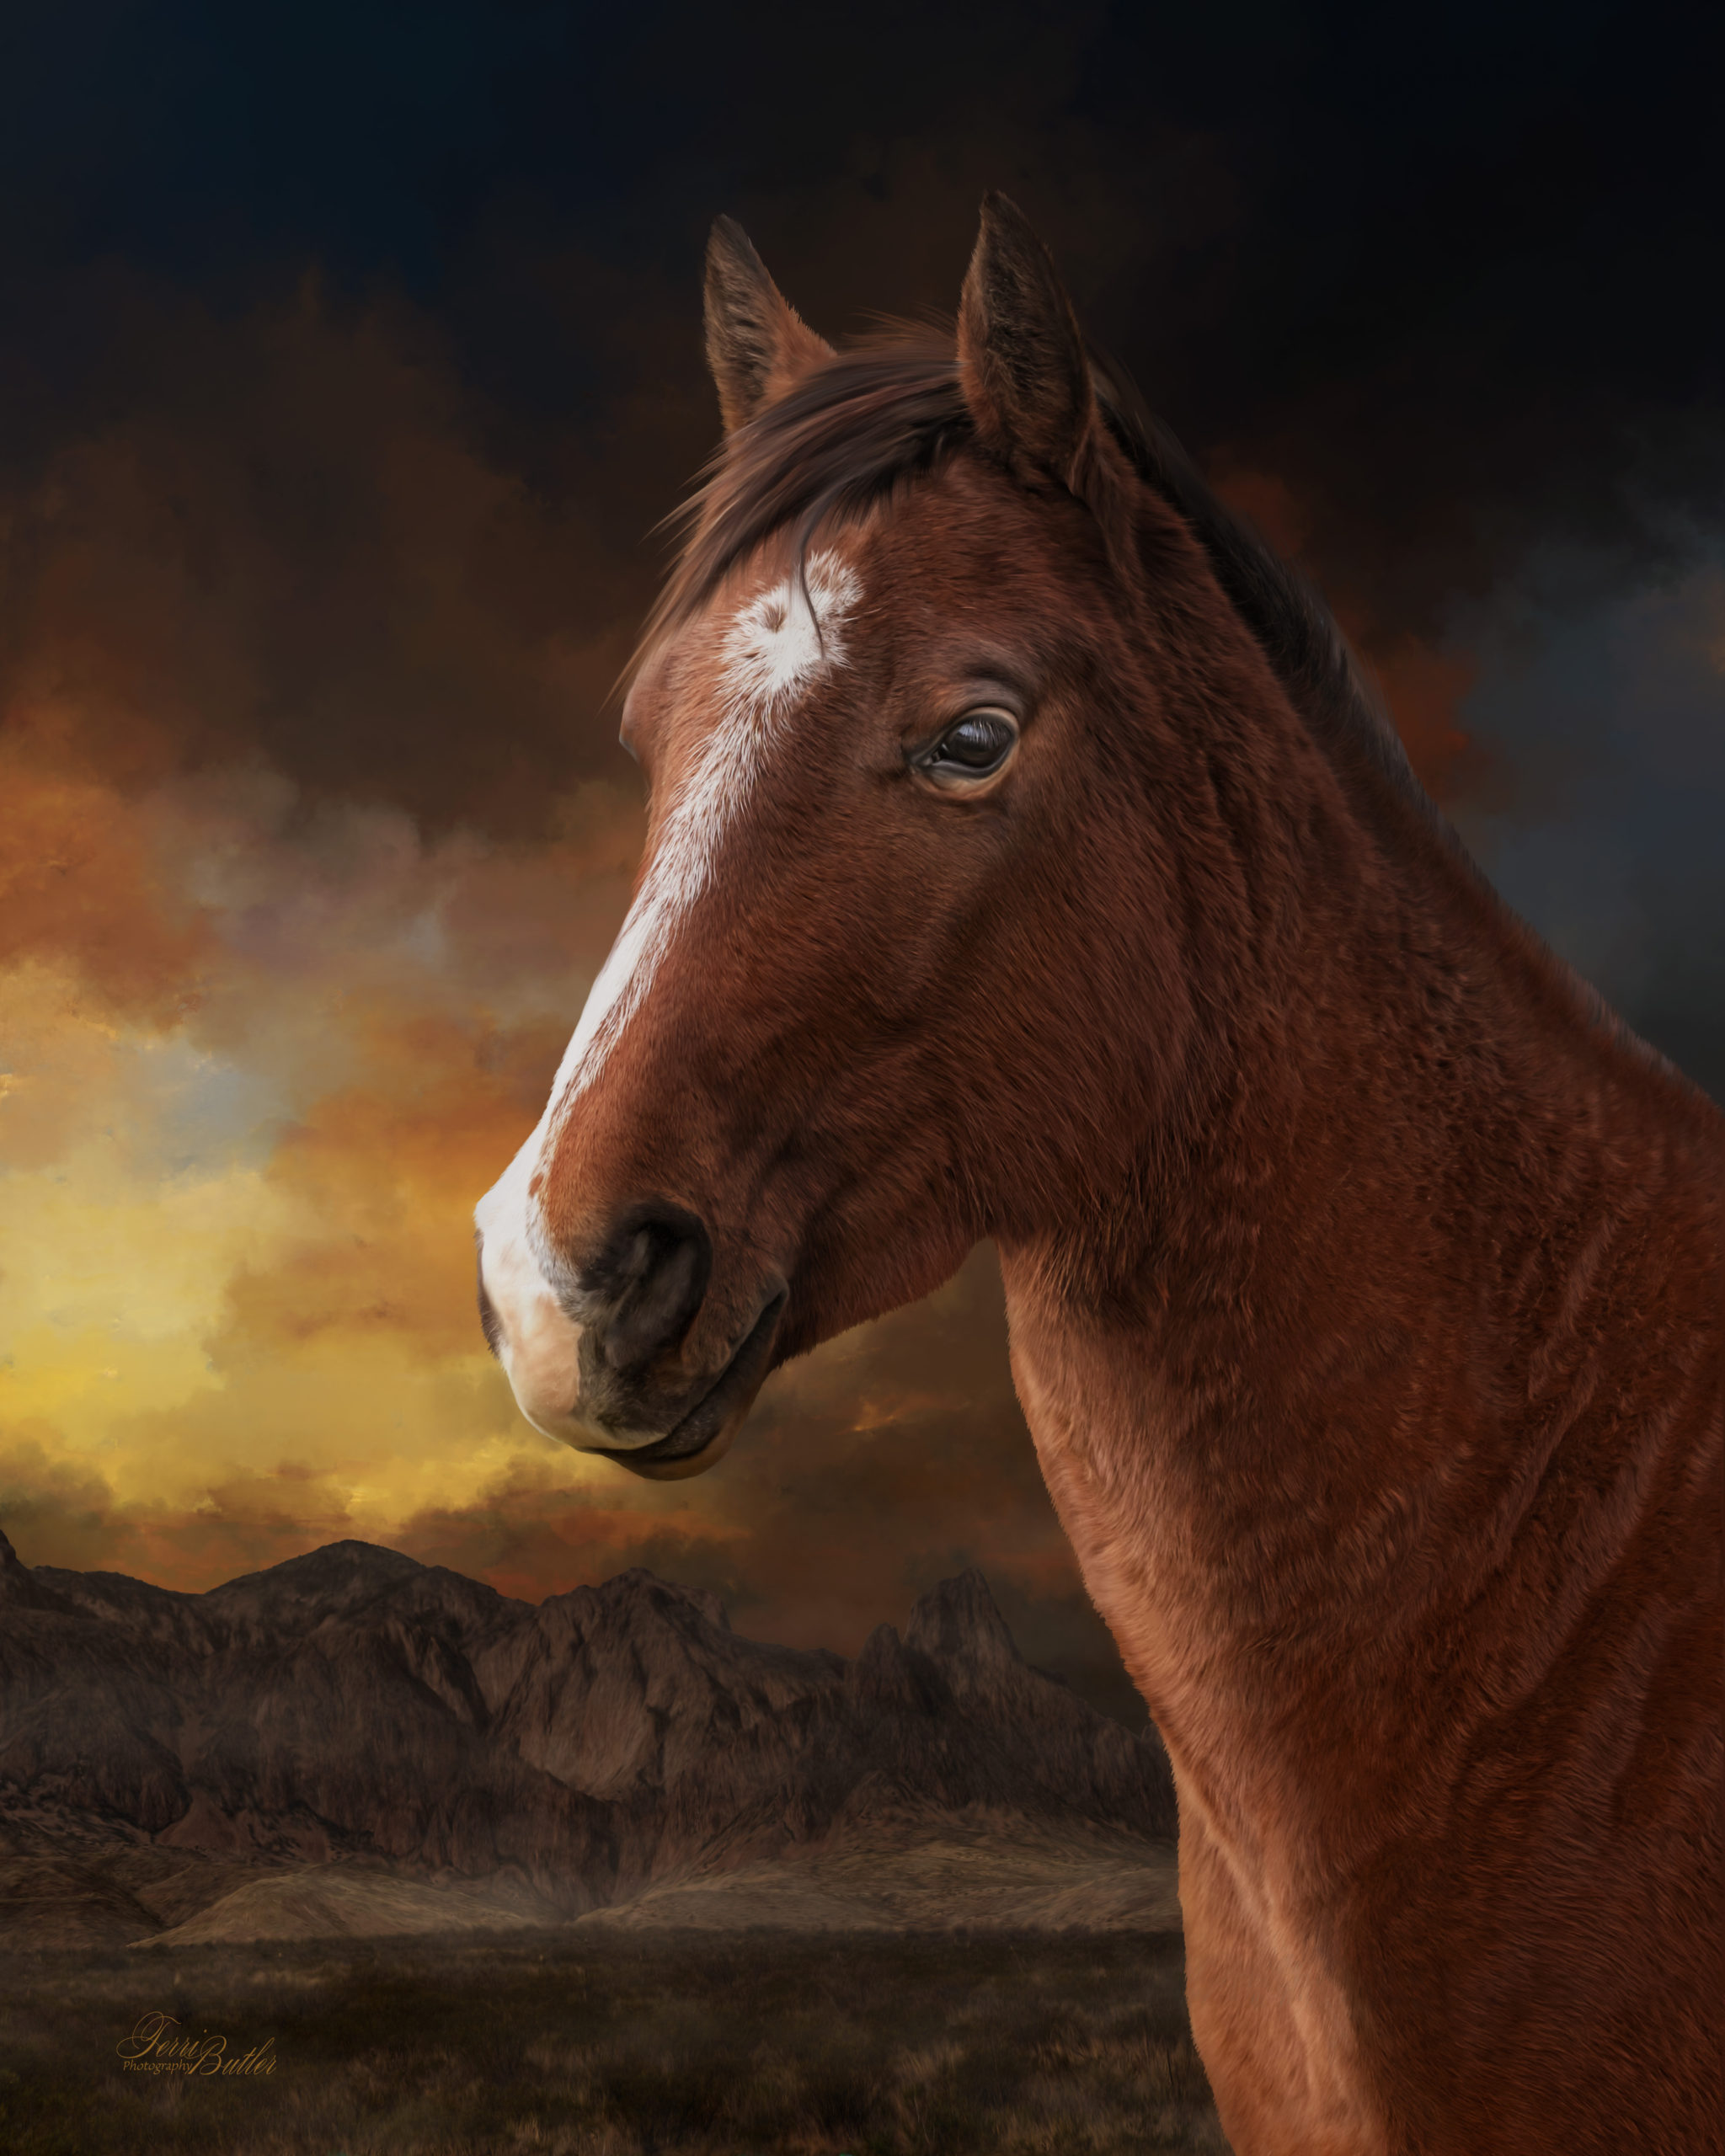
I’m constantly looking for new and better techniques for using the mixer brush for painting fur. The mixer brush, even when used with VERY dry settings, will smudge out most of the details in the fine tips of your hair. While I have designed “edge puller” brushes to pull those fine details of top layers of fur back over their underlying layers, I still wanted to find a way to give me more depth in the overall fur texture of the entire body. Here is today’s image:
Today, I tried a different technique. I started with my typical under painting. When I under paint, I generally select the source cutout, contract the margins about 12 pixels and then paint with one of my underpaint brushes. I invert the selection and erase those 12 pixels. Why? Because I never want my underpaint to stretch outside the edges of my painting or my fur. The underpaint is primarily to catch the gaps in the main painting process; those missed brush strokes. It’s not about your edges and you don’t want to wrestle with the underpaint messing with your paint layer.
Next, I make may special 1% mixer layer, which is the 100% copy of my cutout on a seemingly blank layer (See Details Below) and I used one of my designed fur brushes. This time, I only painted the tips of the fur, I didn’t try to cover the entire animal’s body. I allowed the underpaint to fill in those details. Thus, the mixer brush fur was not so smudged as I only stroked the fur on the tips.
Here are the two primary layers from my photoshop file. The underpaint layer and the mixer layer. This mixer layer is the merged file after I painted the eye and the mane on separate layers and merged them into the main body.
The results were amazing. I got so much more details in the fur and was able to maintain the curves and rough texture of the hide.
Here is the background image. It is a composite of a sky stock image and my mountains from Big Bend National Park. I completely painted the sky with a mixer brush and then inserted and painted out a piece of the mountain range. In the final image, I added two colors of fog with a fog brush, a light yellow and a gray to give it some atmosphere.
Here are the original images I started with:
Hope you liked the breakdown of this art composite. Now lets go create something beautiful!
♦ ♦ ♦ ♦ ♦ ♦ ♦ ♦ ♦ ♦ ♦ ♦ ♦ ♦ ♦ ♦ ♦ ♦ ♦ ♦ ♦ ♦ ♦ ♦ ♦ ♦ ♦ ♦
BONUS – Special Mixer Layer
Want to turn off “sample all layers” on your mixer brush. Well, you can! Here is what you do.
- Make a copy of your cutout you are going to paint
- Lower the opacity to 1%
- Add a blank layer on top
- Merge the blank layer with this cutout at 1% and you now have “Special 1% Mixer Layer”
Make several copies of this 1% layer so you can paint in layers if you want. This layer contains 100% of all your cutout’s pixels at 100% opacity and saturation for the mixer brush to use. You can now use a copy of the original cutout as a reference at 15-20% opacity over this special layer so you can see what you are painting, but PAINT on this 1% Mixer Layer with any mixer brush with “sample all layers TURNED OFF”… you will get 100% of your pixels mixed with the mixer brush based on the brush tip and settings. No system slowdown or brush drag.
terributlerphotography, #www.thepixelmixer.com, #http://shutterstock.com/g/terributlerphotography/sets, #https://stock.adobe.com/contributor/206561680/Terri, #https://www.instagram.com/terributlerphotography/, #https://terri-butler.pixels.com/, #https://gumroad.com/thepixelmixer, #https://terributlerphoto.myportfolio.com/


