The second technique we will cover in the series on turning day to night will use the color lookup tables or LUTs that also come with Photoshop. LUTs are used in the video industry but are starting to gain popularity with photography editing as well. With recent changes to Lightroom and the addition of the profiles, you can also use LUTs with Lightroom, which make them a very powerful color grading option. We will revisit LUTS many times in future tutorials.
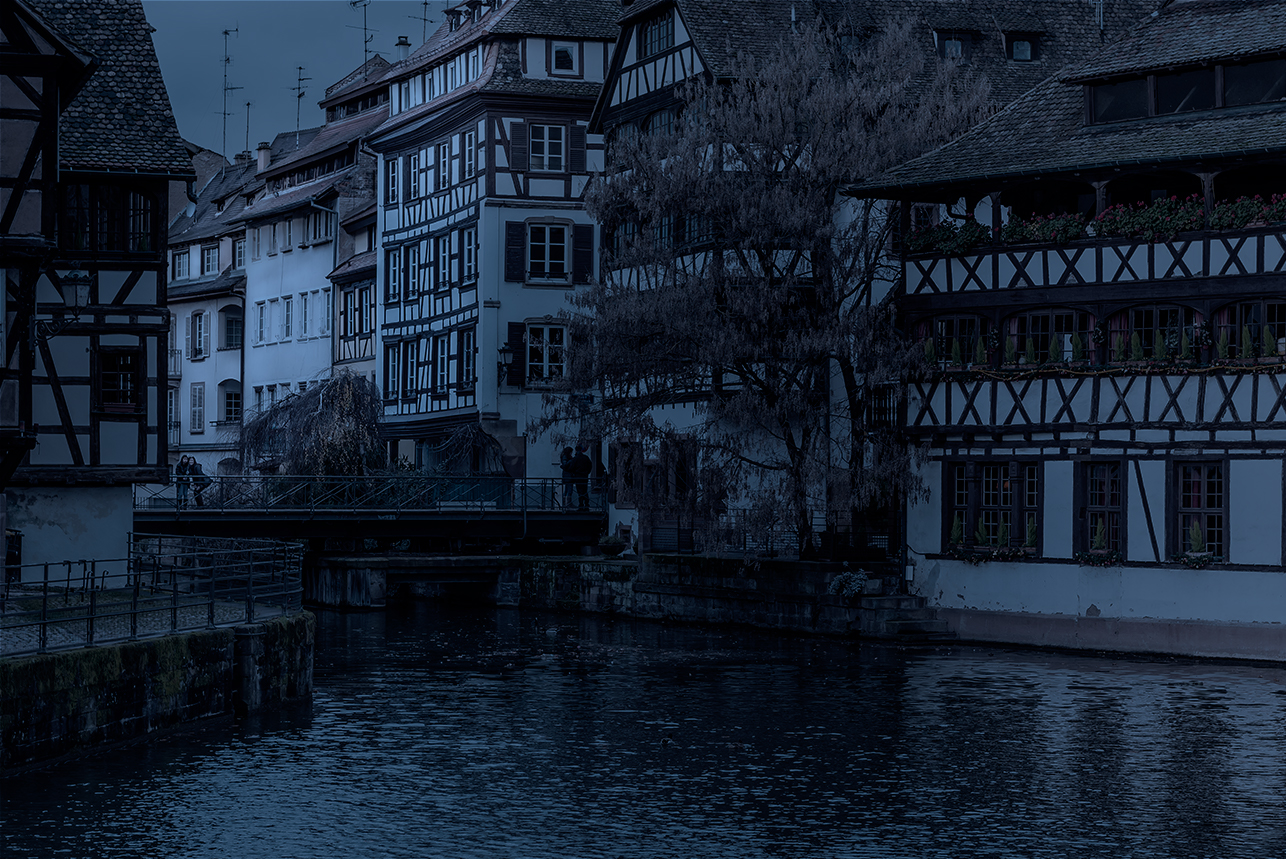
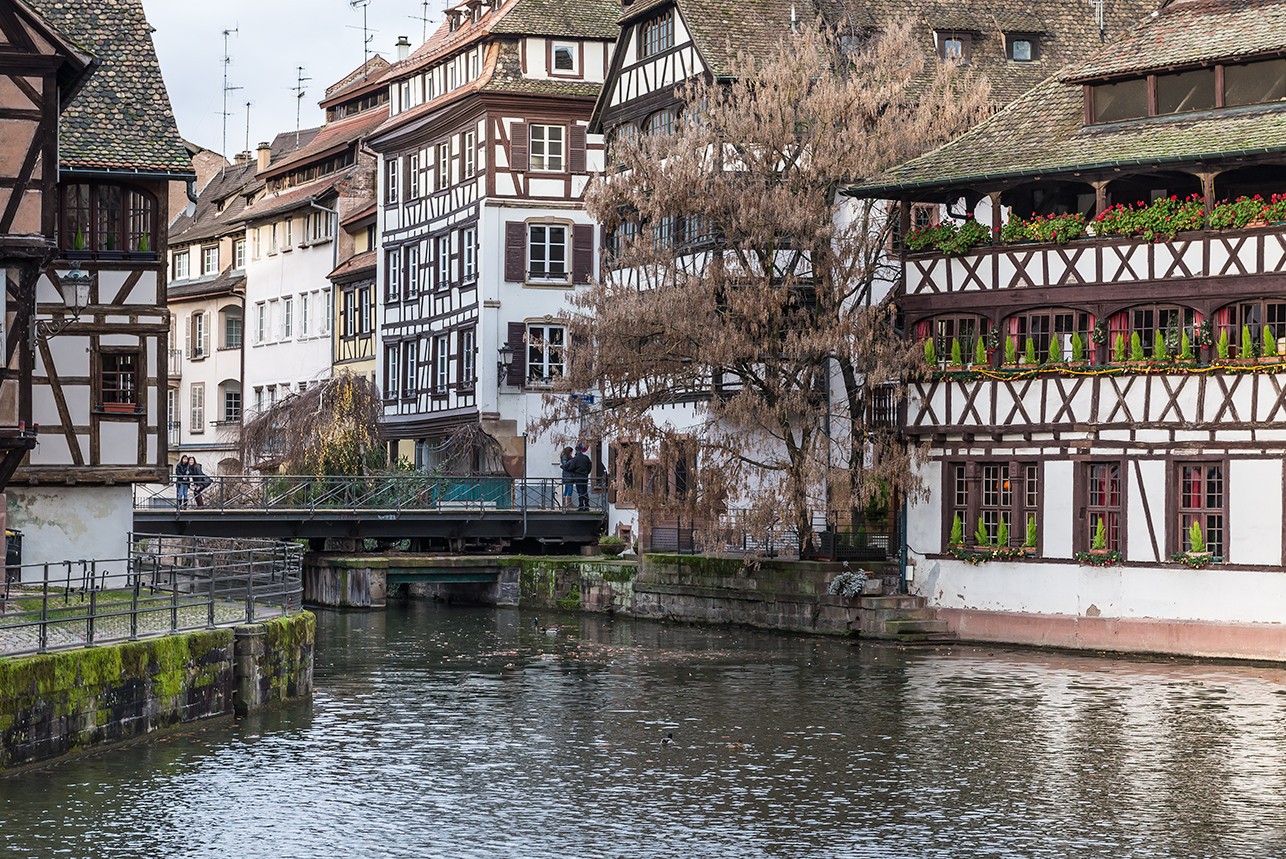 For this article let’s get started turning this image from day-to-night.
Similar to the first article in the series on Day-to-Night, we are going to add two adjustment layers, first a Hue/Saturation layer and then a Brightness and Contrast layer. We will lower the saturation and the lightness, and also lower the brightness and push UP the contrast. Here are my settings for this image. Remember, your image may be very different depending on the luminosity (brightness) of your starting point. The goal is to remove the color as we do not see color at night, and to darken the entire scene. Our next steps will be to shade the image with the bluish light cast that we perceive at night.


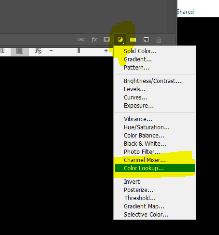
Next, we will add the LUT. Photoshop provides two different LUTs that can be used for converting a scene from day to night. One is called “Day to Night” and the other is called “Moonlight.” I have added both of them to my stack here and labelled them green, however, you ONLY NEED ONE OR THE OTHER, NOT BOTH. You should test each with your image and decide which one you like better. You can then remove the other. Adjust the opacity so you just get the blue cast of light across your image, we don’t need the entire image dark blue.

Like the previous technique, the LUT maps color over our whites and the image ends up looking very washed out and without much dynamic range. So we will bring back our whites the same way did in the first article by adding in the curves layers. You can add in one or two curves adjustments depending upon whether you want to paint back in the specular highlights.

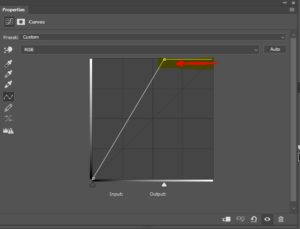
As you are building this background for a composite and you will be adding other elements and doing other dodging and burning throughout the composite, you may just add the global adjustment to bring back the whites and leave the specular highlight adjustments for later in your composite workflow.

In either case, for this tutorial, I’ve added both layers similar to the first article “Day to Night – Gradient Map Technique” and provided you the settings.
Here is the image with just the global whites recovered, a snapshot with some specular highlights turned on, and a snapshot of my final panel.