
Painting with the mixer brush, or any digital painting, has one disadvantage if you are going for a photo-realistic effect; the painting smudges and softens the pixels. The entire process is counter intuitive to keeping things sharp. I think this is one of the reason why many of the current painters scoring well at image competitions are using a soft pastel color palette or dark shadowy scenes in their work. The original image sharpness is gone. And a light, bright vivid colors would exaggerate this point.
But I like vivid color, especially in my wildlife images. Nature is bright and beautiful. So I keep trying different ways to paint them and still keep some of the sharpness and realism in the fur.
This time, I tried something a little different. I painted it twice and blended those painted layers with a low opacity copy of the original cutout. By painting twice, I get extra depth in the fur because the brush strokes on different layers are not the same. Here was my process in summary.
First I took the impala through my usual painting prep of Nik Color Efex Pro to add Tonal Contrast, Pro Contrast and Detail Extraction with whatever settings were right for this image. I sent it through my Topaz Impressions for a slight treatment of again a custom setting of brush 13 at 65% opacity. Then, the high pass filter at 7 pixels in soft light to sharpen the fur. I painted this layer with the mixer brush and did some dodging and burning to adjust the lighting a bit. The original image had the correct lighting for my scene. This is now painted layer one.
Then, I took a copy of the impala from the topaz treatment above and completely painted it again. I then took a copy of the ORIGINAL impala cutout and put it in the multiply mode over this second painting. I desaturated the original impala cutout (made it black and white as I just wanted the contrast from it) and lowered the opacity to about 20%. I merged all three layers; the second painting, this desaturated black and white original AND the first painting layer together.
BACKGROUND
The background was built as a separate file. I generally build them outside of the painting file because the files get too big to save in the .psd format.
The background for this image was an interesting design. I started with a copy of the original image and large mixer brush and just blended the color from the image together to make the studio like background colors. I then made a copy of that layer and put it in the soft light mode and added a gaussian blur.

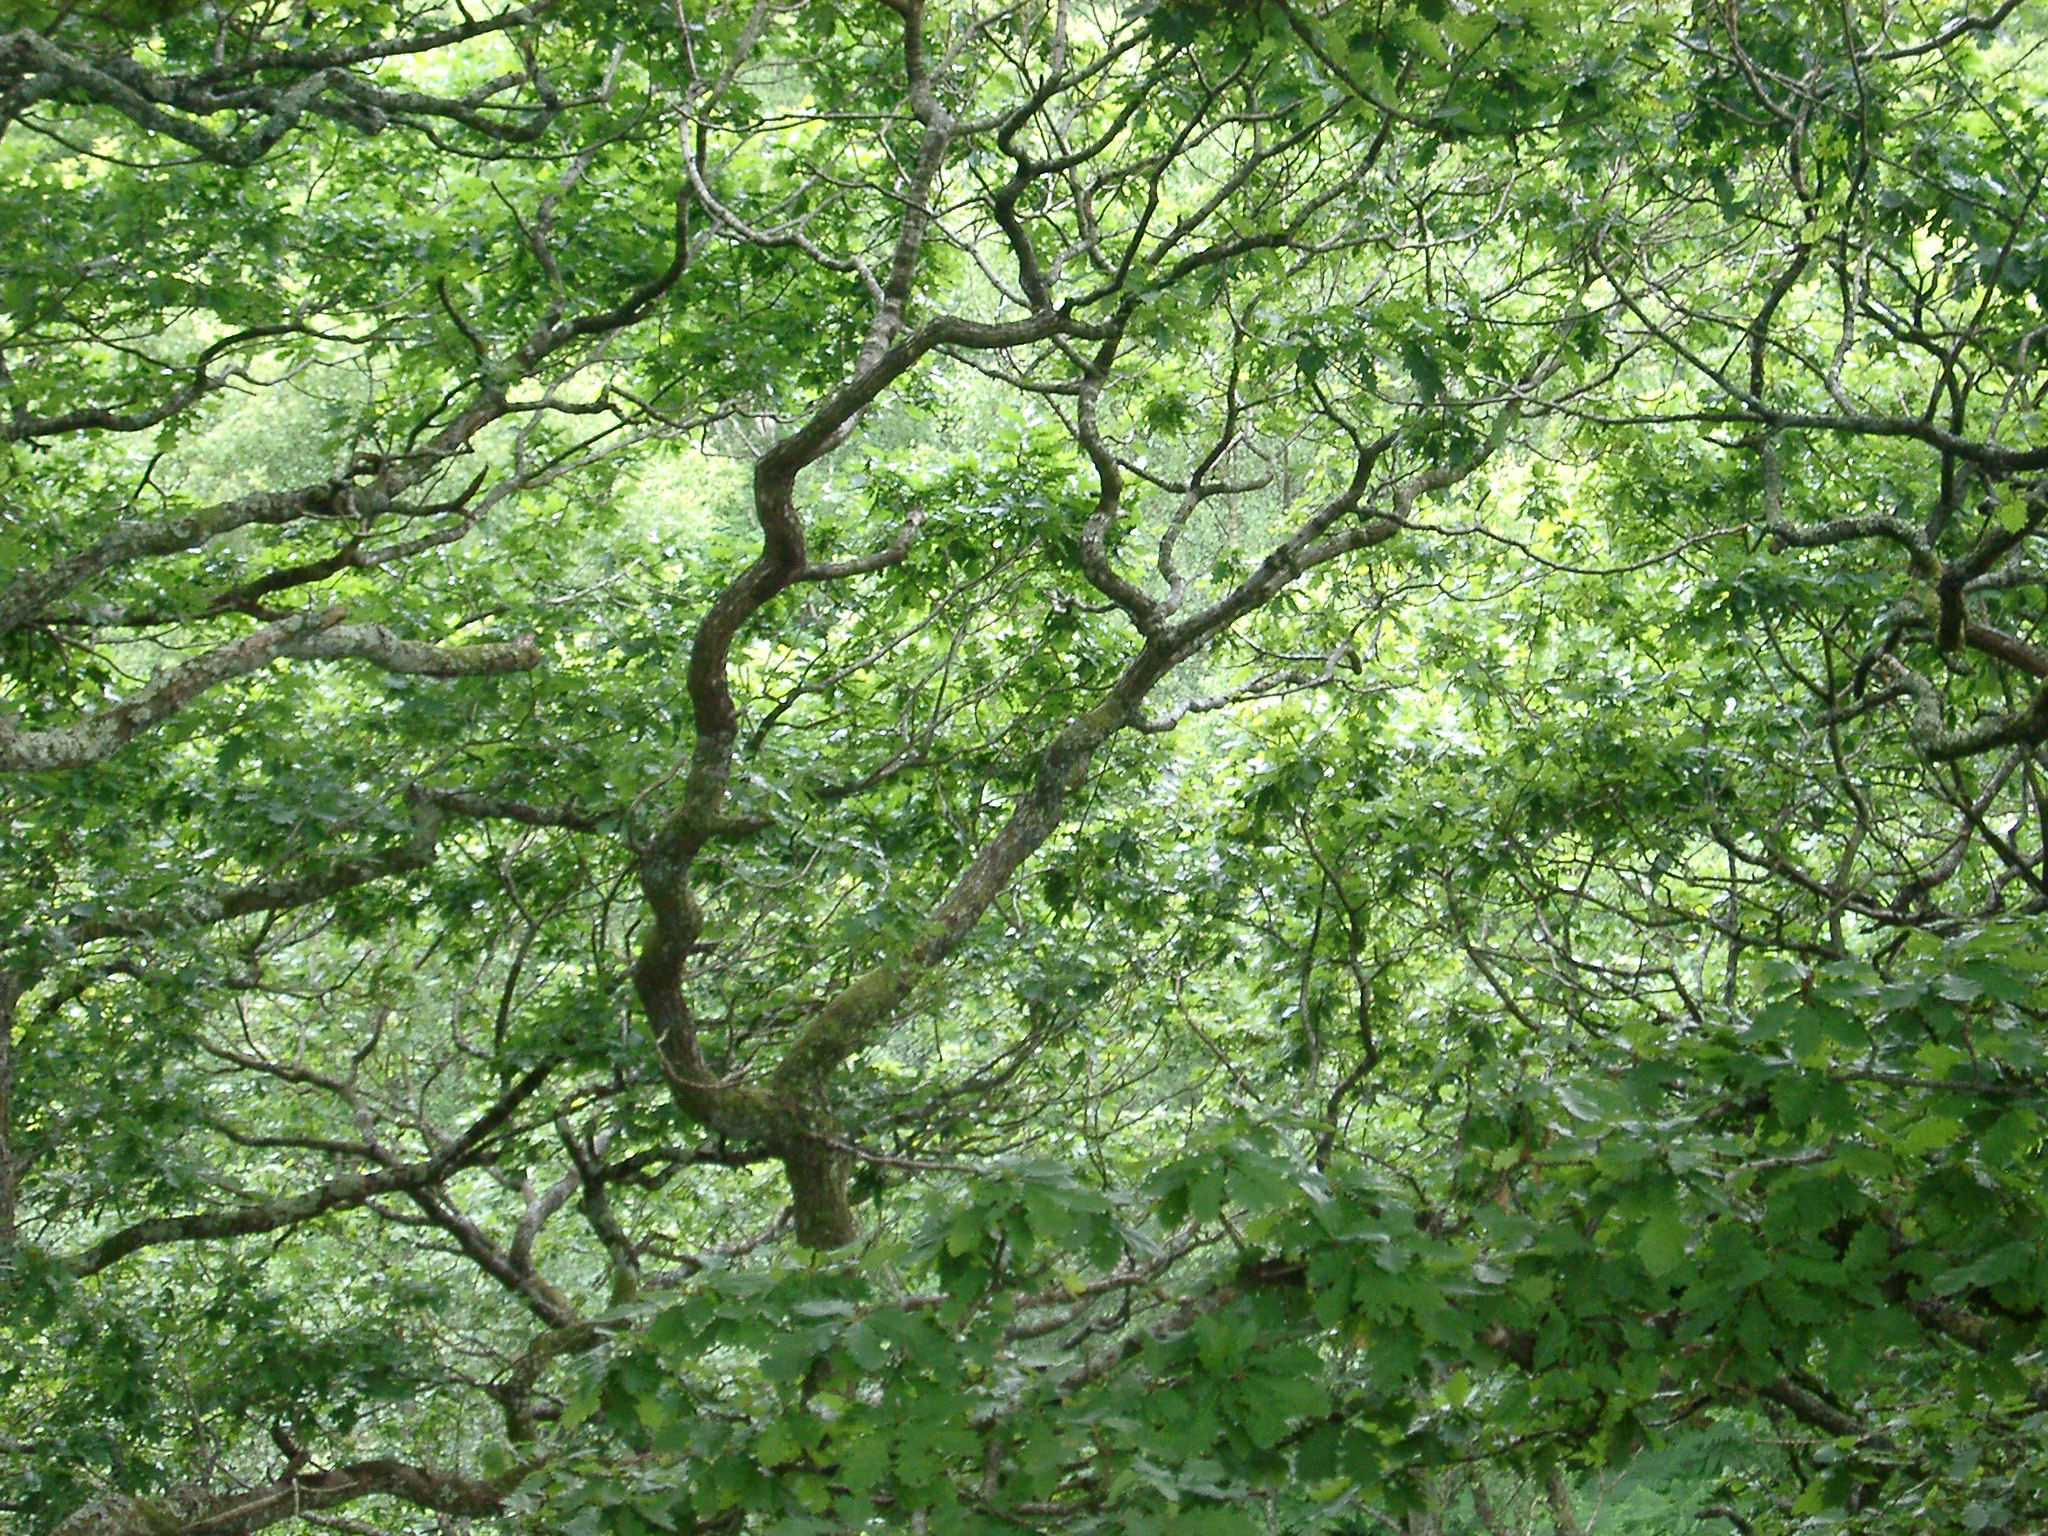
Next I found an image of some trees I had in my texture library. I added a heavy surface blur and put that in multiply at 70% opacity.
I needed to specify the light source for the image, so I just grabbed one of my sunbeam brushes and stamped a sunbeam from the upper left corner down to the right in the direction of the lighting on the impala. A big box blur on that sunbeam stamp and opacity at about 65% blended it right into those trees.
FINISHES
I finished with some dodging and burning and then use the mixer brush to blend the main image into the background. A technique I learned at Texas School in compositing class. This technique softens the edges of your cutout and blends them seamlessly with your background.
For color harmony I added a merge all layer on top and ran it through the filter “blur average” to get a solid layer of the average color in the image and put this in the soft light mode at a lower opacity.
I also added a finishing blur technique, again something I learned at Texas School in compositing class. This technique adds two layers, one slightly blurred and one in soft light. You really pop the colors and the image softens and blends together nicely. This one is now Done!
Hope you found this tutorial helpful! Let’s go paint!
terributlerphotography,#digital_art, #fine_art, #prints, #tutorial, #art, #photomanipulation, #lesson, #mixerbrush, #mixer, #Photoshop, #painting, #photocomposite,#https://fineartamerica.com/profiles/terri-butler, #https://terributlerphotography.com/galleries-landing/, #http://shutterstock.com/g/terributlerphotography/sets, #https://stock.adobe.com/contributor/206561680/Terri
