In this blog I’m going to provide a step by step review of my latest digital painting in Photoshop. I’ve been exploring different techniques lately and combine both Photoshop techniques with curves and adjustment with mixer brush painting to get the final photo realistic yet painterly effect that I’m looking for.
I use Photoshop, but I prep my images with the Color Efex Pro (NIK Collection) software and I run the cutout through my Topaz Impressions with some custom settings just to knock off the photo pixel effect. I will cover these steps in the process.
Let’s get started.
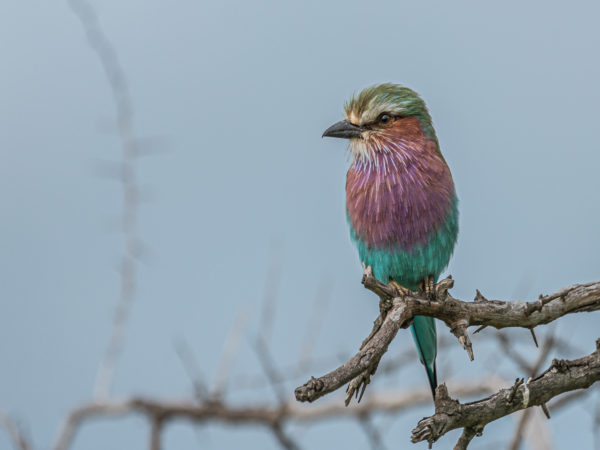
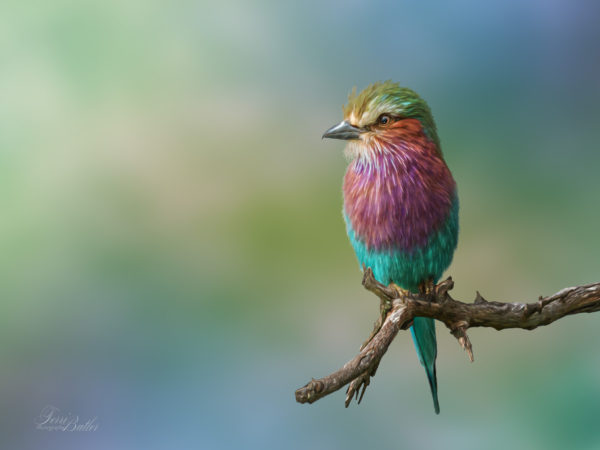
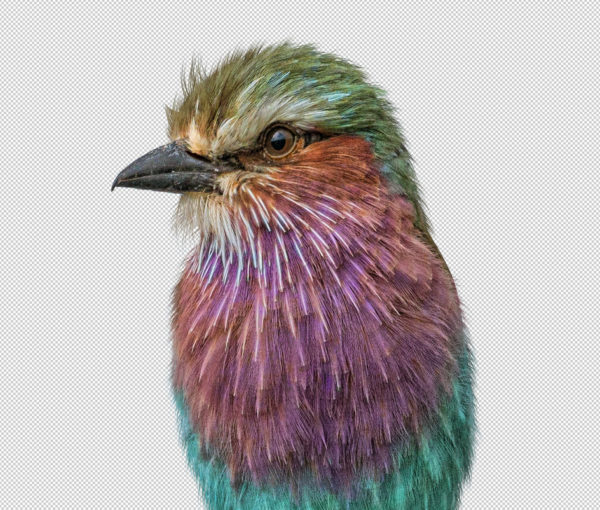
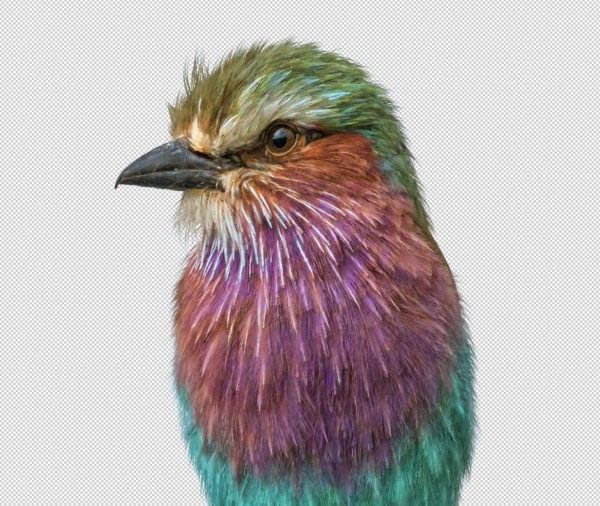
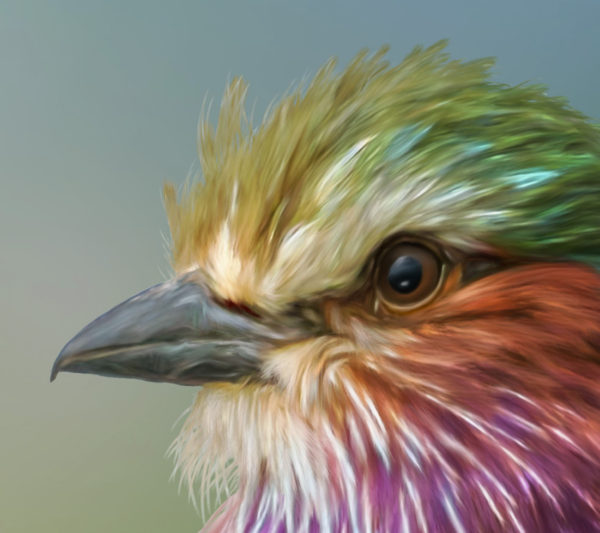
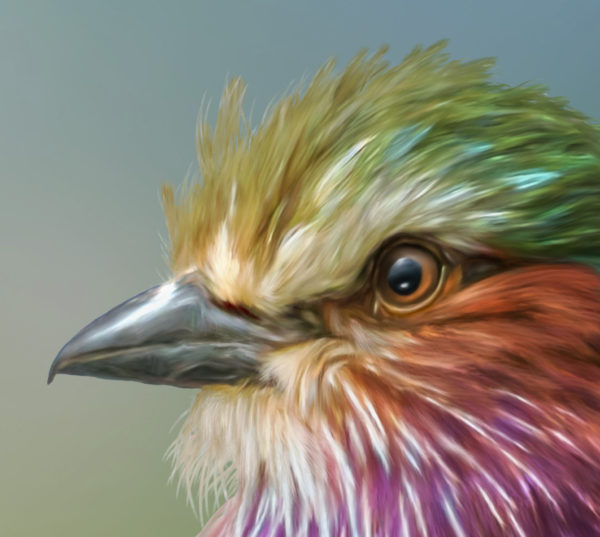
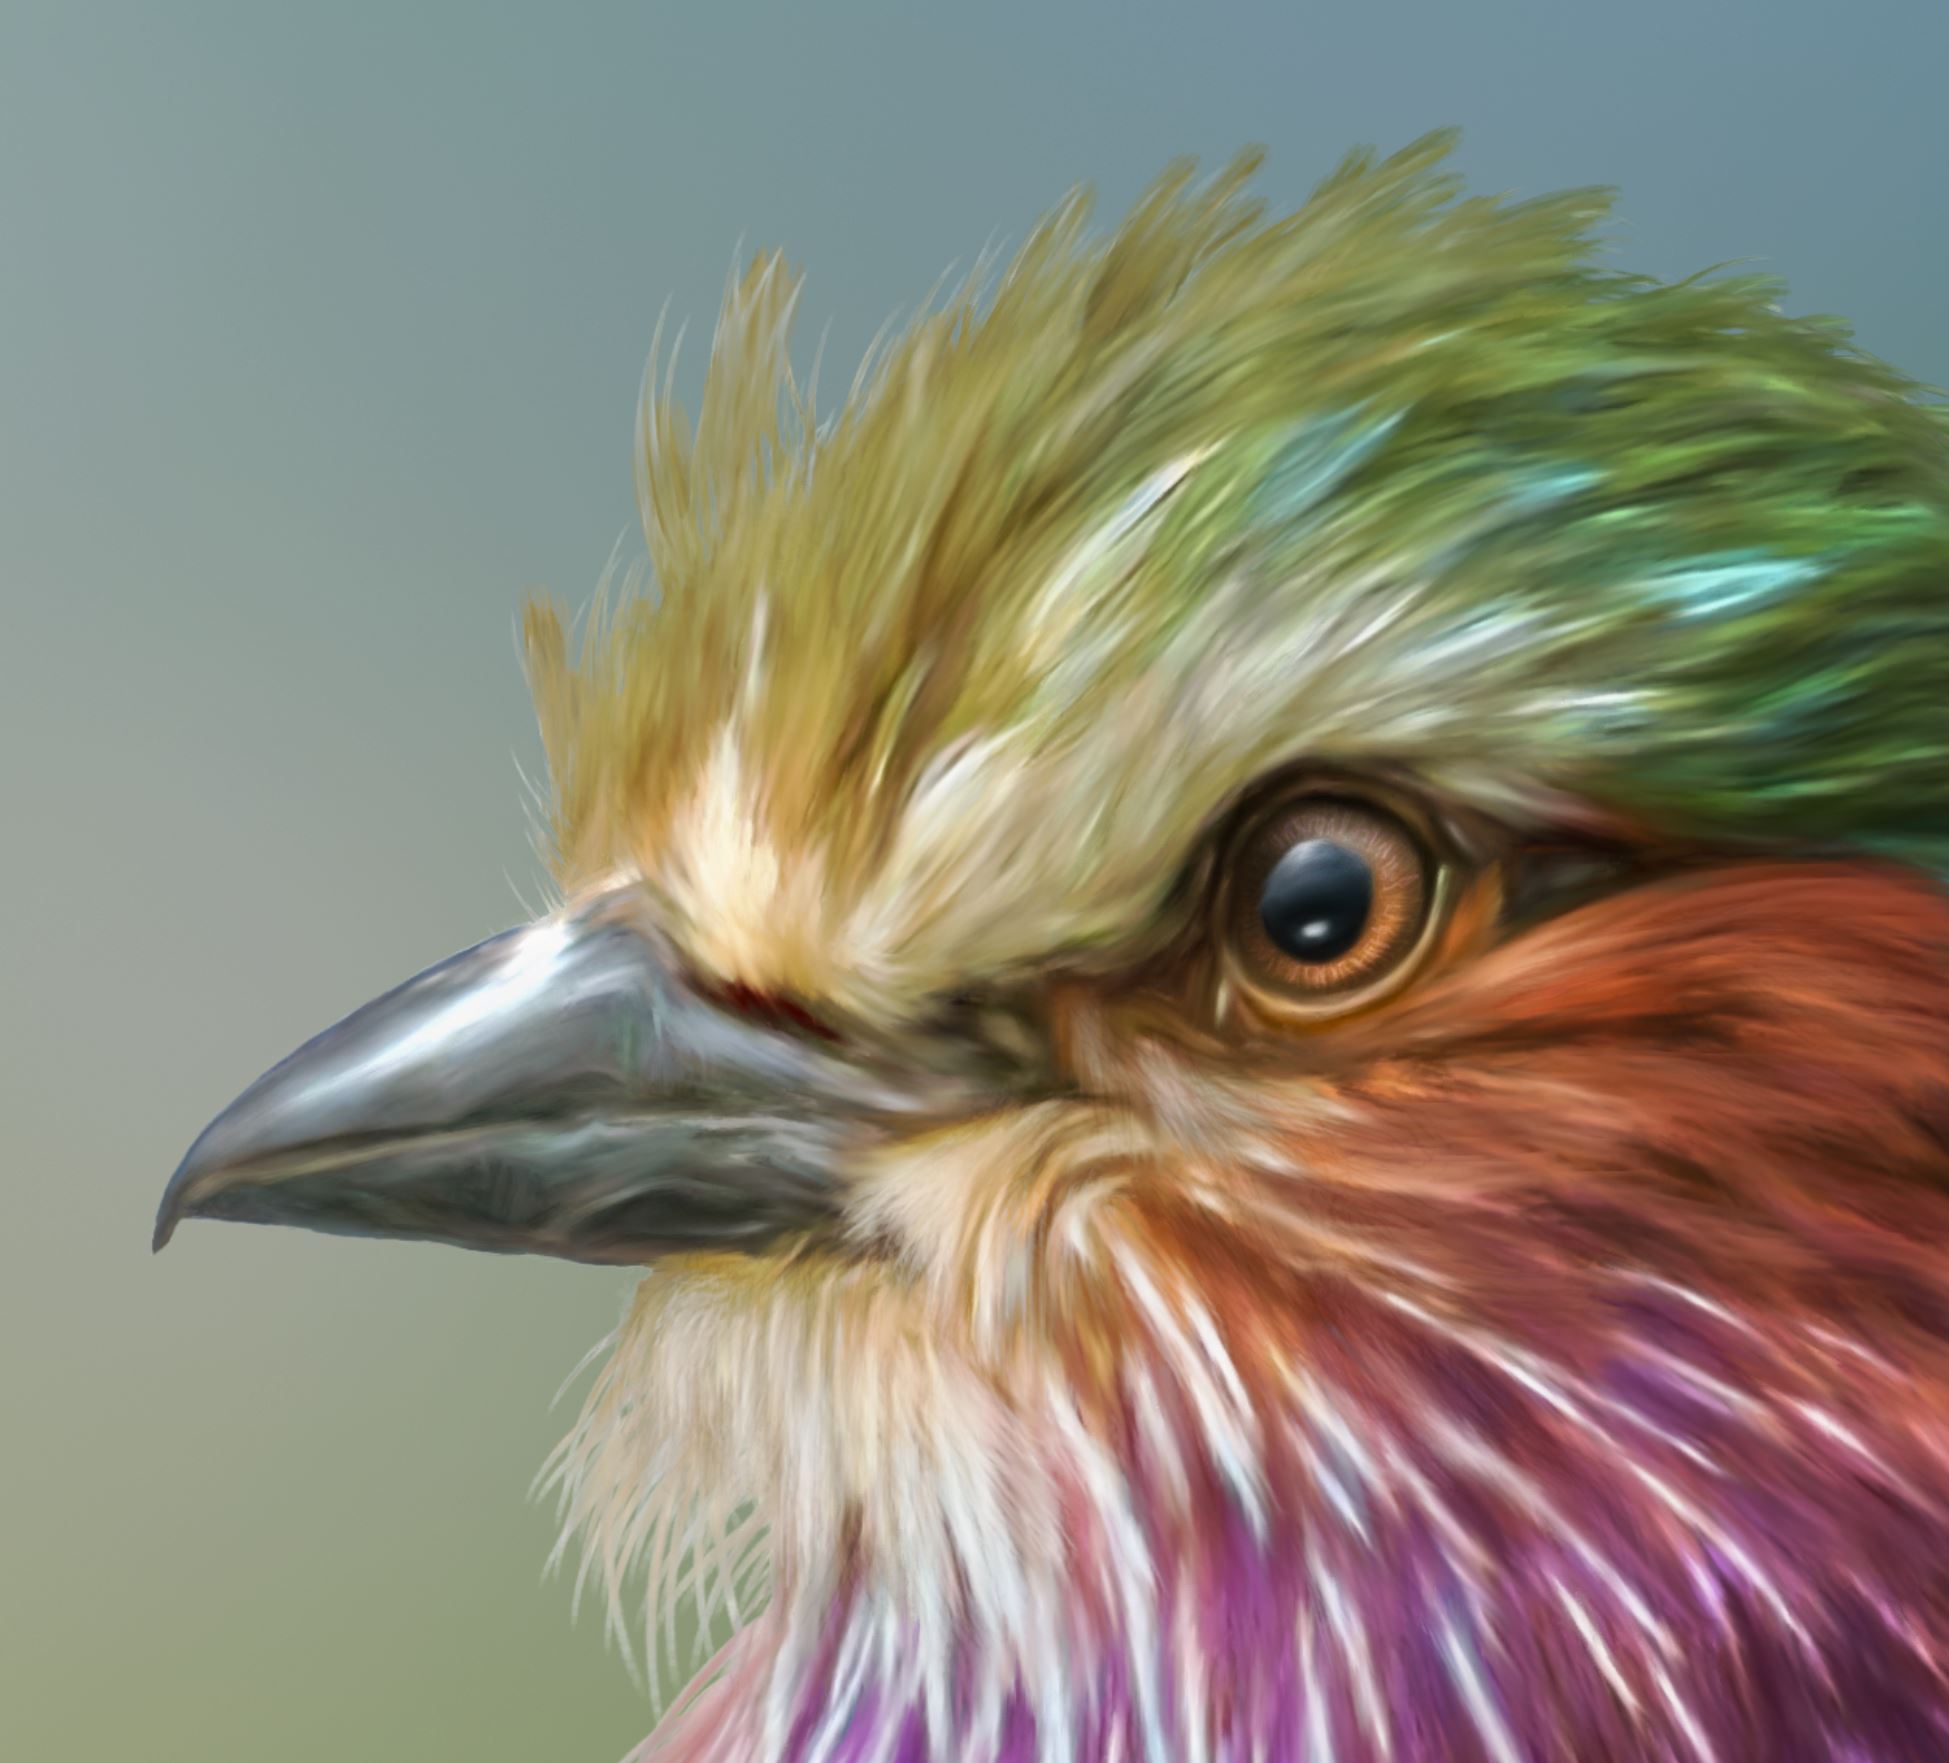
First the original image, which I captured on my trip to Africa earlier this year. This is a lilac breasted roller. And a copy of the final painting.
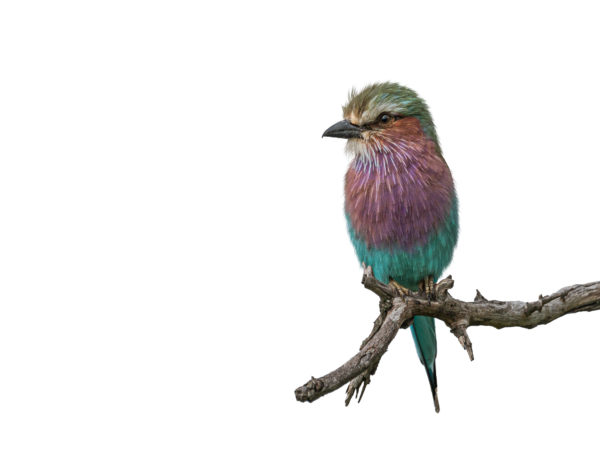
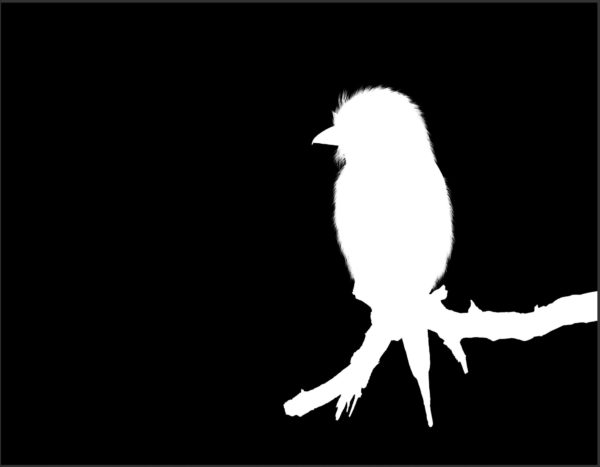
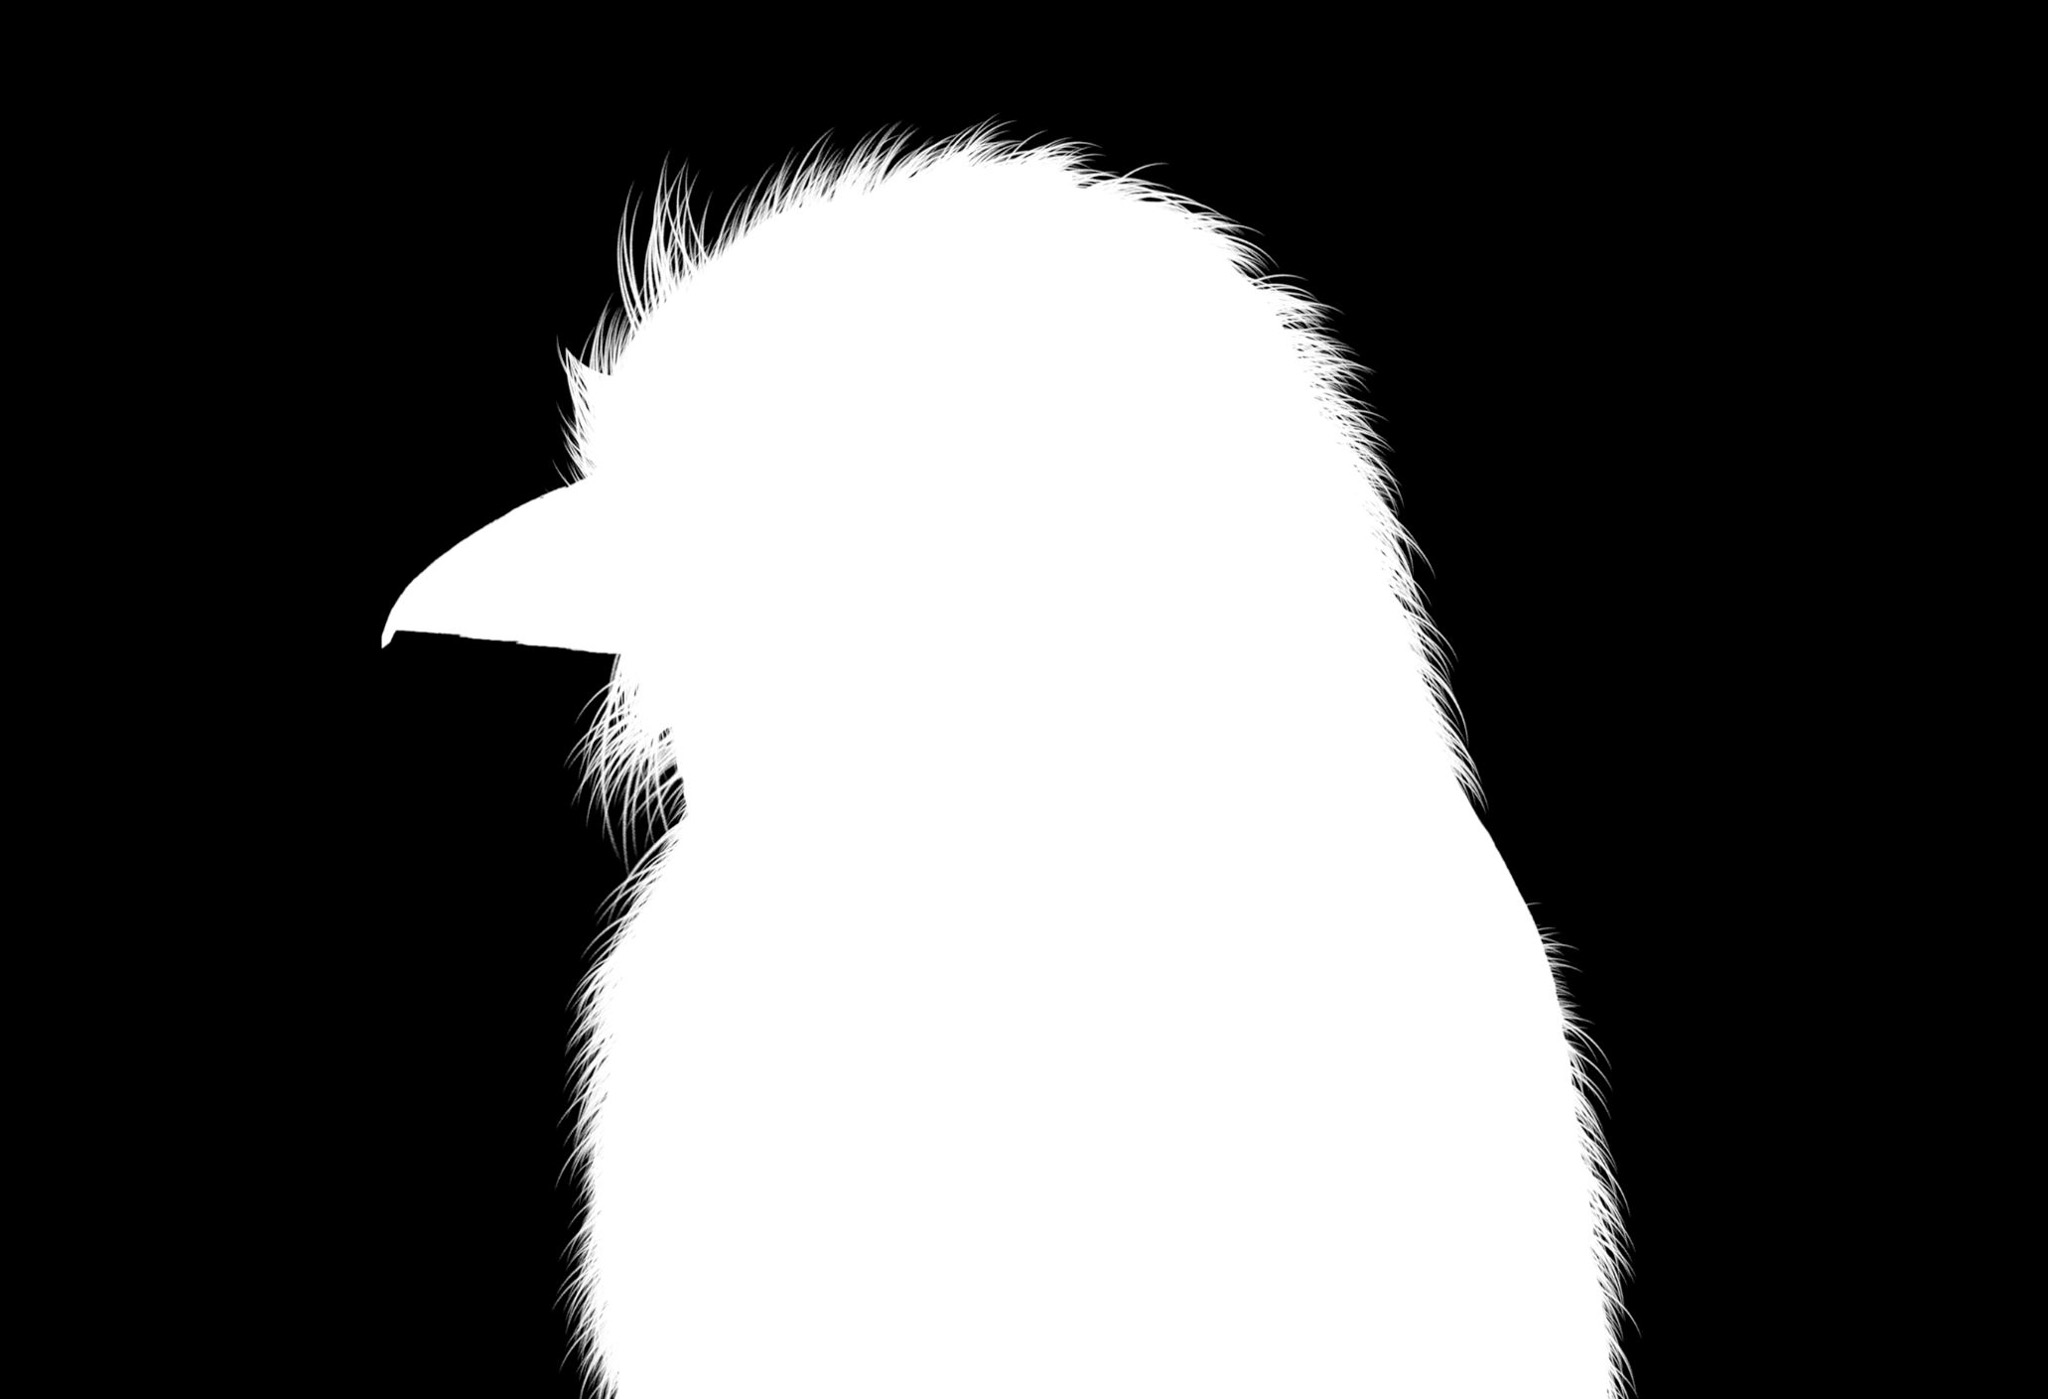
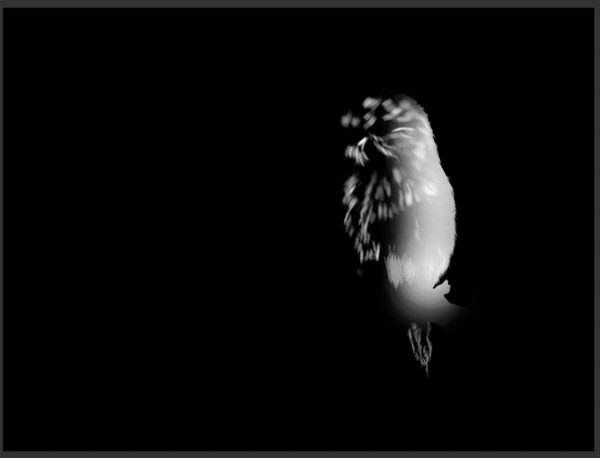
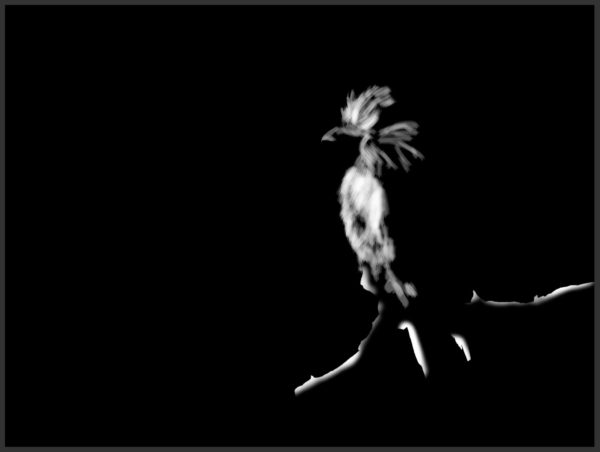
The first step is obviously a cutout of the bird. You can use whatever cutout technique you are comfortable with. As this is a painting blog, I’m not going to go into a lot of detail on how I do selections, but I will show you my cutout and my cutout mask. The mask is important because I paint the detail feather tips back in on the cutout mask so that I have these feathers from the original for painting.
Here is the cutout, the full version of the mask and a close-up of the mask so you can see my feather details. Perhaps a future blog post will cover my technique for building these masks, but it probably requires a video versus a blog.
Once I have a clean cutout, I prep the cutout for painting. This is where I run the plug-ins. First, Color Efex Pro. I have a recipe that includes Tonal Contrast, Detail Extractor and Pro Contrast. This technique opens the shadows and gives me loads of texture and detail. As painting smudges your details, you want to begin with as much detail and contrast as you possibly can.
Then, it’s in to Topaz Impressions to apply my “Barley Painted” filter. While I own the Studio 2, I still use my older Topaz Impressions plug-in where all my painting filters are. Topaz did NOT provide a way to move these setting into the newer version of the software and the new “My Looks” and Presets in the Studio 2 will not allow me to modify the setting on the fly and build new presets the way the old plug-in did. (Sometimes newer is not always better!!)
Here is what the cutout looked like after Color Efex Pro and Topaz. I’m now ready to begin painting
BRUSHES
The mixer brush is one of those tools that seems to take 15 minutes to understand and a life time to really master. I’ve been building various mixer brushes now for several years and I’m constantly changing how I use this tool.
I won’t even begin to try and explain setting in this blog, there are YouTube videos for that. I will tell you that you can take paint brushes, save them without the tool setting and redefine them as a mixer brush with mixer brush settings. You might find some really creative tips in your current paint brush library to turn into mixer brushes, just don’t expect the behavior to be the same as it was on the paint brush. It’s an adventure building brushes. I would encourage you to learn the settings in the brush setting panel and explore.
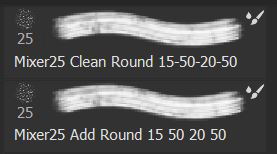
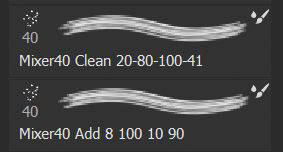
I have used some of my hair brush tips to build some mixer brushes. I build sets, one “clean” and one that loads the paint. Yes, I could just turn the settings on and off during the painting process, but I would rather know which tool I’m using, so I make two different tools. The clean version does not load any paint from the foreground well; it just mixes, so this is the brush I use to begin my painting. Then, when I want to “paint” in deeper colors in my shadows and brighter highlight and I need to sample from the image or the color wheel, I grab the same brush (or another brush with “add paint” setting turned on) and I can sample and add paint at the same time I’m mixing.
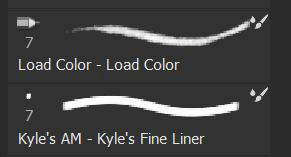
Here is a couple example of tips I used on this painting. One is a hair brush tip and the other is the standard splatter brush that comes with Photoshop, turned into my mixer. Also, a couple of thin painters for adding details.
Note that with some tips, you must change the settings on the “add paint” version because if the wet is too high, the paint will not be opaque enough to really add color. It’s a trial and error process and every tip is a little different.
** Tip: Always export your custom brushes after you build them. Photoshop has a habit of losing them from the panel. If you export them (which is a “save a copy process), you can always re-import them. I you only have them in the panel and Photoshop crashes, they are gone!
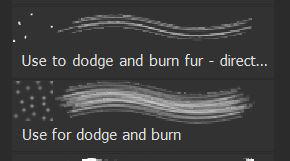
The only other brushes I used are those I built for my dodge and burn process. I will list the brushes here, and we will talk about my dodge and burn technique later in the article. These are just hair brushes with NO TOOL attached. I will be using them on a mask like a paint brush.
PAINTING THE EYE
One of the most important parts of a portrait, whether animal or human are the eyes. Learning to detail the eyes is important in getting a nice painting.
For my eyes, I turn to my Photoshop experience versus painting, because I like to work non-destructively.
Here I’m going to introduce you to the techniques for adding the special shine and adding the iris texture. We are not going to use any paint on the cutout; just layers in blend modes and curves with painted masks. Let’s get started.
ADDING THE SHINE
Here is the before and after. Note the shine on the eye and the beak.
Add this shine with a special Color Dodge layer. Hold Ctrl(Cmd)+Shift+N to open the New Layer dialog box. Put this layer in the Color Dodge blend mode and check the box at the bottom that says “Fill with Color-Dodge neutral color”
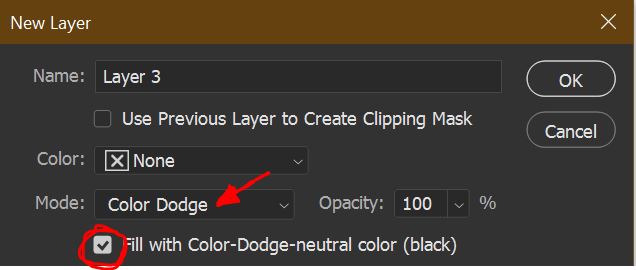
You will get a new layer that is totally black.
Now using a small soft round brush at 6-8% opacity and low flow. Set your COLOR TO WHITE and brush in the beak and eye highlights to taste.
TEXTURE THE IRIS
 Now we are going to add texture to the iris of the eye. We will do this with two curves layers. The first curve (EYE) will add some texture and lighten areas over the iris and the second curve (EYE w Color) we will both lighten and add a bit of color adjustments. Eyes generally have more than just one color reflecting out from the iris.
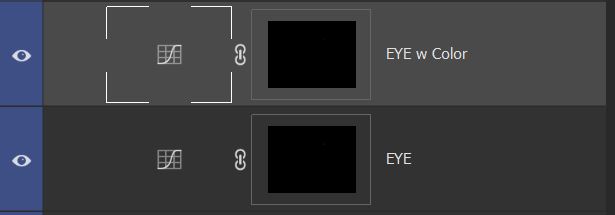
Add two curves layers, with masks and use the Ctrl+I to invert the mask to black.
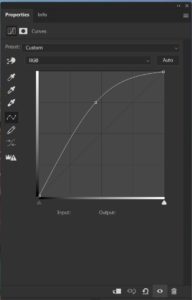
Select the first curve layer, the EYE and open the properties for the curve by clicking on the little ‘s’ curve icon
Take the curve up to brighten the curve. As you have a black mask, you will not see any change to your image.
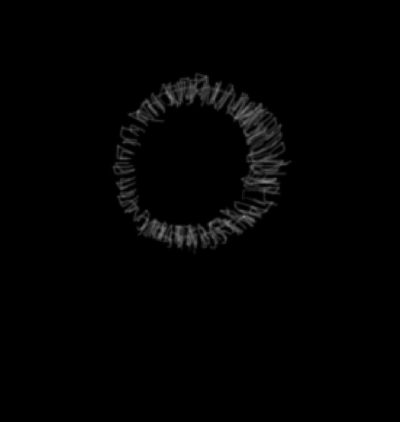
Using a VERY SMALL, soft brush, LOW OPACITY, paint on the black mask with WHITE in small strokes radiating out from the pupil on the iris. You will see light streaks on the iris. Only paint these streaks on the iris, not the pupil. Refer to the eye the finished eye picture above.
Your mask will look something like this.
Now select the second curve layer. Again, PAINT small strokes on the MASK with WHITE. You can change the opacity of your brush a bit to give more depth to these strokes than those on the first layer.
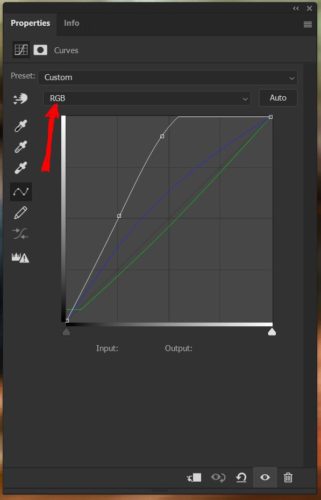
Then, open the curve settings and again RAISE the curve line to lighten the entire curve.
But this time we are also going to make some color adjustment using the curves color channels. You will find them under the RGB drop down. Select the Blue, Red or Green channel and just play with it, up or down and see what it does to your eye. Add some color that looks good. For my eye, I added some blue channel (which added some purplish blue) and reduced the green channel (which added red)
DODGE AND BURN
We now have a painted bird, but we don’t have any dynamic lighting. We have to dodge and burn him to give him depth and character. My original image was very flat lighting which makes it very good for making adjustments in painting and compositing. You get to add light as you like. But, the eye tells you that the light is coming from the upper left corner, so we will just stay with that as our light source.
When I dodge and burn, I like to work non-destructively. There are dozens of techniques on the web and YouTube for dodging and burning; I’ve tried them all. I didn’t like most of them so I build my own process. I have this process mainly because I paint a lot of animals and birds and deal with fur and feather. I had to have a way to burn the underneath layers of the fur and add specular highlight on the top of the fur/feather without having a flat, soft brush. So, I invented a different process using curve layers and hair brushes. Here is how it works.
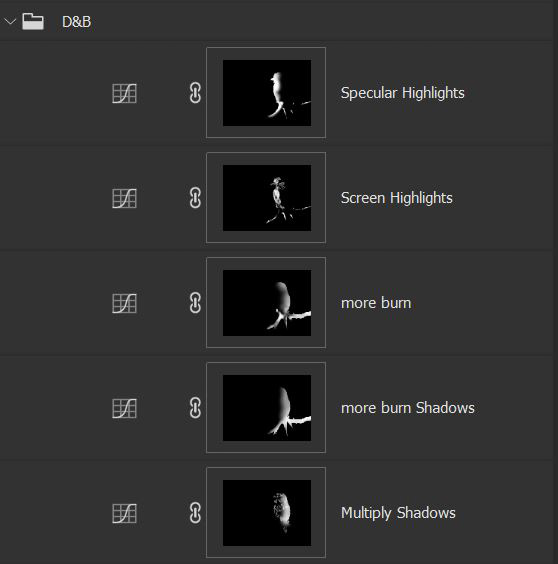
I add several curve layers with black masks and put the curve layers into different blend modes; multiply for shadows, screen for highlights, linear dodge for specular highlights etc. Then, using just a brush with WHITE paint on the black mask, I paint! I use a dot brush, my hair brushes, (see the dodge and burn brushes earlier in the article) and burn shadows and dodge highlights. Because I’m using a tiny little dot tip brush, it goes into the shadows just like a hair brush. I can work with low opacity on my brush and build the effect as needed. I burn under the bottom layer and highlight top layers of the feathers.
I can add more layers as needed. When the detailed dodging and burning is done, I can add a burn layer for more global burning where I can use that soft round brush to bring down large areas of light. In this painting, the back of the bird and branch.
Here is a couple of the masks up close
FINALLY, THE BACKGROUND
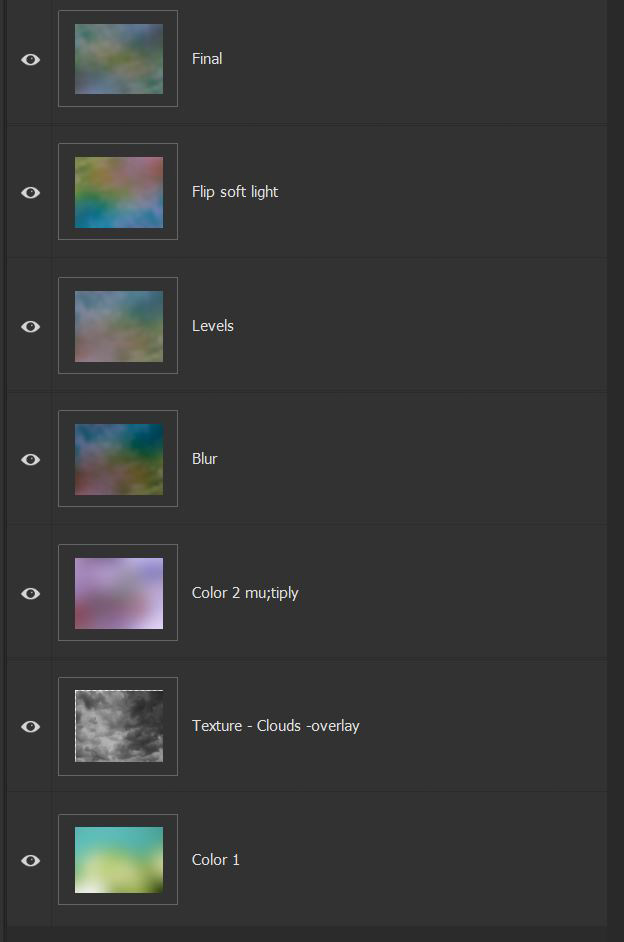
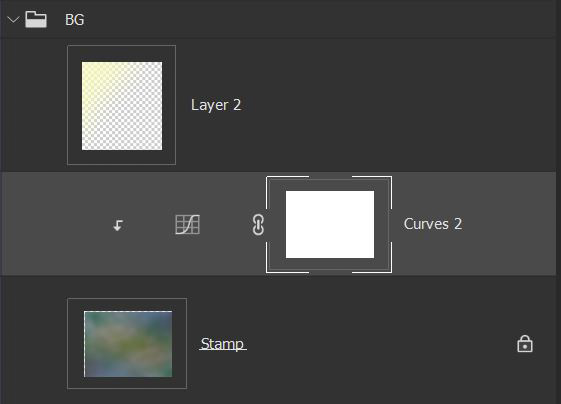
I build my background in a completely different file, then flatten it and bring it into my painting as a single layer. In this case, I used several color layers, a cloud layer and different blend modes to create this background. In the final, I added a curve layer to lighten it and added a radial gradient of bright yellow in the corner to enhance the light source. Here is the background build and couple of adjustments.
Hope you found this tutorial helpful! Let’s go paint!
terributlerphotography,#digital_art, #fine_art, #prints, #tutorial, #art, #photomanipulation, #lesson, #mixerbrush, #mixer, #Photoshop, #painting, #photocomposite,#https://fineartamerica.com/profiles/terri-butler, #https://terributlerphotography.com/galleries-landing/, #http://shutterstock.com/g/terributlerphotography/sets, #https://stock.adobe.com/contributor/206561680/Terri
